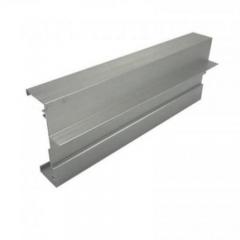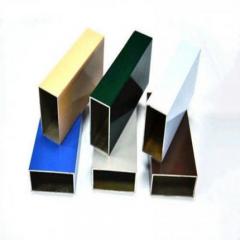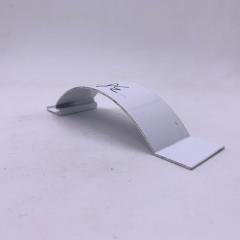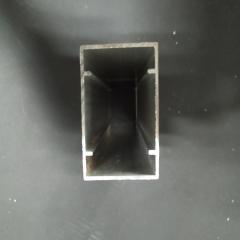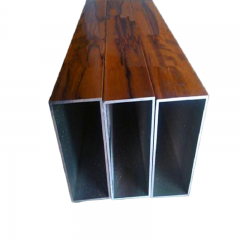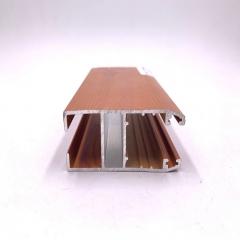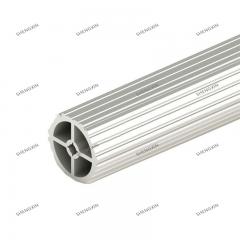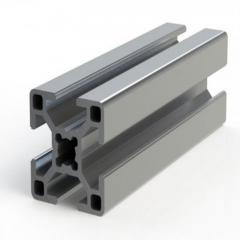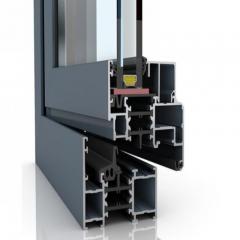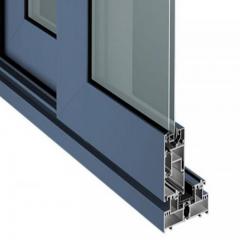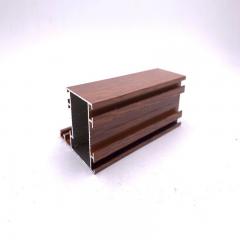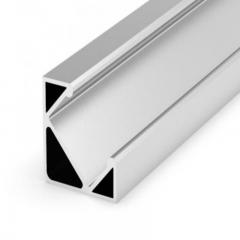
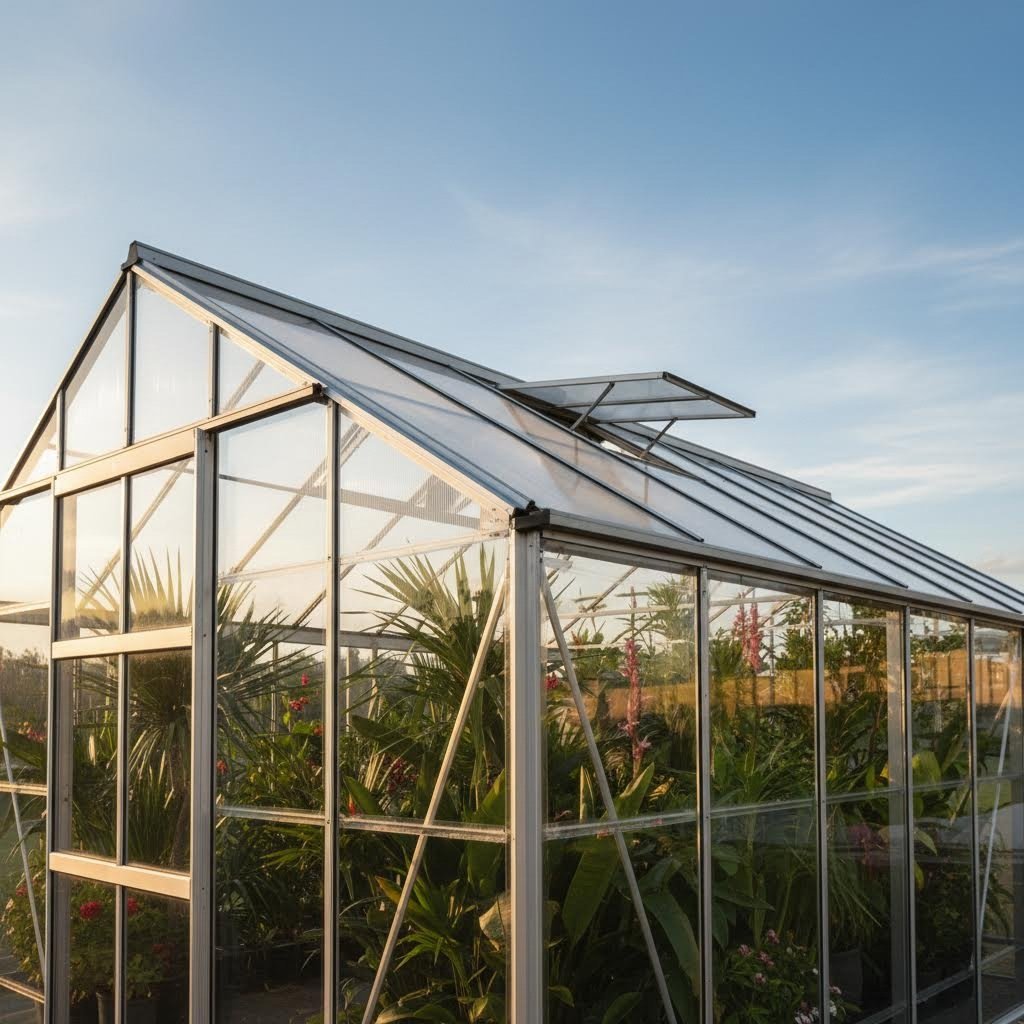
When you picture a modern greenhouse, what holds everything together? The answer lies in the precision-engineered framing that supports every glass panel, polycarbonate sheet, and ventilation system. Greenhouse aluminum extrusions serve as the structural backbone of these growing environments, offering a combination of strength, durability, and design flexibility that other materials simply cannot match.
So what exactly are aluminum extrusions? Imagine forcing heated aluminum through a specially shaped opening, much like squeezing toothpaste through a tube. This process creates continuous lengths of material with specific cross-sectional profiles, including H-channels, U-channels, and specialized connectors designed for greenhouse construction. The result is aluminum greenhouse framing that fits together with remarkable precision.
Whether you're a DIY builder planning your first backyard project or a commercial grower expanding operations, understanding why aluminum profile systems dominate modern greenhouse construction helps you make smarter decisions. According to BOAL Extrusion, aluminum is lightweight, corrosion-resistant, and 100% recyclable, making it ideal for sustainable greenhouse structures.
Here are the primary advantages of aluminum over wood and steel alternatives:
The journey from raw aluminum to finished greenhouse components involves a fascinating manufacturing process. According to Wayken, the extrusion process begins by preheating a cylindrical aluminum billet to 400-500°C, making it malleable but not molten. A hydraulic ram then applies up to 15,000 tons of pressure, forcing the material through a precision die that shapes each profile.
This manufacturing method allows for incredible consistency across every aluminium glasshouse component. Each extrusion emerges fully formed, undergoes controlled cooling, and receives straightening to meet exact specifications. The profiles are then cut to standard lengths and can receive surface treatments like anodizing or powder coating for enhanced durability.
Compared to traditional materials, this precision matters significantly. While Quality Structures USA notes that steel remains popular for heavy-duty commercial applications, aluminum offers distinct advantages for growers who prioritize rust resistance and ease of installation. Wood, though aesthetically appealing, requires ongoing maintenance and struggles in humid greenhouse conditions.
Understanding these fundamentals prepares you for the deeper technical decisions ahead, from selecting the right profile types to matching extrusions with your specific glazing materials.

Now that you understand why aluminum dominates greenhouse construction, the next question becomes practical: which profiles do you actually need? Walking into the world of aluminum extrusion channels can feel overwhelming at first. You'll encounter H-channels, U-channels, base rails, and specialty profiles, each designed for specific functions within your greenhouse structure.
Think of these profiles as puzzle pieces. Each one serves a distinct purpose, and choosing the right combination ensures your greenhouse performs flawlessly for decades. Let's break down the most common profile types and when to use each one.
The aluminum H channel is arguably the most critical profile in greenhouse construction. Shaped like the letter "H" when viewed from the end, this profile features two vertical channels connected by a horizontal web. According to Orange Aluminum, H-channels enhance load-bearing capacity significantly, making them suitable for heavy-duty applications where strength and stability are crucial.
So how does an h channel aluminum profile work in practice? Imagine two polycarbonate panels sitting side by side. The H-channel slides over the edges of both panels simultaneously, creating a secure mechanical connection while forming a watertight seam. This design eliminates the need for messy sealants at every joint while providing structural reinforcement exactly where panels meet.
Here's what makes aluminium h channel profiles particularly valuable for greenhouses:
When shopping for aluminum extrusion channel profiles, you'll notice H-channels come in various dimensions. The channel width must match your panel thickness precisely. For example, Advancing Alternatives offers 6-foot aluminum H channels specifically designed for 8mm polycarbonate, creating transitions between adjoining structural sheets.
While H-channels handle panel-to-panel connections, U-channels serve different but equally important functions. As Orange Aluminum explains, U-channels feature a "U" shape with equal-sized legs, making them ideal for edge protection and structural support applications.
In greenhouse construction, U-channels typically appear in these scenarios:
Beyond H and U profiles, greenhouse construction requires several specialty extrusions. Base rails anchor your entire structure to the foundation, providing the critical connection between framework and ground. Ridge caps cover the peak of gable roofs, sealing the junction where two roof slopes meet. Corner connectors create clean 90-degree joints between wall panels, while ventilation frame profiles allow for operable windows and louvers.
According to Advancing Alternatives, innovative aluminum profiles designed for greenhouse applications include wire lock bases, roll bars, and specialized curtain roll locks. Their double channel poly lock base offers dual wire lock capability for more secure film attachment, while end wall poly lock extrusions are designed specifically to cover polycarbonate top edges on greenhouse end walls.
| Profile Type | Primary Function | Best Used For | Compatible Panel Types |
|---|---|---|---|
| H-Channel | Panel-to-panel joining with structural support | Connecting adjacent polycarbonate or glass sheets | Polycarbonate (4mm-16mm), glass panels |
| U-Channel | Edge protection and single-side clamping | Panel end caps, perimeter framing, door frames | All rigid glazing materials |
| Base Rail | Foundation anchoring and vertical post connection | Structure perimeter, wall bases | N/A (structural component) |
| Ridge Cap | Sealing roof peak junction | Gable and A-frame roof peaks | Polycarbonate, glass |
| Corner Connector | 90-degree panel junction | Wall corners, structure corners | Polycarbonate, glass |
| Wire Lock Base | Poly film attachment channel | Plastic film greenhouses, high tunnels | Polyethylene film |
| Roll Bar | Curtain system support | Ventilation curtains, shade systems | Woven shade cloth, poly film |
Choosing between profile types ultimately depends on your specific construction needs. H-channels excel when you need to join panels while adding structural reinforcement. U-channels work better for edge finishing and single-sided applications. Specialty profiles fill specific functional roles that standard channels cannot address.
With this profile knowledge in hand, you're ready to tackle the next critical decision: matching your chosen extrusions to the specific glazing panels you'll install.
You've selected your profile types and understand how H-channels differ from U-channels. But here's where many greenhouse builders stumble: choosing an aluminum h-channel for polycarbonate that doesn't actually fit your panels. Sounds simple enough, right? Yet mismatched channels cause more installation headaches than almost any other mistake.
The relationship between your glazing panels and aluminum extrusions determines whether your greenhouse stays weathertight for decades or develops leaks within months. Getting this match right requires understanding panel thickness specifications, material behavior differences, and the often-overlooked factor of thermal expansion.
Polycarbonate multiwall panels come in several standard thicknesses, and each requires a specifically sized h channel for polycarbonate installation. According to Plast-X's installation guide, their two-piece aluminum H-channel systems accommodate 8mm, 10mm, 16mm, and 25mm polycarbonate panels, with the H-Cap screw length adjusted accordingly for each thickness.
Why does this precision matter so much? Imagine inserting a 6mm panel into an H-channel designed for 10mm material. The panel rattles loosely, water seeps through gaps during rain, and wind vibration eventually works the panel free. Conversely, forcing a thick panel into an undersized channel creates stress points that can crack the polycarbonate during temperature swings.
Here's how h channel polycarbonate sizing typically works:
The Plast-X technical guide emphasizes that sheets must bear on the base or frame with a minimum of 1/2 inch of support on all four edges. This bearing surface requirement directly influences channel depth selection. Too shallow, and panels lack adequate support. Too deep, and you waste material while potentially creating alignment issues.
Another critical specification involves the gap between panels within the H-channel. Installation guidelines recommend leaving 1/16 inch of space between the panel edge and the H-trim for expansion purposes, with the total space allowed for the H-Base being 1/2 inch between polycarbonate panels. This calculated gap prevents buckling while maintaining weathertight performance.
While polycarbonate dominates modern greenhouse construction, glass and acrylic panels require different compatibility considerations. Glass panels are significantly heavier and more rigid than polycarbonate, demanding H-channels with thicker walls and stronger structural webs. The aluminum extrusions must support greater static weight while resisting the concentrated stress points that glass creates.
Acrylic panels present their own challenges. Though lighter than glass, acrylic expands and contracts more dramatically with temperature changes. This means aluminum channels for acrylic applications need wider tolerance gaps and more flexible sealing systems.
When selecting channels for any glazing material, consider these critical compatibility factors:
The thermal expansion difference between aluminum and glazing materials deserves special attention. Prance Building notes that engineers typically calculate expected movement at approximately 0.02mm per meter per degree Celsius, designing joint widths to accommodate twice that amount. For greenhouse applications, this means your H-channels must grip panels firmly while still allowing controlled movement.
Common installation mistakes to avoid include:
Getting panel compatibility right from the start saves enormous frustration during installation. But dimensions and materials tell only part of the story. Understanding the technical specifications behind different aluminum alloys and wall thicknesses helps you make even more informed purchasing decisions.
You've matched your glazing panels to the right channel dimensions. Now comes a question most greenhouse builders never think to ask: what's actually inside that aluminum? The alloy composition and dimensional specifications of your h channel aluminum extrusion directly impact how your greenhouse performs under load, resists corrosion, and weathers decades of environmental stress.
Understanding these technical details separates a greenhouse that merely stands from one that thrives. Let's decode the specifications that truly matter for your project.
When shopping for extruded aluminum h channel profiles, you'll encounter numbers like 6061 and 6063 repeatedly. These aren't arbitrary codes. They represent distinct aluminum alloy formulations with different performance characteristics tailored to specific applications.
According to Triad Products Corporation, both 6061 and 6063 alloys contain magnesium for increased strength and silicon to lower melting temperature. However, the proportions differ significantly. AL 6061 typically contains up to double the iron content and considerably more silicon, copper, and chromium compared to AL 6063.
So which alloy belongs in your greenhouse? The answer depends on what you're building.
6063 Aluminum: The Architectural Choice
Often called architectural aluminum, 6063 excels at becoming the complex shapes greenhouse construction demands. This alloy responds exceptionally well to the extrusion process, allowing manufacturers to create intricate profiles with thin walls and detailed cross-sections. When you need an extruded channel with precise dimensions and smooth surfaces, 6063 delivers.
Beyond formability, 6063 offers superior corrosion resistance compared to 6061. For greenhouse environments where humidity constantly challenges metal components, this protection matters. The alloy also provides a finer surface finish, making it ideal when visible aluminum framing contributes to your greenhouse's aesthetic appeal.
6061 Aluminum: The Structural Powerhouse
When your extrusion channel needs to bear significant loads, 6061 aluminum steps up. This alloy delivers greater tensile strength, making it the preferred choice for structural applications where framing supports heavy snow loads, large glass panels, or equipment mounting.
According to PTSMAKE, aluminum channels typically have tensile strengths ranging from 20,000 to 45,000 PSI depending on alloy and temper. The 6061-T6 alloy, commonly used in structural applications, offers approximately 35,000 PSI tensile strength with an excellent strength-to-weight ratio.
The T6 temper designation indicates the aluminum has been artificially aged for maximum strength. You'll also encounter T4 temper (heat treated and naturally aged) and T5 temper options, each offering different performance characteristics for specific greenhouse requirements.
| Property | Aluminum 6061 | Aluminum 6063 |
|---|---|---|
| Tensile Strength | Great | Fair |
| Corrosion Resistance | Good | Great |
| Extrudability | Good | Great |
| Surface Quality | Fair | Great |
| Geometric Complexity | Fair | Great |
| Machinability | Good | Fair |
| Versatility | Good | Fair |
| Relative Cost | Higher | Lower |
For most residential and hobby greenhouses, 6063 aluminum provides the ideal balance of formability, corrosion resistance, and cost-effectiveness. Commercial operations with heavy glazing panels or significant snow load requirements may benefit from 6061's superior strength in critical structural members.
Beyond alloy selection, the physical dimensions of your aluminum profiles determine how much weight they can support and how well they resist deflection under load. Wall thickness stands as perhaps the most critical specification affecting structural performance.
Wall Thickness and Load-Bearing Capacity
According to manufacturer specifications from Xingji Aluminum, greenhouse aluminum profiles typically range from 1.0mm to 3.0mm wall thickness. This range accommodates everything from lightweight hobby structures to heavy-duty commercial installations.
How does wall thickness translate to real-world performance? Consider these relationships:
As PTSMAKE explains, the cross-sectional shape and size are perhaps the most critical factors after material selection. A deeper channel with thicker walls distributes stress more effectively, reducing the risk of bending or failure under heavy loads. The overall depth of the channel significantly impacts its resistance to bending, with deeper profiles offering substantially greater stiffness.
Calculating Requirements for Different Greenhouse Sizes
Planning your material needs starts with understanding standard profile dimensions and how they relate to your greenhouse footprint. Common aluminum profile series include 70mm, 90mm, 110mm, 125mm, and 132mm options, each designed for specific structural applications.
When calculating your extrusion requirements, consider these dimensional factors:
For a typical 8x10-foot hobby greenhouse with 6mm polycarbonate panels, standard 6063 aluminum profiles with 1.5mm wall thickness generally provide adequate structural support. Scaling up to a 20x30-foot structure with 10mm panels requires upgrading to 2.0mm or thicker walls, potentially incorporating 6061 alloy in primary load-bearing members.
The interaction between alloy choice and wall thickness creates a spectrum of performance options. A thinner-walled 6061 profile might match the load capacity of a thicker 6063 extrusion, offering weight savings while maintaining structural integrity. Consulting manufacturer load tables specific to your chosen profiles helps optimize this balance.
With these technical specifications understood, you're equipped to evaluate profiles for your specific greenhouse design. Different structure styles present unique demands that influence which combinations of alloy, wall thickness, and profile dimensions deliver optimal performance.
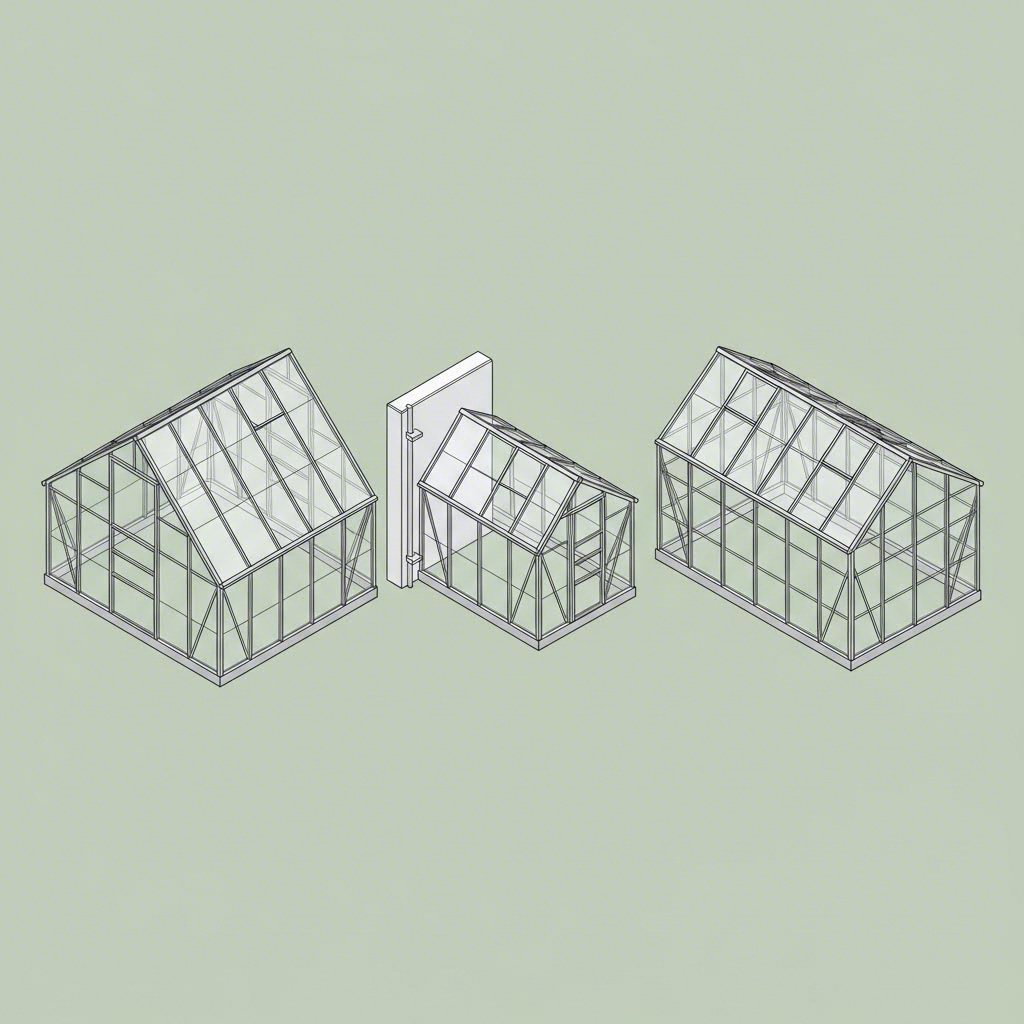
You've mastered alloy types and wall thickness calculations. Now comes the practical question: how do these specifications translate to your specific greenhouse design? Whether you're planning a classic A-frame, a space-saving lean-to, or a standalone freestanding structure, each style demands a distinct combination of aluminium profiles greenhouse construction requires.
Think of your greenhouse design as a recipe. The ingredients change depending on what you're making. An A-frame roof needs ridge profiles that a flat-roof lean-to doesn't require. A freestanding structure demands heavier base rails than a wall-attached design. Understanding these differences helps you order exactly what you need, nothing more, nothing less.
The classic A-frame greenhouse, also called a gable roof design, remains popular for good reason. Its peaked roof sheds snow and rain efficiently while maximizing interior headroom. However, this geometry creates specific aluminum framing for greenhouse requirements that other designs don't share.
The most critical component for A-frame construction is the ridge profile. According to Rimol Greenhouse Systems, ridge profiles fasten with nuts and bolts to the greenhouse peak, specifically designed for structures covered in triple wall polycarbonate. These specialized extrusions create the watertight junction where two sloped roof panels meet, using 5/16-inch carriage bolts and nuts for secure attachment.
Beyond the ridge, A-frame greenhouses require these essential aluminium system greenhouse components:
When calculating materials for an A-frame design, measure your ridge length first. This dimension determines how many ridge profile sections you'll need. For a 12-foot-long greenhouse, you might use two 6-foot ridge sections joined at center, since Rimol notes their ridge profiles are available in 12-foot 2-inch lengths, sometimes cut into sections for reduced shipping costs.
Here's a practical extrusion checklist for A-frame greenhouse construction:
Lean-to greenhouses attach directly to an existing building wall, creating a space-efficient growing area that benefits from the thermal mass of the adjacent structure. This design eliminates one complete wall of framing but introduces unique aluminum h bar and mounting requirements.
The defining characteristic of lean-to construction is the wall-mounting extrusion system. These specialized profiles anchor firmly to your house, garage, or outbuilding wall, creating the attachment point for your greenhouse framework. Unlike freestanding structures that rely entirely on their own base rails, lean-to designs transfer significant loads to the existing building.
Wall-mounting extrusions must accommodate these critical factors:
Freestanding greenhouses present different demands. Without an adjacent wall for support, these structures rely entirely on their own framework for stability. This independence requires more robust base rail systems that anchor securely to foundations while resisting uplift forces during high winds.
According to Greenhouse Emporium, preparing a base for a greenhouse may seem unimportant initially, but all it takes is one storm to obliterate your hard work. The relationship between your aluminum extrusions and foundation becomes critical for freestanding structures.
Freestanding greenhouses need these aluminum framing components:
The relationship between aluminum extrusions and other greenhouse components deserves attention regardless of design style. Ventilation systems require frame profiles that accommodate louvers, exhaust fans, or operable roof vents. According to Rimol, end wall wire lock bases attach poly coverings and work best with wire lock systems for structures using plastic film rather than rigid panels.
Ready to calculate your material needs? Start with accurate measurements of your intended greenhouse footprint. For DIY builders, precision here prevents costly ordering mistakes and frustrating installation delays.
Follow this measurement sequence for any greenhouse style:
For panel-specific calculations, remember that standard polycarbonate sheets typically measure 4 feet wide. A 12-foot-long greenhouse therefore requires three panel bays per side, meaning three H-channels per wall for panel connections, plus end cap profiles for exposed edges.
According to Greenhouse Emporium, your material list should address four fundamental categories: frame, covering, base, and layout. The more elaborate your greenhouse or complex your intentions, the more materials you'll need. Consider whether your design requires special equipment like hydroponics, solar systems, or automated ventilation that might demand additional mounting profiles.
With your greenhouse style selected and materials calculated, you're ready to consider how your aluminum framework will perform across seasons and climate conditions.
Your aluminum profiles are selected, your design is finalized, and materials are calculated. But here's a question that separates greenhouses lasting five years from those thriving for fifty: how will your aluminum framing perform through scorching summers, freezing winters, and everything in between?
Aluminum's durability is legendary, yet the same properties that make it ideal for greenhouse construction can create unexpected challenges in extreme climates. Understanding these performance factors, and knowing how to address them, ensures your investment delivers decades of reliable service.
Ever noticed water droplets forming on your greenhouse frame on cold mornings? That's condensation caused by thermal bridging, and according to All Round Glazing, thermal bridges can account for up to 30% of heat loss in well-insulated buildings. For greenhouses, this heat loss translates directly to higher heating costs and stressed plants.
So what exactly happens? Aluminum's thermal conductivity measures 237 W/m·K, significantly higher than materials like PVC or wood. This means aluminum readily conducts heat from your warm greenhouse interior to the cold exterior. Where aluminum framing penetrates your insulation layer, whether at glazing bars, base rails, or corner connections, heat escapes rapidly.
The consequences extend beyond energy bills. When warm, moist interior air contacts cold aluminum surfaces, moisture condenses. This dripping water can damage plants, promote mold growth, and eventually deteriorate building materials around connection points.
Fortunately, solutions exist. Thermal break profiles incorporate low-conductivity materials, typically polyamide, between interior and exterior aluminum sections. According to thermal performance research, implementing thermal breaks can reduce heat loss by up to 50%. For h aluminum channel profiles specifically, thermal break versions create a discontinuity in the heat path, maintaining more stable interior temperatures.
Beyond thermal breaks, proper ventilation management helps control condensation. Adequate air circulation prevents moisture from accumulating on cold surfaces. Combined with strategic placement of heating elements near aluminum framing members, you can minimize cold spots where condensation forms.
Your greenhouse location dramatically influences how aluminum extrusions perform over time. Coastal environments, extreme cold, and intense heat each present unique challenges requiring specific attention.
Coastal Environments and Salt Air Corrosion
Building near the ocean? Salt spray presents a serious threat to unprotected aluminum. According to Linetec's coastal research, exposed, unfinished aluminum reacts strongly with chloride ions from sea salt. Within weeks, this chemistry overwhelms the natural protective oxide layer, resulting in visible pitting. Significant airborne salt depositions have been found more than 50 miles from coastal shores.
The solution lies in high-performance finishes. Paint coatings meeting the AAMA 2605 specification, which undergo more than 4,000 hours of accelerated salt spray exposure testing, provide exceptional protection. Class I anodize coatings meeting AAMA 611 specifications face 3,000 hours of salt spray testing. Both options create durable barriers between aluminum and corrosive salt air.
Extreme Cold Performance
Unlike steel, aluminum doesn't become brittle in extreme cold. However, thermal contraction can stress connections and loosen fasteners if not properly addressed during installation. Leave adequate expansion gaps at panel connections and use flexible sealants that accommodate movement without cracking.
High Heat and Expansion Management
Intense summer heat causes aluminum to expand noticeably. A black aluminum h channel absorbs more solar radiation than light-colored profiles, experiencing greater thermal expansion. For installations using black profiles or in consistently hot climates, oversized connection holes and slotted mounting points allow expansion without buckling or distortion.
Surface treatments play crucial roles in long-term durability across all climates:
Climate-specific maintenance ensures maximum lifespan from your aluminum greenhouse framing:
Troubleshooting Common Climate-Related Issues
Water infiltration at joints typically indicates failed sealants or improperly sized channels. If leaks appear during rain, inspect H-channel connections for gaps caused by thermal movement. Resealing with 100% silicone compatible with your glazing material usually resolves the issue.
Thermal expansion problems manifest as buckled panels, cracked glazing near connection points, or popping sounds during temperature swings. These symptoms suggest insufficient expansion gaps during installation. Remediation may require loosening fasteners, repositioning panels to restore proper gaps, and refastening with slotted connections allowing movement.
With climate performance understood and maintenance strategies established, you're ready to tackle the hands-on work of actually building your greenhouse.
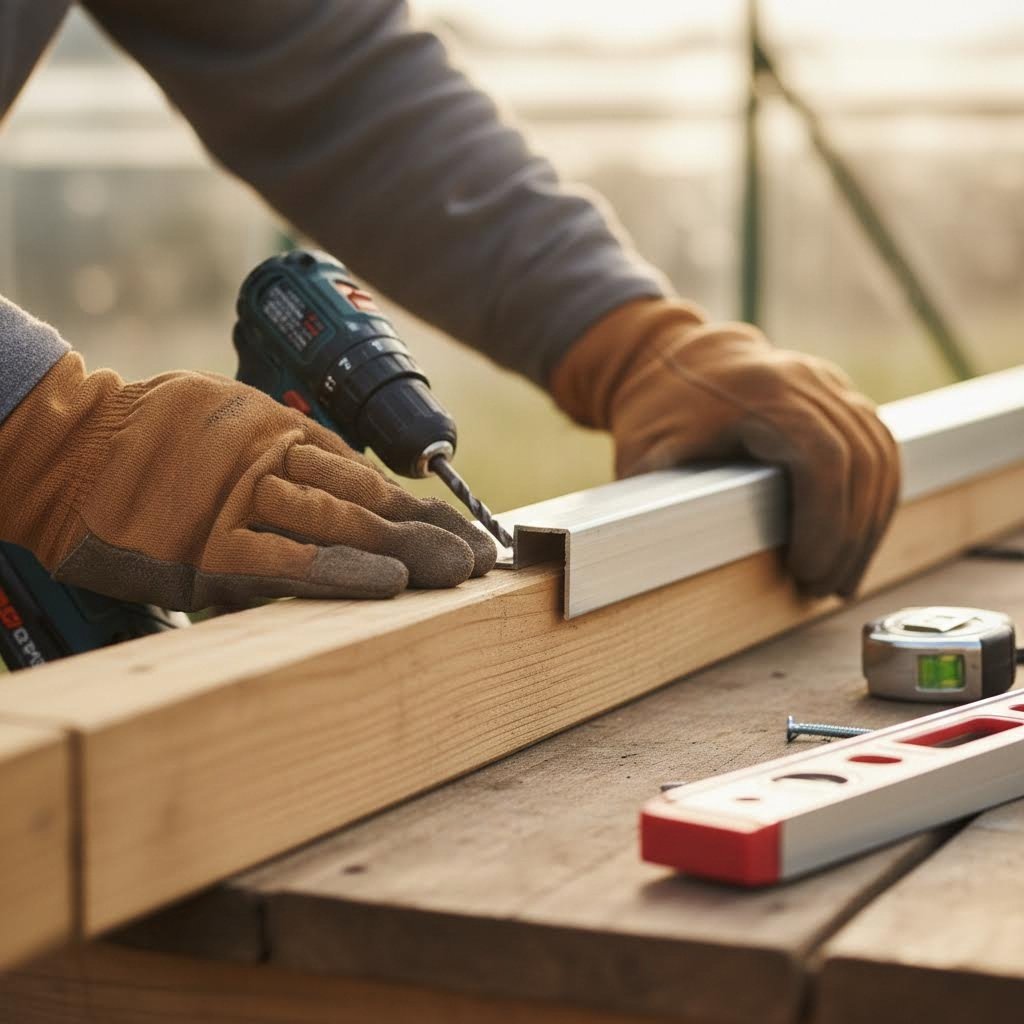
You've selected your profiles, calculated your materials, and prepared for climate challenges. Now comes the moment of truth: transforming those aluminum greenhouse frame parts into a functional growing space. Whether you're assembling your first backyard project or upgrading to a larger structure, following a systematic installation sequence prevents frustration and ensures professional results.
Sounds complex? It doesn't have to be. Breaking the process into manageable stages transforms an intimidating project into a satisfying weekend accomplishment. Let's walk through each phase, from ground preparation through final panel insertion.
Every successful greenhouse installation begins below the frame itself. According to Canopia's greenhouse building guide, the greenhouse base must be fixed onto a perfectly flat ground surface to ensure stability. Skipping this step or rushing through it creates problems that haunt your entire project.
Before touching a single aluminum h extrusion, gather these essential tools and hardware:
According to Atlantic Outdoors, a common mistake is skipping the foundation or not adequately preparing the ground. A solid foundation prevents water pooling, which can lead to rot and structural damage. Their recommendation: level the ground, remove debris, and consider using gravel for better drainage.
Follow these sequential steps for foundation and base rail installation:
Here's a critical tip many builders miss: according to Canopia, do not fully tighten all screws until directed by your assembly instructions. Leaving fasteners slightly loose allows adjustment during subsequent assembly stages. You'll tighten everything during final steps when all components align properly.
With base rails anchored and verified, the vertical construction begins. This phase transforms flat aluminum stock into the three-dimensional skeleton that defines your greenhouse. According to professional assembly guidance, starting with the corners and assembling the frame first before sliding polycarbonate panels into place produces the best results.
Continue the installation sequence with these steps:
Ensuring square corners requires vigilance throughout assembly. When installing each corner connection, verify the 90-degree angle using your carpenter's square. For larger structures, the 3-4-5 triangle method works excellently: measure 3 feet along one wall from the corner, 4 feet along the adjacent wall, and verify the diagonal between these points equals exactly 5 feet.
According to Atlantic Outdoors, every greenhouse kit comes with assembly instructions, and mistakes often occur when builders rush through or misinterpret these guidelines. Take time to read everything and familiarize yourself with all pieces first. The better understanding you have of the process, the more smoothly installation proceeds.
Watch out for these frequently encountered errors:
Your aluminum framing resists corrosion beautifully, but the junctions between components create potential water entry points. According to Planta Greenhouses' sealing guide, small openings, especially around metal parts or roof vents, might allow rainwater inside. Regions with harsher weather conditions benefit from extra sealing.
Effective sealing employs the right material for each situation:
After sealing, establish a maintenance routine. According to Planta's recommendations, regular inspection and occasional resealing ensures your greenhouse remains weathertight season after season. A little upkeep goes a long way toward protecting your investment.
With your structure assembled, sealed, and ready for plants, one question remains: where do you source quality aluminum extrusions that make this entire process easier?
Your greenhouse design is finalized, installation techniques mastered, and climate considerations addressed. But here's the critical question that determines whether your project succeeds or struggles: where to buy aluminum extrusion profiles that match your specifications? Finding quality aluminum extrusions for sale requires more than a quick internet search. The supplier you choose directly impacts profile precision, surface finish quality, and long-term structural performance.
Whether you're sourcing materials for a single hobby greenhouse or planning a commercial growing operation, understanding how to evaluate suppliers separates successful projects from frustrating experiences filled with ill-fitting components and costly delays.
When searching where to buy extruded aluminum, you'll encounter everything from local hardware stores to specialized industrial manufacturers. According to aluminum industry experts, evaluating supplier capability requires looking far beyond price quotes. The extrusion press defines what kind of profiles a supplier can produce, and this capacity directly affects your project options.
Press capacity tells you immediately what a manufacturer can handle:
A supplier with multiple press capacities can handle a wider range of projects and maintain flexibility when your requirements change. For greenhouse builders, this means finding a partner who can produce everything from delicate glazing channels to robust structural members.
Quality control systems reveal a supplier's commitment to consistency. According to industry standards, key quality checks include dimensional inspection to EN755-9 standards, surface roughness testing, and hardness verification for proper temper. Ask whether the factory provides traceable lot data and QA certificates with each batch, as this documentation proves essential for ensuring your greenhouse components meet specifications.
When evaluating potential suppliers, examine these critical factors:
Communication quality differentiates professional suppliers from mere traders. According to sourcing experts, a capable extrusion factory will offer cost optimization suggestions, share inspection photos before shipment, and proactively prevent issues rather than reacting after defects occur.
Should you order off-the-shelf profiles or invest in custom greenhouse extrusions? According to aluminum profile specialists, this decision influences project cost, timeline, and ultimate performance. Understanding when each option makes sense helps you allocate your budget wisely.
When Standard Profiles Work Well
Standard profiles are mass-produced using standardized dies, offering immediate availability and lower unit costs. They're ideal for projects demanding less variety, such as modular structures, basic framing, or when using common H-channel dimensions that match readily available polycarbonate thicknesses.
Advantages of standard profiles include:
When Custom Extrusions Justify the Investment
Custom profiles become worthwhile when your greenhouse design requires unique cross-sections, integrated features, or specialized material properties. According to industry analysis, custom extrusions unlock design possibilities including integrated wire channels, snap-fit connections, and optimized strength-to-weight ratios that standard profiles cannot match.
Consider custom extrusions when you need:
A real-world example illustrates the value: one automated greenhouse company needed lightweight sealed profiles with channels for wiring. A custom profile solution cut material weight by 20% and enabled snap-install wire ducts, accelerating production while reducing labor costs.
The custom process typically involves design consultation, CAD development, prototype production, and material testing before full production begins. While upfront costs exceed standard options, the per-unit economics often favor custom profiles at higher volumes.
The most efficient approach for serious greenhouse projects involves partnering with manufacturers offering comprehensive services from die development through mass production and finishing. This integration reduces transportation between subcontractors, prevents damage during handling, and shortens overall lead time.
For polycarbonate extrusion manufacturers and aluminum profile suppliers, look for facilities offering:
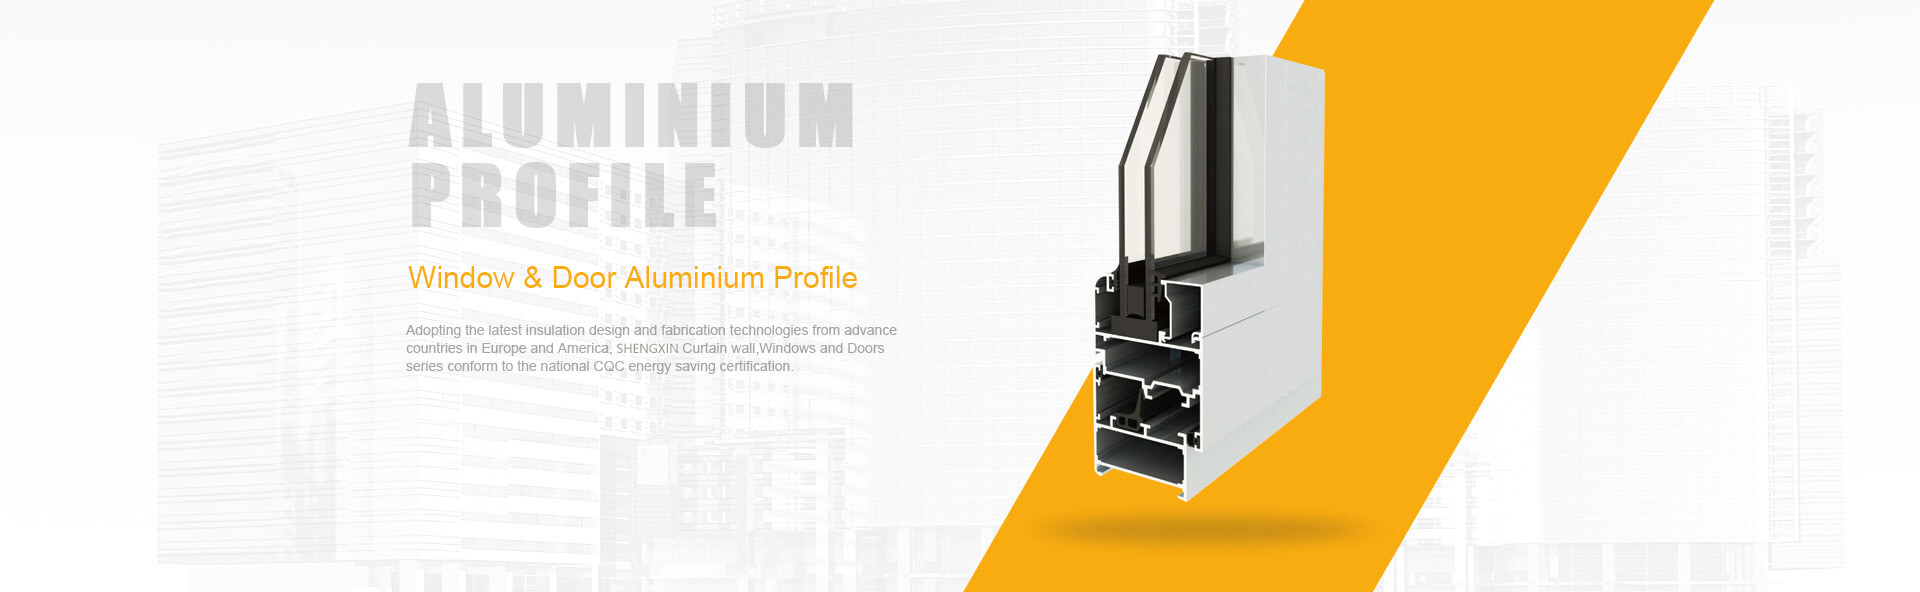
Shengxin Aluminium exemplifies this full-service approach with over 30 years of industry experience. Their facility houses 35 advanced extrusion presses ranging from 600T to 5500T, providing the flexibility to produce everything from delicate greenhouse trim to heavy structural components. Their state-of-the-art CNC machining centers deliver precise cutting, drilling, and bending to meet exact specifications.
Surface treatment options significantly impact long-term greenhouse performance. Shengxin offers comprehensive finishing including anodizing in custom colors like Champagne and Rose Gold, powder coating, PVDF, and micro-arc oxidation for superior durability. This range ensures your aluminum framing performs beautifully in any climate condition while matching your aesthetic preferences.
Whether you need custom 6063 aluminum tubes, architectural window frames, or complex industrial profiles, working with an experienced manufacturer provides end-to-end support that simplifies your project. Explore custom aluminum extrusion solutions to discover factory-direct pricing and comprehensive processing capabilities for your greenhouse project.
With your supplier selected and materials ordered, the final step involves creating a comprehensive materials list and planning your build timeline for success.
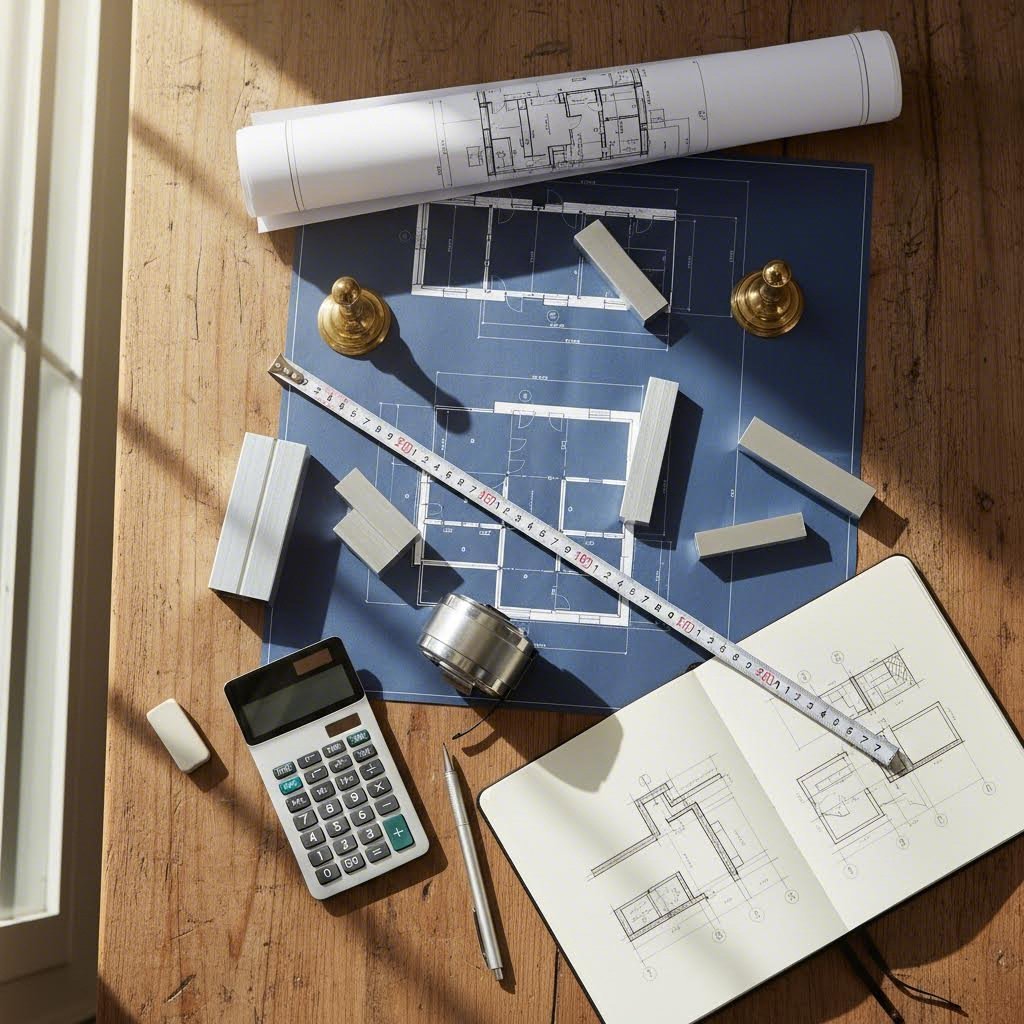
You've absorbed a tremendous amount of information about greenhouse aluminum extrusions, from profile types and alloy specifications to climate performance and installation techniques. Now it's time to transform that knowledge into action. Planning your build systematically ensures you order the right materials, avoid costly mistakes, and create a growing space that serves you for decades.
Ready to move forward? Let's consolidate everything into a practical framework you can use starting today.
A comprehensive materials list prevents mid-project panic runs to the hardware store and eliminates the frustration of discovering you're three H-channels short on installation day. According to greenhouse planning experts, your material list should address four fundamental categories: frame, covering, base, and layout.
Start your greenhouse aluminum extrusion guide by working through these calculation steps:
For a standard 8x12-foot hobby greenhouse using 6mm polycarbonate panels, expect approximately 40 linear feet of base rail, 60-80 linear feet of glazing bar profiles, 12 feet of ridge extrusion, and 20-30 linear feet of U-channel for edge finishing. Scale these proportionally for larger structures.
Before placing your order, review these key decision points that determine your project's success:
According to aluminum extrusion specialists, contrary to common belief, most custom dies cost under $2,000, far less than injection molding tooling. This makes custom aluminum greenhouse profiles accessible even for smaller projects requiring unique specifications.
Working with experienced manufacturers who offer technical support throughout your project lifecycle dramatically simplifies the process. Quality extrusions from reputable suppliers ensure components fit perfectly during assembly, eliminating the shimming, forcing, and frustration that plague projects built with inferior materials.
Shengxin Aluminium's CNC machining capabilities for precise cutting, drilling, and bending mean your aluminum greenhouse building materials arrive ready for installation. Their 35 extrusion presses ranging from 600T to 5500T handle everything from delicate glazing channels to heavy structural members, while comprehensive surface treatments including anodizing and powder coating ensure long-term performance in any climate.
Quality aluminum extrusions and proper planning are the foundation of every successful greenhouse project. Invest time upfront in accurate measurements, careful supplier selection, and thorough materials calculations. Your future self, surrounded by thriving plants in a structure built to last, will thank you.
For greenhouse frame material planning that matches your exact specifications, explore custom aluminum extrusion solutions with factory-direct pricing and end-to-end technical support. Whether you're building your first backyard growing space or expanding a commercial operation, the right aluminum profiles make all the difference.
Greenhouse aluminum extrusions primarily use 6063 and 6061 alloys. The 6063 alloy is the most common choice for residential greenhouses due to its excellent corrosion resistance, superior surface finish, and ability to form complex profiles. It works well for H-channels, U-channels, and decorative trim. The 6061 alloy offers higher tensile strength (approximately 35,000 PSI) and is preferred for commercial structures requiring heavy-duty structural components. Both alloys come in various tempers like T5 and T6, with T6 providing maximum strength through artificial aging. Shengxin Aluminium offers both alloy types with comprehensive surface treatments including anodizing and powder coating for enhanced durability.
Selecting the correct H-channel requires matching the channel slot dimensions precisely to your polycarbonate panel thickness. For 4mm panels, use narrow-slot channels; 6mm and 8mm panels need progressively wider channels with adequate lip depth. Standard 8mm polycarbonate, popular for residential greenhouses, requires H-channels specifically designed for that thickness. Always leave 1/16 inch expansion space between panel edges and the H-trim, with 1/2 inch total space between panels in the H-Base. Using undersized channels causes panel slippage, while oversized channels allow water infiltration. Manufacturers like Shengxin Aluminium can provide custom-dimensioned H-channels if standard profiles don't match your glazing requirements.
Yes, aluminum T-slot extrusions (commonly called 80/20 style) work well for DIY greenhouse projects, especially smaller structures or mini-greenhouses with built-in shelving. These modular systems offer easy assembly without welding, using bolts and connectors to join profiles at various angles. However, traditional greenhouse-specific extrusions like H-channels and glazing bars provide better weatherproofing for polycarbonate or glass panels. T-slot systems excel for framework but may require additional sealing at panel junctions. For optimal results, consider combining T-slot structural framing with purpose-built glazing extrusions for panel retention and weather sealing.
For coastal environments with salt air exposure, high-performance finishes are essential to prevent corrosion. AAMA 2605-rated paint coatings undergo over 4,000 hours of accelerated salt spray testing and provide exceptional protection. Class I anodize coatings meeting AAMA 611 specifications offer 3,000 hours of salt spray resistance and integrate directly with the aluminum surface. Powder coating provides 5-10 years of protection with UV resistance and color options. Anodizing typically lasts 10-15 years even in harsh conditions. For maximum durability, Shengxin Aluminium offers comprehensive surface treatments including anodizing in custom colors, powder coating, PVDF, and micro-arc oxidation specifically designed for demanding environmental conditions.
Contrary to common assumptions, most custom aluminum extrusion dies cost under $2,000, making them far more affordable than injection molding tooling. This accessibility means even smaller greenhouse projects can benefit from custom profiles featuring integrated wire channels, snap-fit connections, or optimized strength-to-weight ratios. Die manufacturing typically takes 10-20 days, by 7-15 days for extrusion production and 5-10 days for surface finishing. Manufacturers with in-house die workshops like Shengxin Aluminium can modify or repair dies quickly, ensuring production continuity. Custom extrusions become cost-effective at higher volumes, often reducing material weight and assembly labor costs significantly.



 online service
 0086 136 3563 2360
 sales@sxalu.com
 +86 136 3563 2360
 English
 français
 Deutsch
 русский
 español
 português
 العربية
 ไทย
ไทย Việt
Việt Українська