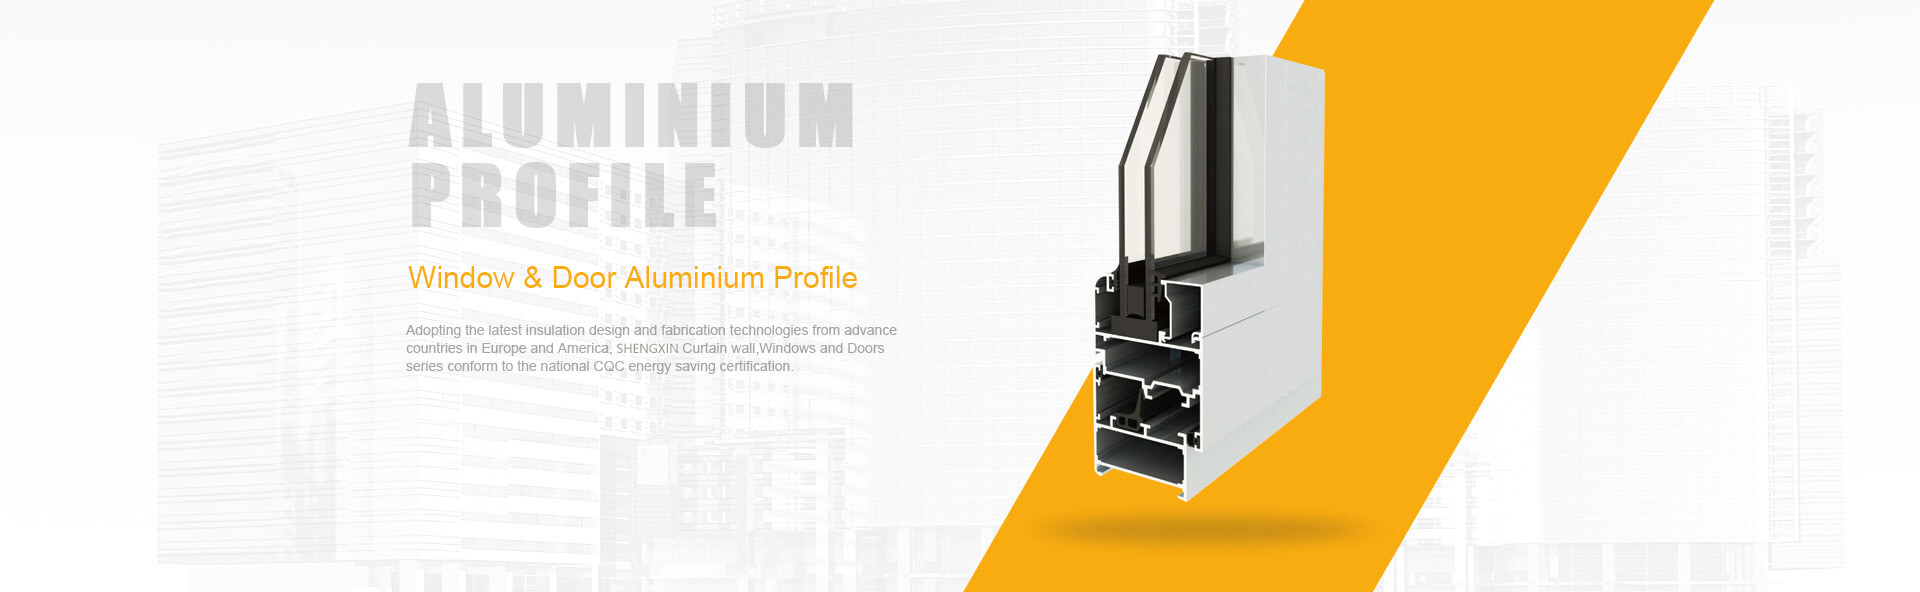
Ever wondered how modern products—from window frames to high-speed train components—achieve their sleek forms and reliable performance? The answer often lies in aluminum extrusion, a process that transforms simple metal billets into complex, functional shapes that power innovation across industries.
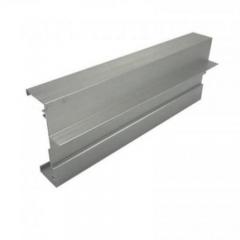
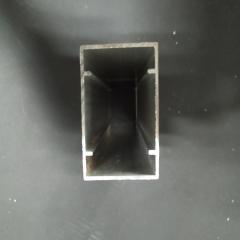
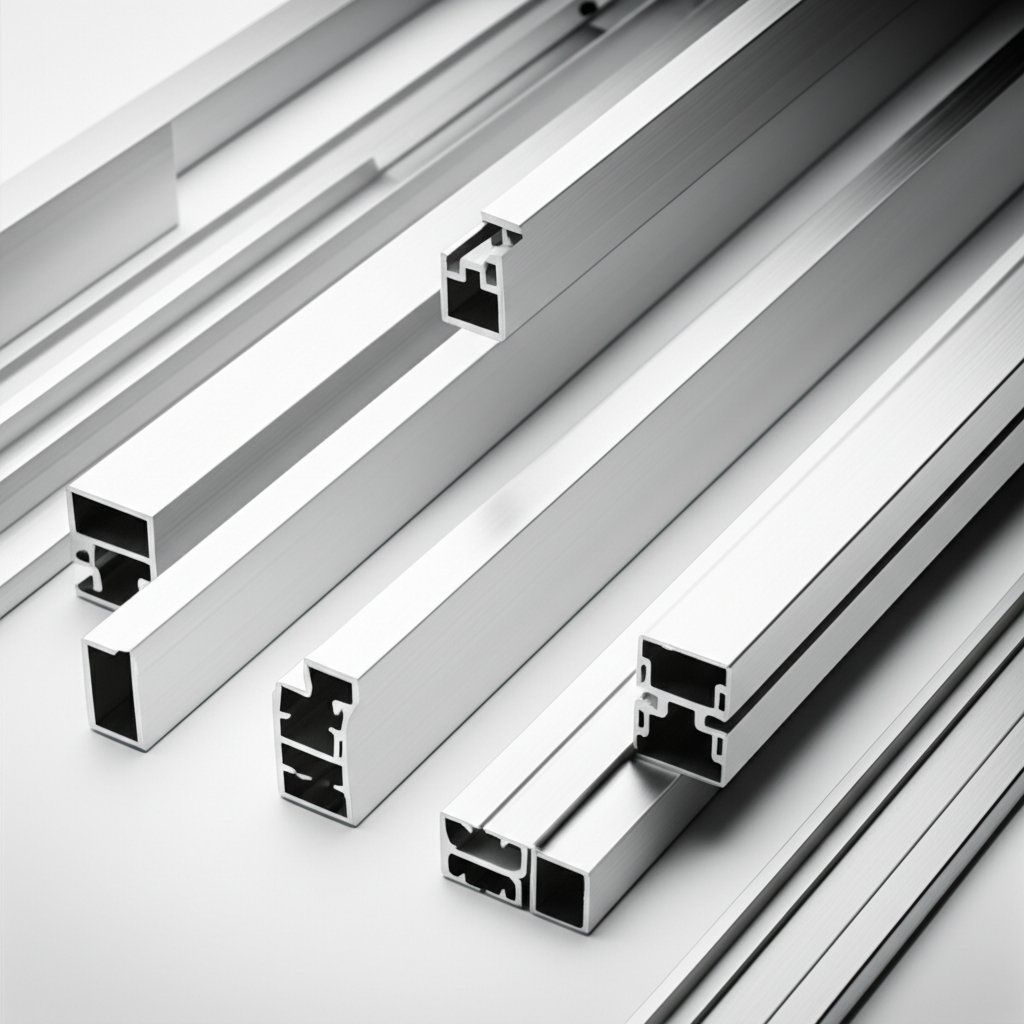
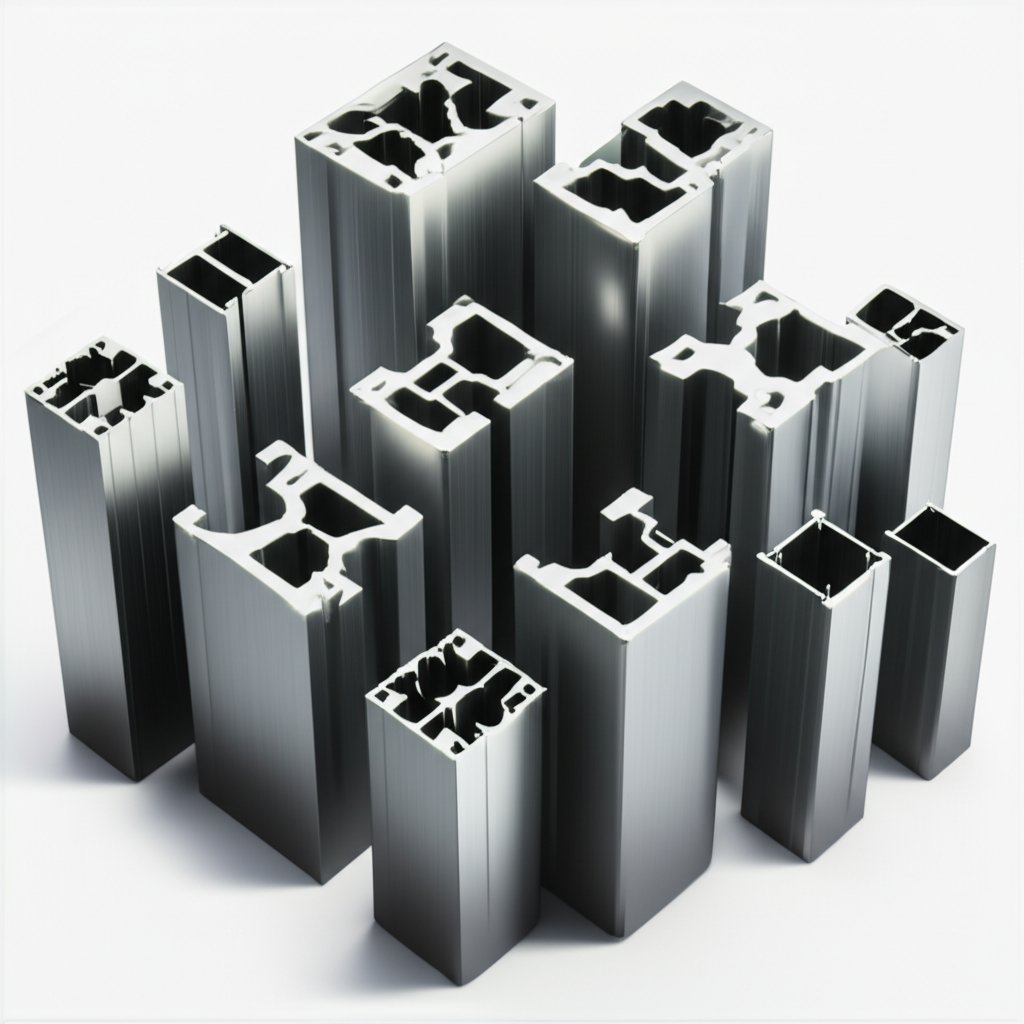
But what exactly is aluminum extrusion? Imagine pushing playdough through a shaped mold to create long, continuous pieces with specific cross-sections. Aluminum extrusion works in much the same way. Heated aluminum alloy is forced through a precision die, resulting in profiles that can be solid, hollow, or semi-hollow, tailored to a wide range of applications.
Before diving into the specifics of aluminum extrusion design guidelines, it’s important to understand why this process is so widely used. Here’s what sets it apart:
Sounds straightforward? In reality, achieving optimal results with aluminum extrusion requires more than just selecting a shape and pressing "go." The choices you make at the design stage—such as wall thickness, symmetry, and feature placement—directly affect manufacturability, cost, and end-use performance. Poorly considered designs can lead to unnecessary material waste, higher costs, or profiles that fail to meet strength or assembly requirements.
Following established aluminum extrusion design guidelines helps engineers, designers, and manufacturers:
Throughout this article, you’ll find actionable guidance designed to help you unlock the full potential of aluminum extrusion. Whether you’re creating structural components, architectural details, or high-performance electronics enclosures, these best practices will set the foundation for success. Ready to optimize your next project? Let’s explore the fundamentals of the aluminum extrusion process and discover how thoughtful design decisions can make all the difference.
Ever wondered how a solid cylinder of aluminum transforms into intricate profiles used in everything from electronics to architectural facades? The answer lies in the aluminum extrusion process—a blend of heat, pressure, and precision engineering that brings even the most ambitious designs to life. Let’s break down this fascinating journey from billet to finished profile and see why the right expertise makes all the difference.
Picture a Play-Doh® Fun Factory: you load the dough, select a shape, and press the handle to squeeze out long, shaped strands. The aluminum extrusion process is similar, but on an industrial scale and with much more at stake. Here’s a step-by-step look:
Not all extrusion presses work the same way. There are two primary methods:
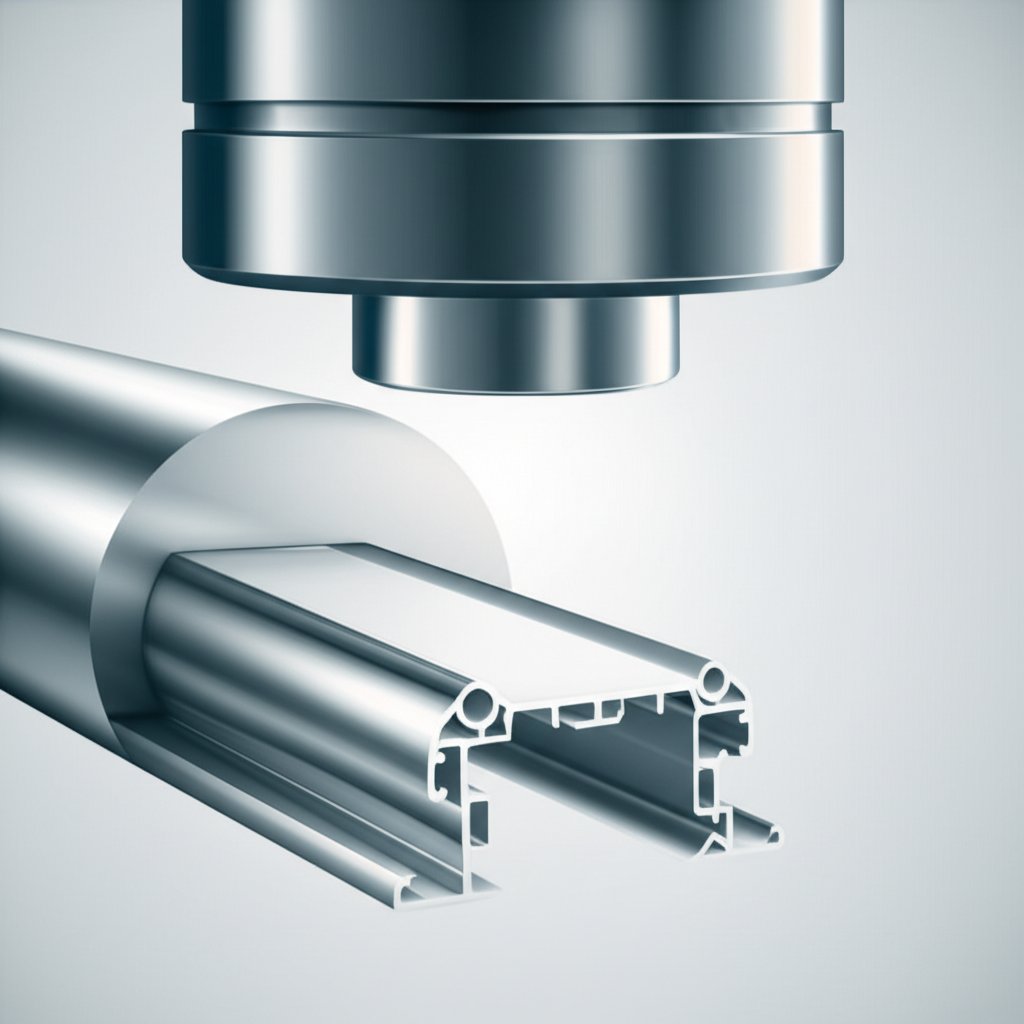
If you think the die is just a metal disk with a hole, think again. The extrusion die design is central to the entire process. Here’s why:
Temperature and pressure aren’t just technical details—they’re critical to success. Too high, and the metal may tear or flow unevenly; too low, and the process slows down or fails to fill intricate die features. Expert control of these factors ensures:
Imagine designing a complex profile with tight tolerances, only to learn it’s not feasible—or costs far more than expected. This is where partnering with a manufacturer like Shengxin Aluminum makes a difference. With a broad range of press capacities (from 300 to 5,500 tons) and advanced equipment, they can realize intricate, high-precision designs that less-equipped facilities might struggle to produce. Their expertise in die design, process control, and quality assurance helps turn your concepts into reality—efficiently and reliably.
Now that you have a clear picture of how the extrusion process works, let’s explore the core design principles that will help you create profiles that are both cost-effective and manufacturable.
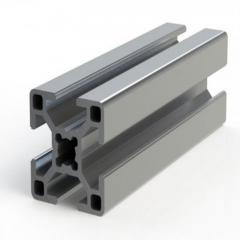
When you look at a beautifully engineered aluminum profile—whether it’s part of a solar frame, an electronics enclosure, or a lightweight automotive component—you might wonder: what makes these shapes both strong and cost-effective? The answer lies in following fundamental extrusion design best practices that optimize manufacturability, performance, and appearance. Let’s break down these essential principles so you can apply them to your next project with confidence.
Sounds complex? In reality, a few key choices at the design stage can dramatically influence the outcome. Imagine you’re tasked with designing a custom bracket. Should you use thin walls to save material? Is it okay to have sharp corners or asymmetrical features? The decisions you make now will affect everything from tooling cost and lead time to the durability and finish of your part. That’s why it’s crucial to keep proven aluminum profile design tips in mind from the very start.
To help you create profiles that are both easy to extrude and robust in use, here are the core guidelines—organized for quick reference:
| Design Principle | Why It Matters |
|---|---|
| Symmetry | Improves material flow, reduces distortion and die stress |
| Uniform Wall Thickness | Prevents warping, lowers cost, enhances finish |
| Rounded Corners & Fillets | Reduces stress, improves extrusion and finish quality |
| Generous Radii & Tapers | Facilitates metal flow, minimizes defects |
| Ribs, Grooves, Webs | Adds strength, aids assembly, improves flatness |
| Minimized Hollows | Simplifies tooling, reduces cost and risk |
| Appropriate Profile Size | Ensures press compatibility, controls cost |
| Simplicity | Enhances manufacturability and cost efficiency |
By using these extrusion design best practices as your foundation, you’ll set your project up for success—achieving profiles that are not only functional but also efficient to produce. As you finalize your design, remember that the next step—mastering wall thickness, tolerances, and profile complexity—will further refine your extrusion for optimal strength and manufacturability.
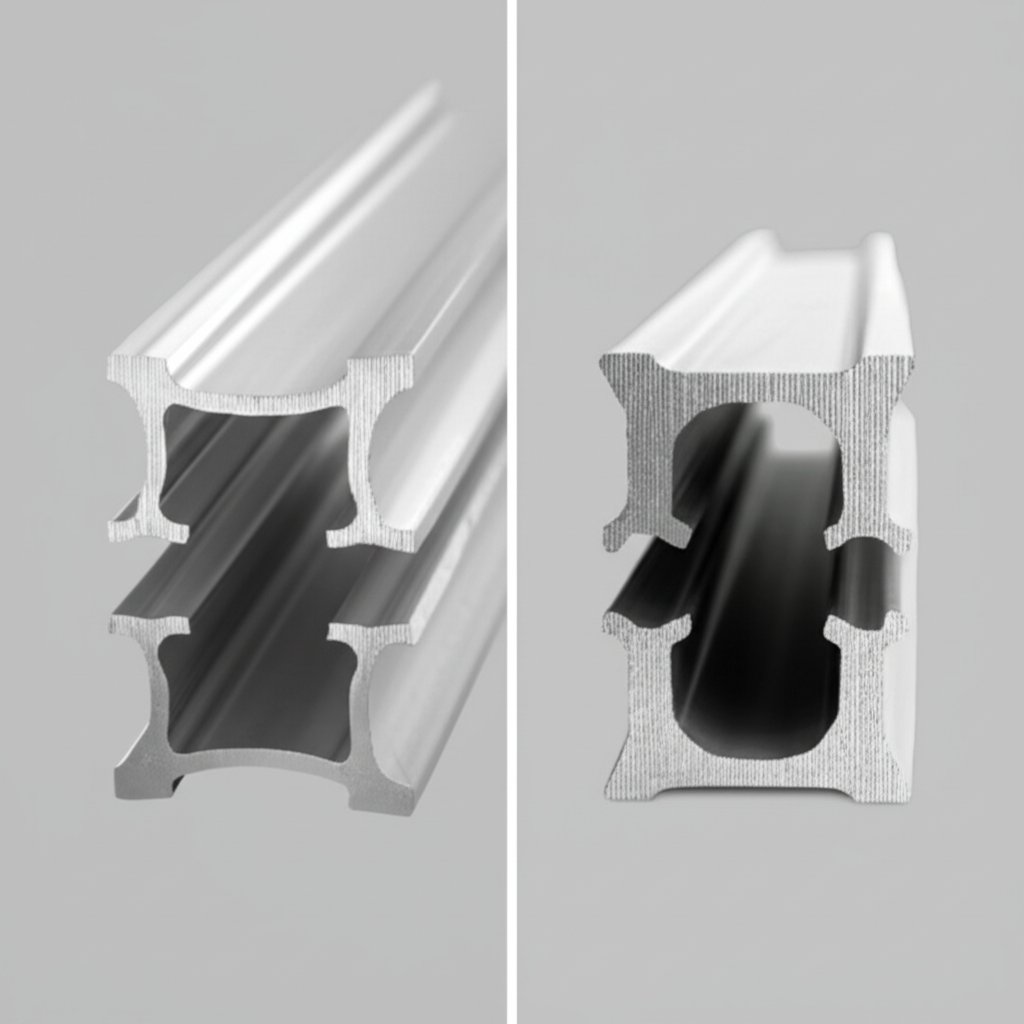
Ever wondered why some aluminum extrusions are lightweight and strong, while others sag, warp, or end up costing more than expected? The answer often comes down to three critical factors: wall thickness, dimensional tolerances, and the complexity of your profile. Let’s break down each of these, so you can make informed decisions and avoid common pitfalls in your next project.
When you design an extrusion, the wall thickness you choose isn’t just about saving weight or material—it directly impacts strength, cost, and even how easily the profile can be produced. Thicker walls naturally offer more strength and rigidity, but they also use more aluminum, add weight, and can increase costs. On the flip side, going too thin may lead to warping, difficulty in manufacturing, or profiles that simply don’t meet performance requirements.
But how thin is too thin? The answer depends on your profile’s size, shape, and intended use. For example, a small solid profile can have much thinner walls than a large hollow section. Heat generation during extrusion, alloy choice, and the complexity of the cross-section all play a role. Generally, uniform wall thickness throughout the part is preferred, and large differences between adjacent walls should be avoided—ideally, keep adjacent wall ratios below 2:1 for best results.
To help you determine the aluminum extrusion minimum wall thickness for your design, reference the table below. The circumscribing circle diameter (CCD) is the diameter of the smallest circle that can enclose your profile’s cross-section—a key factor in extrusion feasibility and die selection.
| Circumscribing Circle (inches) | Solids & Semihollows (inches) | Class 2 Hollows (inches) |
|---|---|---|
| 0.5 to <2 | 0.040 | 0.055 |
| 2 to <3 | 0.045 | 0.062 |
| 3 to <4 | 0.050 | 0.078 |
| 4 to <5 | 0.062 | 0.094 |
| 5 to <6 | 0.078 | 0.110 |
| 6 to <7 | 0.094 | 0.125 |
| 7 to <8 | 0.110 | 0.140 |
| 8 to <9 | 0.125 | 0.156 |
| 9 to <10 | 0.140 | 0.188 |
| 10 to <11 | 0.156 | 0.204 |
| 11 to <12 | 0.172 | 0.220 |
| 12 to <13 | 0.188 | 0.236 |
| 13 to <16 | Subject to inquiry | |
Keep in mind: complex profiles, high-alloy content, or special surface requirements may require even thicker walls. Always consult with your extrusion partner early if you’re pushing the limits of what’s possible.
Dimensional tolerances define how much variation is acceptable in the size, shape, and straightness of your extruded profile. They are crucial when your extrusion must fit with other parts or perform a precise function. Standard tolerances are usually sufficient for most applications, but tighter tolerances can be specified for critical features—though this may increase costs and lead time.
Here are some general industry guidelines for aluminum extrusion tolerances:
| Dimension | Standard Tolerance |
|---|---|
| Linear cross-section dimensions | ±0.008" per inch |
| Wall thickness | ±10% of specified thickness |
| Straightness | 0.0125" per foot of length |
| Twist | ½ degree per foot of length |
| Angularity | ±1° to ±2°, depending on wall thickness and profile size |
It’s worth noting that achieving standard tolerances is relatively straightforward for simple, solid profiles. However, as complexity increases—think thin webs, deep hollows, or intricate mating features—holding tight tolerances becomes more challenging and may require special consideration during die design and process control.
Aluminum extrusion gives you a lot of design freedom, but with great freedom comes the responsibility to balance creativity with manufacturability. Here’s what to keep in mind:
Remember: the simpler and more uniform your design, the easier—and more economical—it is to produce. If your design demands complexity, work closely with your extrusion partner to optimize features and select the right alloy and tolerances for your needs.
By understanding and applying these principles—selecting the right wall thickness, specifying realistic tolerances, and balancing profile complexity—you’ll set the stage for a successful, cost-effective extrusion. Next, let’s dive into how alloy selection further influences your project’s strength, finish, and performance.
When you start planning an aluminum extrusion, have you ever wondered why some projects specify 6061, while others insist on 6063 or even a less familiar alloy? The answer: choosing the right alloy is as crucial as the design itself. The properties of your selected alloy will shape everything—from how easily your profile extrudes, to its final strength, surface finish, and even cost. Let's break down the essentials of aluminum extrusion alloy selection so you can make informed decisions that set your project up for success.
Not all aluminum is created equal. Pure aluminum is highly formable but lacks the strength needed for most structural applications. That’s why alloying elements such as magnesium, silicon, copper, and zinc are added to create a range of wrought aluminum grades, each tailored for specific properties and applications.
For extrusions, the most relevant series include:
Imagine you’re choosing between two of the most popular alloys for extrusions. How do you decide? Here’s a quick comparison to help you weigh your options:
| Property | 6063 | 6061 |
|---|---|---|
| Main Use | Architectural, decorative, general purpose | Structural, engineering, multi-purpose |
| Strength | Moderate | Higher |
| Corrosion Resistance | Very good | Good |
| Surface Finish | Excellent, ideal for anodizing | Good, but not as smooth as 6063 |
| Extrudability | Excellent (most popular for extrusion) | Good (slightly more difficult than 6063) |
| Cost | Generally lower | Moderate |
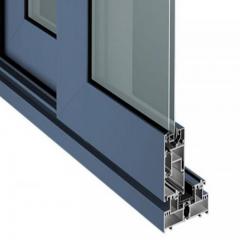
| Typical Applications | Window frames, railings, trim, heat sinks | Structural components, frames, aerospace, sports equipment |
For applications where surface finish and corrosion resistance are top priorities—think architectural trim or exposed profiles—6063 is often the best fit. If your design needs more strength, such as for load-bearing parts or structural frameworks, 6061 is likely the better choice.
Choosing an alloy isn’t just about strength or appearance—it also affects how easily your profile can be produced and finished. Here’s what to consider:
Ever noticed designations like T5 or T6 after an alloy number? These refer to the temper—the heat treatment process applied after extrusion. Tempering can significantly boost mechanical properties such as tensile strength and hardness. For instance, 6061-T6 offers higher strength than 6061-T4, making it suitable for more demanding applications.
By systematically evaluating these factors, you’ll narrow down your options and select the most suitable alloy for your extrusion project. The right choice not only ensures your design performs as intended but also keeps production efficient and cost-effective.
Once you’ve selected your alloy, your next step is to think about surface finishes and post-extrusion treatments—these can further enhance performance and appearance, and we’ll explore them in the following section.

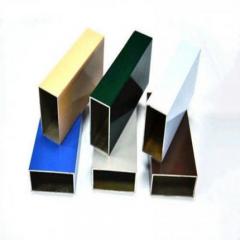
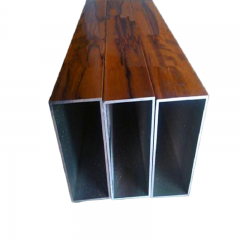
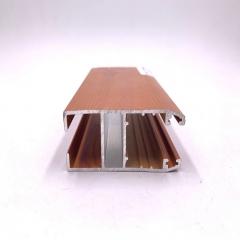
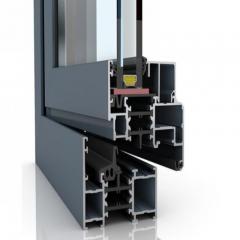
When you picture a finished aluminum product—whether it’s a shimmering architectural panel, a rugged machine frame, or a sleek consumer device—what you’re really admiring is the surface finish. But how do you choose the right aluminum extrusion surface finish for your project, and what design details should you consider to ensure the best result? Let’s break down the most common finishing options and see how your design decisions can make all the difference.
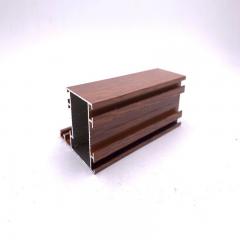
Every extruded profile starts with a mill finish—the natural state of aluminum as it exits the die. Mill finish is functional but often dull, with visible die lines and a tendency to oxidize. It’s ideal for hidden or low-cost applications, but for most projects, you’ll want to enhance durability, appearance, or both. Here are the most widely used finishing options:
Designing with finishing in mind isn’t just about picking a color. Small details in your profile can greatly impact the effectiveness and appearance of your chosen finish:
Imagine specifying a flawless finish, only to discover that inconsistent processing or limited capabilities compromise your vision. That’s why working with a manufacturer that offers a comprehensive suite of in-house finishing processes—like Shengxin Aluminum—can make all the difference. With capabilities in anodizing, powder coating, liquid painting, wood grain transfer, and mechanical finishing, they ensure quality control and allow you to specify a wide range of aesthetic and protective treatments for your extrusions.
By considering surface finish early in your design and collaborating with an experienced extrusion partner, you’ll achieve profiles that look great, last longer, and perform exactly as intended. Up next, let’s explore common design pitfalls and how to avoid them to ensure your project’s long-term success.
Ever sent off a profile for extrusion, only to have your manufacturer flag unexpected issues or quote higher costs than anticipated? If so, you’re not alone. Even experienced engineers can fall prey to subtle aluminum extrusion design mistakes that impact manufacturability, cost, and end-use performance. The good news: most extrusion design pitfalls are avoidable once you know what to look for. Let’s walk through the most frequent missteps—and how you can steer clear of them in your next project.
| Pitfall | How to Avoid It |
|---|---|
| Non-Uniform or Excessively Thin Walls | Maintain consistent wall thickness throughout your profile. Avoid abrupt transitions and keep adjacent wall thickness ratios below 2:1 when possible. Reference minimum wall thickness guidelines based on your profile’s circumscribing circle diameter (CCD). |
| Sharp Corners and Tight Radii | Design with generous inside and outside radii—at least 0.015" for inside corners and 0.020" for outside corners. Rounded features improve metal flow and reduce stress concentrations, resulting in better surface finish and fewer defects. |
| Overly Complex Profiles | Simplicity is your friend. Minimize deep hollows, high tongue ratios, and intricate features unless absolutely necessary. Complex shapes can increase die cost, slow production, and raise the risk of defects (Aluminum Extruders Council). |
| Unrealistic or Over-Specified Tolerances | Only specify tight tolerances where functionally required. Overly strict tolerances drive up cost and may delay delivery. Consult standard industry tolerances for most features and clarify any critical dimensions with your extrusion partner. |
| Poor Alloy or Temper Selection | Choose your alloy and temper based on the application’s structural, finishing, and environmental needs. For example, 6063 offers superior surface finish for anodizing, while 6061 provides higher strength. Don’t overlook the impact of temper (T5, T6) on final properties. |
| Ignoring Weight-Per-Foot and Press Limitations | Keep your profile’s weight-per-foot between 0.100 lbs/ft and 3 lbs/ft for optimal press operation and cost-effectiveness. Excessive weight may require larger presses, while profiles that are too light may be difficult to extrude consistently. |
| Neglecting Assembly and Downstream Processes | Plan for assembly, machining, and finishing from the start. Add grooves, notches, or tabs to facilitate alignment and joining. Avoid features that complicate handling or surface treatments later in the process. |
| Lack of Clear Product Requirements | Provide your extrusion partner with comprehensive information: application, load requirements, finishing needs, and any secondary operations. Ambiguity can lead to costly redesigns or miscommunication. |
By keeping these points in mind and collaborating closely with your extrusion partner, you’ll avoid the most common aluminum extrusion design mistakes—and set your project on the path to smooth production and long-term success. As you refine your design, remember that thoughtful planning not only saves time and money but also leads to a better end product. Next, we’ll wrap up with a summary of key takeaways and a look at how following these guidelines can help you unlock the full potential of aluminum extrusion.
When you look back at the journey from concept to finished extrusion, one thing becomes clear: following proven aluminum extrusion design guidelines isn’t just a matter of best practice—it’s the key to building products that are strong, efficient, and ready for the demands of modern industry. But what does this really mean for your next project?
Imagine investing months into a new product, only to run into unexpected costs or performance issues because of overlooked design details. By embracing the principles outlined in this aluminum extrusion design guide, you’ll notice:
Sounds straightforward? In reality, even the most carefully crafted design can benefit from early input by a knowledgeable aluminum extrusion manufacturer. When you involve your manufacturing partner from the start, you gain access to:
For example, manufacturers like Shengxin Aluminum combine extensive production capabilities with deep technical expertise, supporting projects from initial design through to final finishing. Their broad range of presses, in-house finishing processes, and commitment to quality ensure that even the most complex profiles are delivered on time and to specification.
As industries continue to innovate, the possibilities for aluminum extrusion only expand. Whether you’re developing lightweight transportation components, high-performance electronics enclosures, or sustainable architectural solutions, thoughtful design—rooted in solid guidelines and supported by the right partner—will help you realize new levels of efficiency and creativity.
Ready to take your next project from concept to reality? Start by applying these guidelines and collaborating with a trusted extrusion manufacturer. With the right foundation, your designs will not only meet today’s challenges but also open the door to tomorrow’s opportunities.
To design an effective aluminum extrusion, prioritize symmetry, maintain uniform wall thickness, use generous radii instead of sharp corners, and integrate features like ribs or grooves for added strength. Early collaboration with a skilled manufacturer ensures your design is both feasible and cost-efficient.
Minimum wall thickness varies by profile size and type. For small, solid profiles, walls can be as thin as 0.040 inches, while hollows may require at least 0.055 inches. Always consult with your extrusion partner to confirm manufacturability based on your specific design and alloy.
6063 is ideal for profiles needing a high-quality surface finish and corrosion resistance, while 6061 is better for structural parts requiring greater strength. Consider your application’s strength, appearance, and finishing needs when selecting an alloy.
Surface finishes such as anodizing enhance corrosion resistance and appearance. Design choices—like rounded corners and accessible surfaces—help achieve a more uniform finish. Certain alloys, such as 6063, are especially suited for anodizing.
Common pitfalls include using non-uniform or excessively thin walls, sharp corners, overly complex profiles, unrealistic tolerances, and neglecting assembly needs. Following established guidelines and consulting with experienced manufacturers helps avoid these issues.


 online service
 0086 136 3563 2360
 sales@sxalu.com
 +86 136 3563 2360
 English
 français
 Deutsch
 русский
 español
 português
 العربية
 ไทย
ไทย Việt
Việt Українська