Ever wondered why tig welding aluminum is both highly sought after and notoriously tricky? Imagine working with a metal that’s as light as it is strong, resists rust like a champion, and is used everywhere from bike frames to aircraft. That’s aluminum for you—an everyday hero in the world of fabrication. But, as any welder will tell you, its unique properties can turn a simple weld into a real test of skill, especially for those just starting out. Sounds complex? Let’s break it down so you can approach tig welding aluminum for beginners with confidence.
Aluminum’s appeal is easy to see. It’s:
But here’s the catch: aluminum comes with a natural oxide layer that forms the moment it’s exposed to air. This layer melts at a much higher temperature than the aluminum beneath it—about 3,700°F versus 1,200°F. That means if you don’t remove or break through the oxide, you’ll end up with weak, contaminated welds that can fracture or become porous. In addition, aluminum’s high thermal conductivity and tendency to warp or crack make it less forgiving than steel or stainless steel when it comes to heat control and technique.
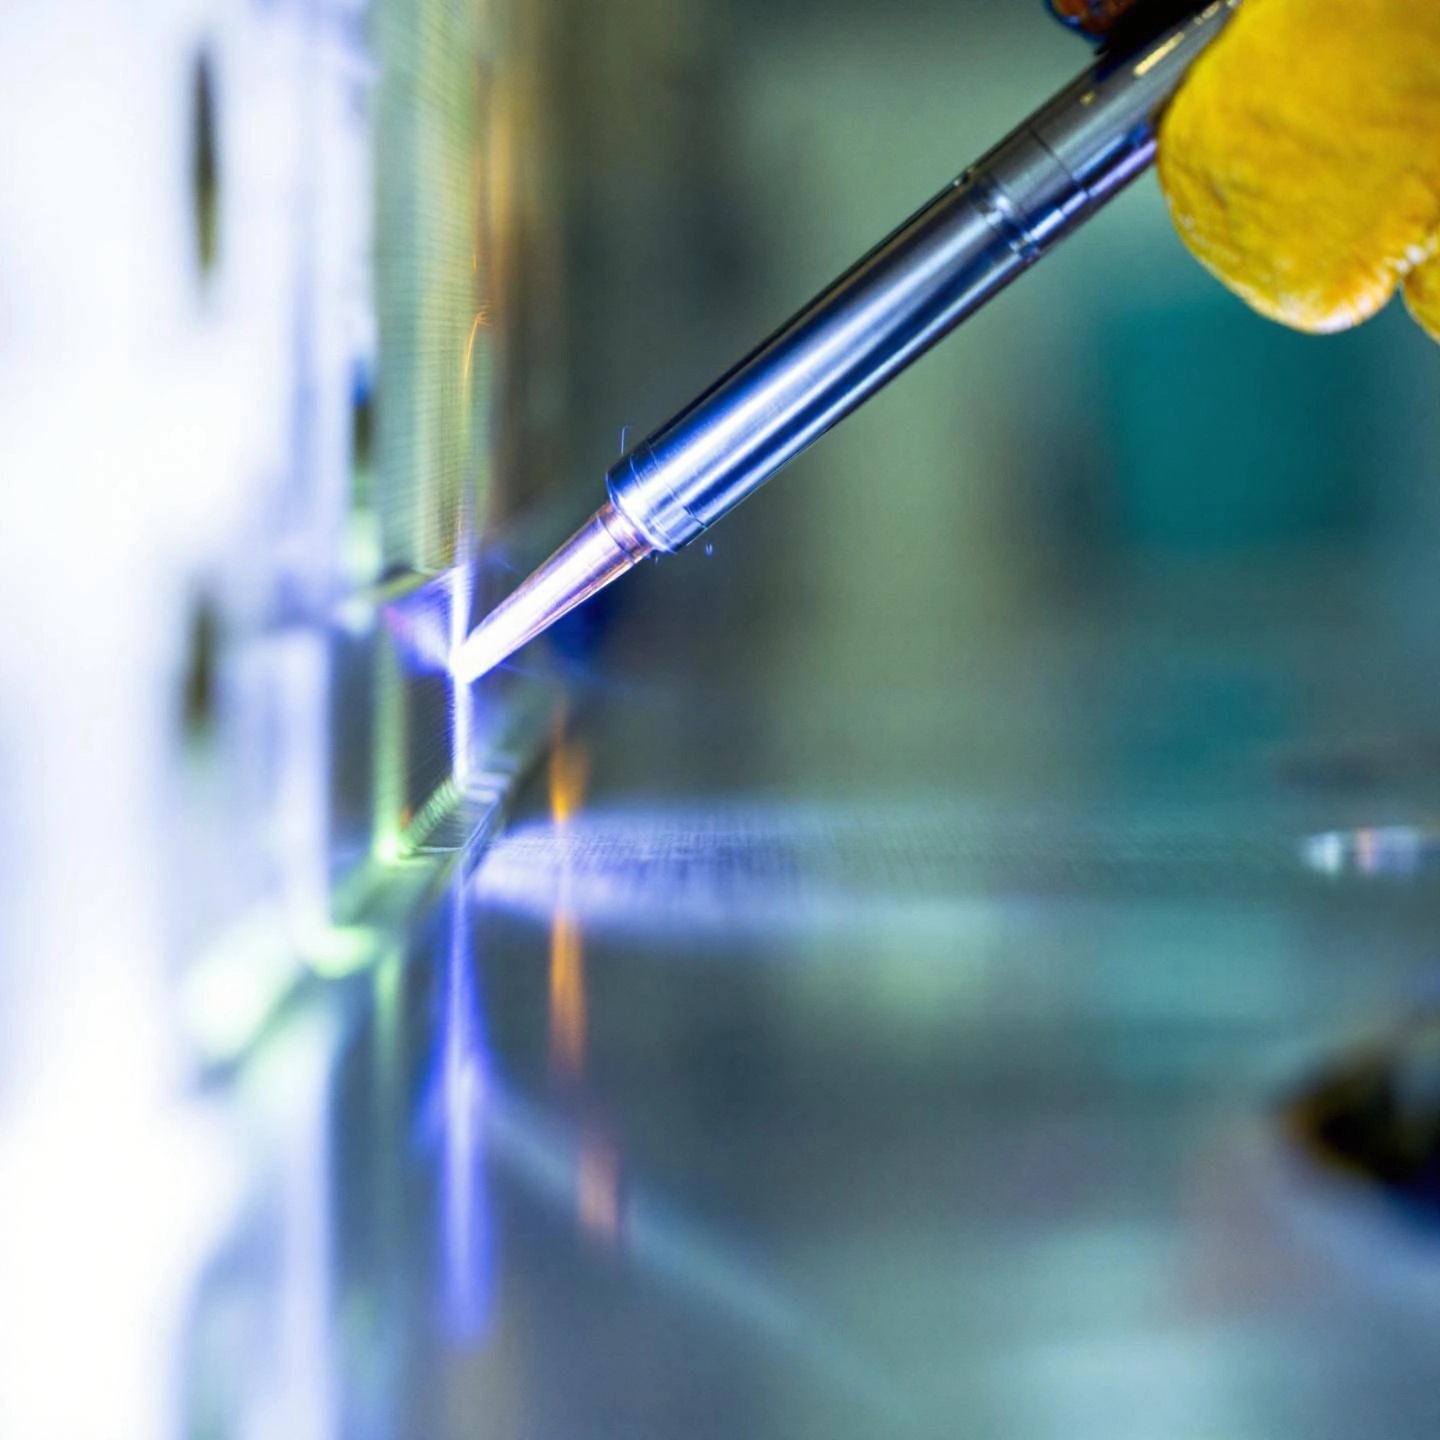
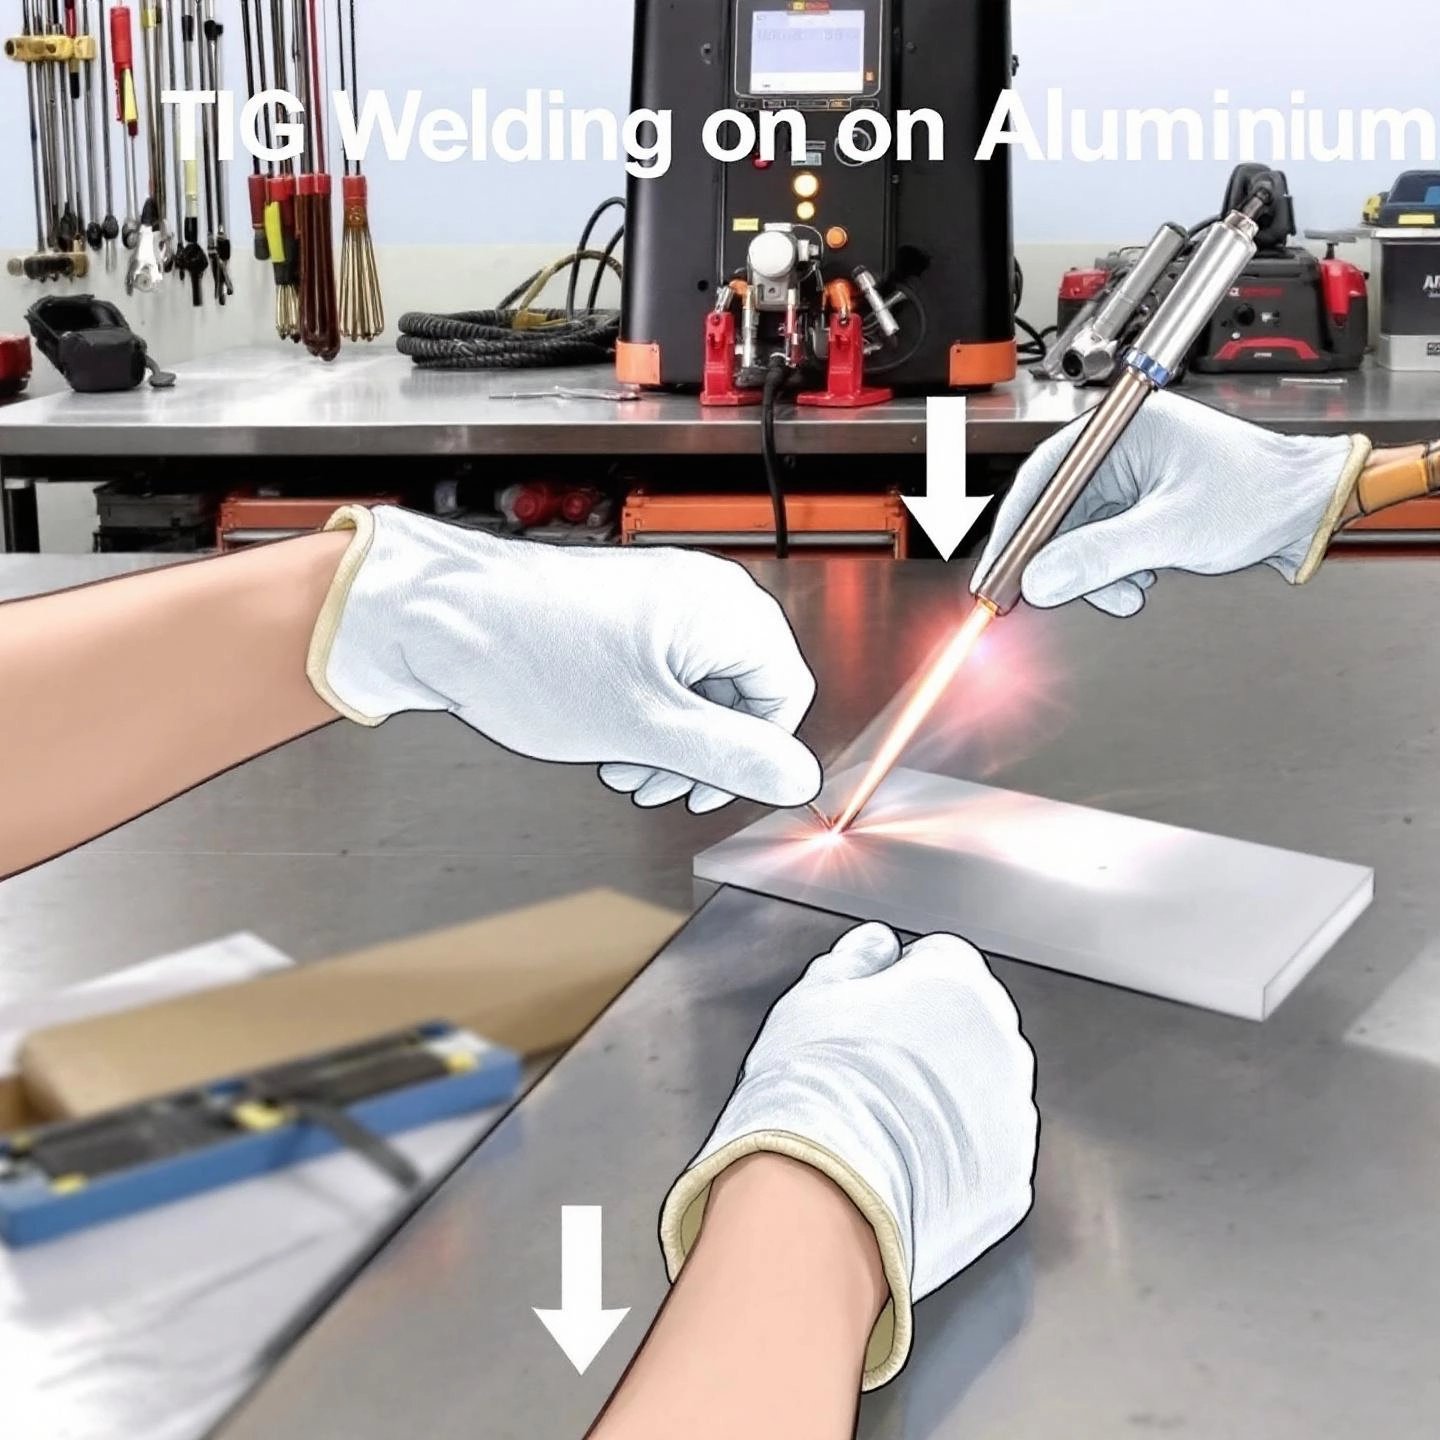
So, why is TIG (Tungsten Inert Gas) welding the go-to method for aluminum? TIG welding offers unmatched control over the welding arc and heat input, which is crucial for aluminum’s sensitive nature. The process uses a non-consumable tungsten electrode and an inert shielding gas (usually argon) to create clean, precise welds. TIG also allows you to fine-tune settings like amperage and polarity, letting you break through the oxide layer while keeping the base metal intact. This is especially important for achieving strong, visually appealing welds without contamination or excessive distortion.
Mastering TIG welding aluminum isn’t just about striking an arc—it’s about understanding the science and technique behind every step. In this comprehensive guide, you’ll discover:
Whether you’re new to TIG welding aluminum or looking to refine your skills, this guide will equip you with practical knowledge and real-world advice. Ready to dive in? Let’s start by exploring why TIG is the superior choice for welding aluminum and how you can leverage its advantages for flawless results.
When it comes to joining aluminum, you might wonder: Why do so many professionals swear by TIG over MIG? Or, if you’re just starting out, you may have heard that both processes can do the job—but is there a clear winner? Let’s break down the key differences and see why TIG stands out, especially for those who value precision, appearance, and structural integrity.
Both TIG and MIG can weld aluminum, but each method brings its own strengths and limitations to the table. If you’re aiming for the highest quality and most reliable welds, TIG is often the preferred choice. Here’s why:
One of the most critical technical advantages of TIG welding aluminum is its use of alternating current (AC). You might ask, Why not just use DC like with steel? Here’s the science:
| Feature | Benefit |
|---|---|
| Precise Heat Control | Reduces warping, burn-through, and distortion |
| High-Quality, Clean Beads | Minimal post-weld cleanup; professional finish |
| Superior Arc Stability | Consistent, reliable welds every time |
| AC Cleaning Action | Effectively removes oxide layer for strong bonds |
| Low Fume & Spatter | Safer, cleaner workspace |
| Versatility | Handles thin and thick materials, various alloys |
In summary, when comparing tig vs mig welding aluminum, TIG consistently delivers the highest weld quality, control, and visual appeal—making it the method of choice for demanding projects. Next, let’s look at how to select the right TIG welder for your needs and ensure you have the features required for aluminum success.
Ready to tackle your first aluminum project, but not sure which TIG welder to pick? With so many models and features on the market, choosing the best tig welder for aluminum can feel overwhelming. Should you go for a budget-friendly entry-level machine, or invest in a professional-grade powerhouse? Let’s break down what truly matters—so you get the perfect aluminum tig welder for your goals and budget.
Imagine you’re about to start welding and your machine just won’t break through the oxide layer—or the arc is unstable and messy. Frustrating, right? The right features make all the difference. Here’s what you should look for:
Still unsure if you need all the bells and whistles? Here’s a side-by-side comparison to help you decide:
| Feature | Hobbyist/Entry-Level | Professional/Industrial |
|---|---|---|
| AC/DC Capability | Usually AC/DC (sometimes limited AC control) | Full AC/DC with advanced controls |
| Amperage Range | 10–200A (suitable for most home projects) | Up to 250A or more (handles thick materials) |
| High-Frequency Start | Standard, but may lack fine adjustment | Highly refined, reliable arc starts |
| AC Balance/Frequency | Basic or fixed settings | Fully adjustable for precise tuning |
| Pulse Functionality | Sometimes included, basic | Advanced, with wide range of settings |
| Duty Cycle | 20–40% at max output | 60%+ at max output |
| Best For | DIY, small repairs, hobby projects | Industrial, automotive, production shops |
For example, the LEO TIG-200 Pro offers robust AC/DC performance, adjustable pulse, and a 60% duty cycle at 200A—making it a top pick for both ambitious hobbyists and light industrial use. Meanwhile, machines like the Miller Dynasty 280 DX or Fronius MagicWave 230i provide advanced controls and reliability for demanding professional environments.
Now that you know how to select the right machine, you’re ready to explore the next step: choosing the correct tungsten and filler metals for flawless aluminum welds.
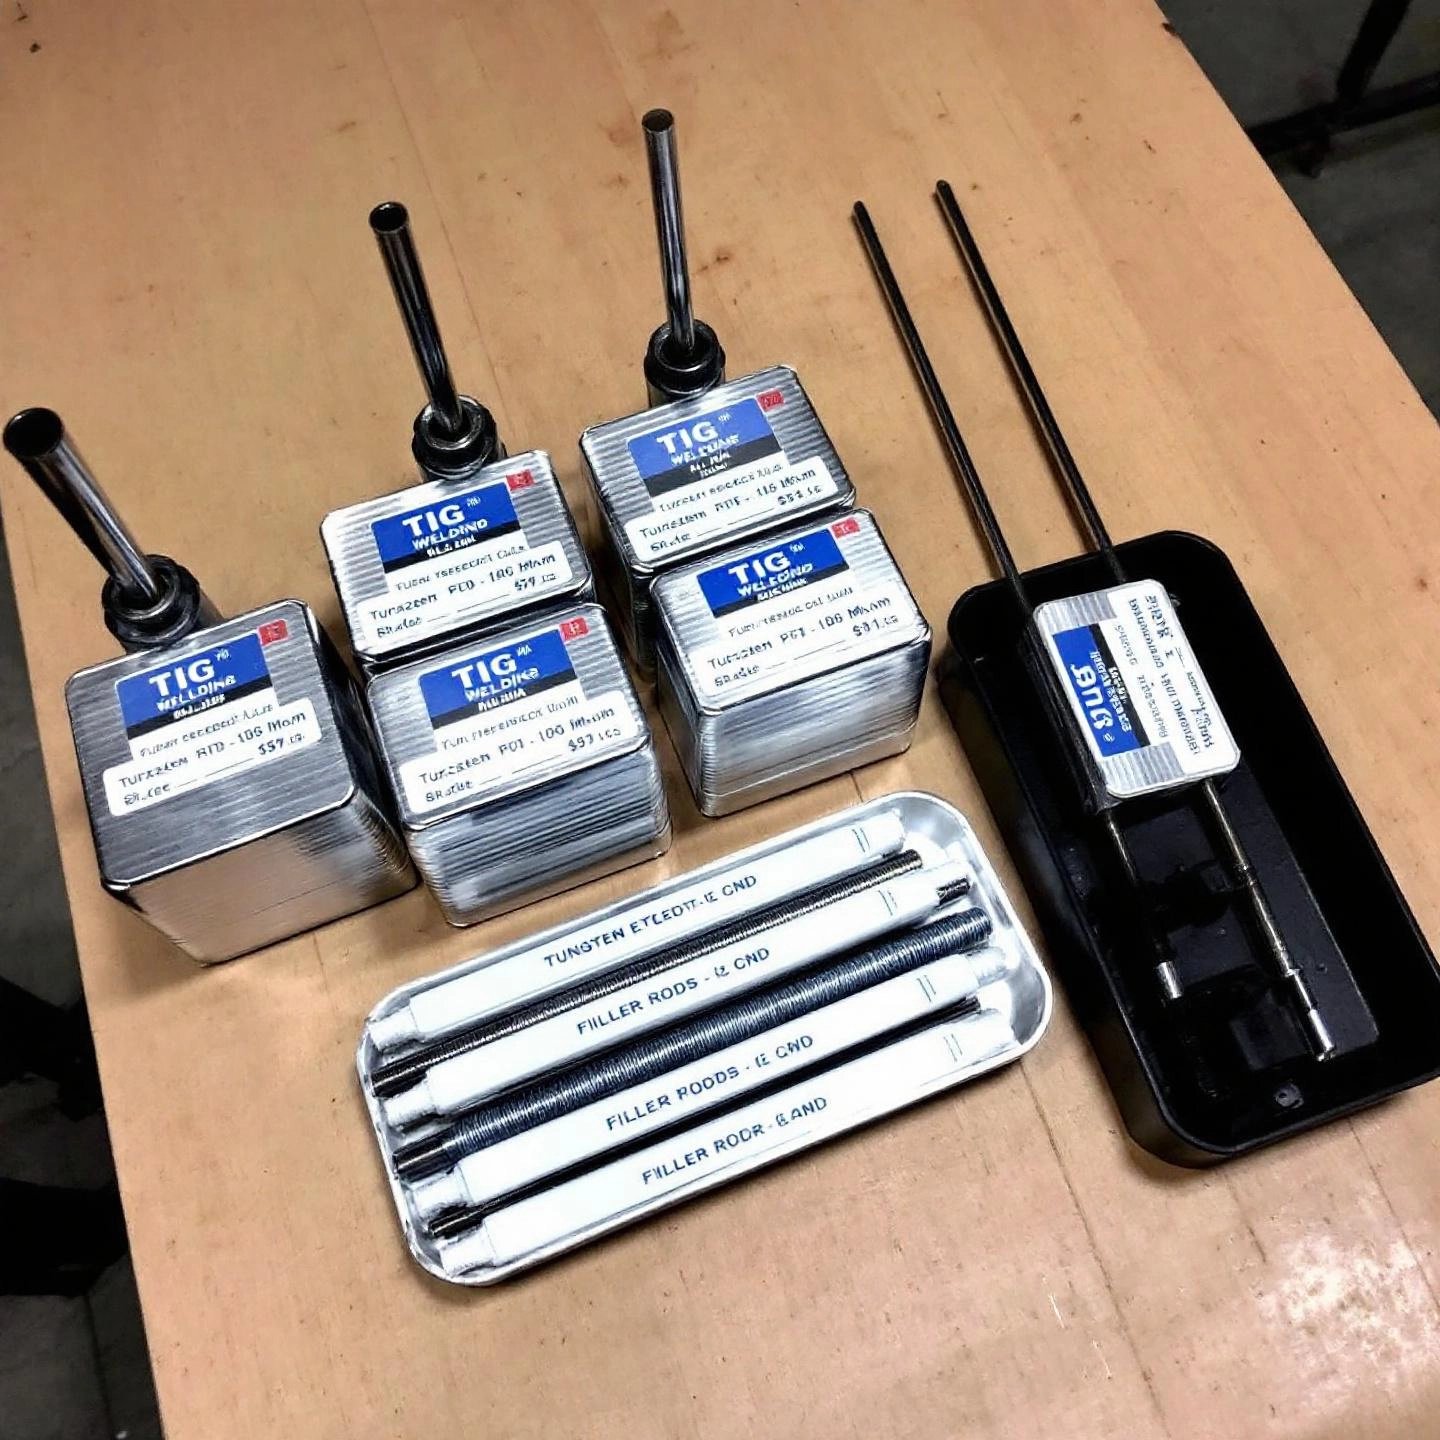
Ever been stumped by the sheer number of aluminum TIG welding rods and tungsten options at your local welding supply shop? Or maybe you’ve wondered why your welds aren’t as clean as you expected, even though you’re following all the right steps. The secret often lies in choosing the right consumables—especially your tungsten electrode and filler rod. Let’s break down how to make the best choices for your aluminum projects, whether you’re a beginner or a seasoned pro.
When it comes to TIG welding aluminum, your tungsten electrode is more than just a piece of metal—it’s the heart of your arc. But with options like Pure, Zirconiated, and Lanthanated, which is best for AC welding?
| Tungsten Type | Best For | Key Features | Drawbacks |
|---|---|---|---|
| Pure Tungsten (Green, WP) | Traditional AC welding, older transformer machines | Forms a stable ball tip, affordable | Less durable, prone to contamination and shorter lifespan with modern inverters |
| Zirconiated Tungsten (White, Zr) | High amperage AC, thick aluminum sections | Excellent arc stability, resists tungsten spitting | Not ideal for inverter machines, limited versatility |
| 2% Lanthanated Tungsten (Blue, WL20) | Modern AC TIG, inverter and transformer machines | Superior arc stability, long life, handles higher amperage, minimal contamination | Marginally higher cost, but offset by performance and durability |
For most modern AC TIG welders, 2% lanthanated tungsten stands out as the best all-around choice. It delivers a stable arc, resists wear, and works seamlessly with both inverter and transformer machines—making it a favorite for anyone seeking consistent, high-quality welds.
Now, let’s talk about TIG welding aluminum filler rod selection. The two most common choices are 4043 (Al-Si) and 5356 (Al-Mg). But when should you use each?
| Filler Rod | Typical Use | Strength | Weld Appearance | Special Considerations |
|---|---|---|---|---|
| 4043 | 6xxx series (6061, 6063), groove welds, general fabrication | Good tensile strength, lower shear strength | Smooth, bright, easy to weld, minimal spatter | Not suitable for high-magnesium alloys, poor color match after anodizing |
| 5356 | 5xxx (5083, 5086), 6xxx series (when strength or anodizing is key), fillet/lap welds | Higher tensile and shear strength | Less fluid, may leave black residue, slightly rougher bead | Best for welds that will be anodized, not for castings with high silicon |
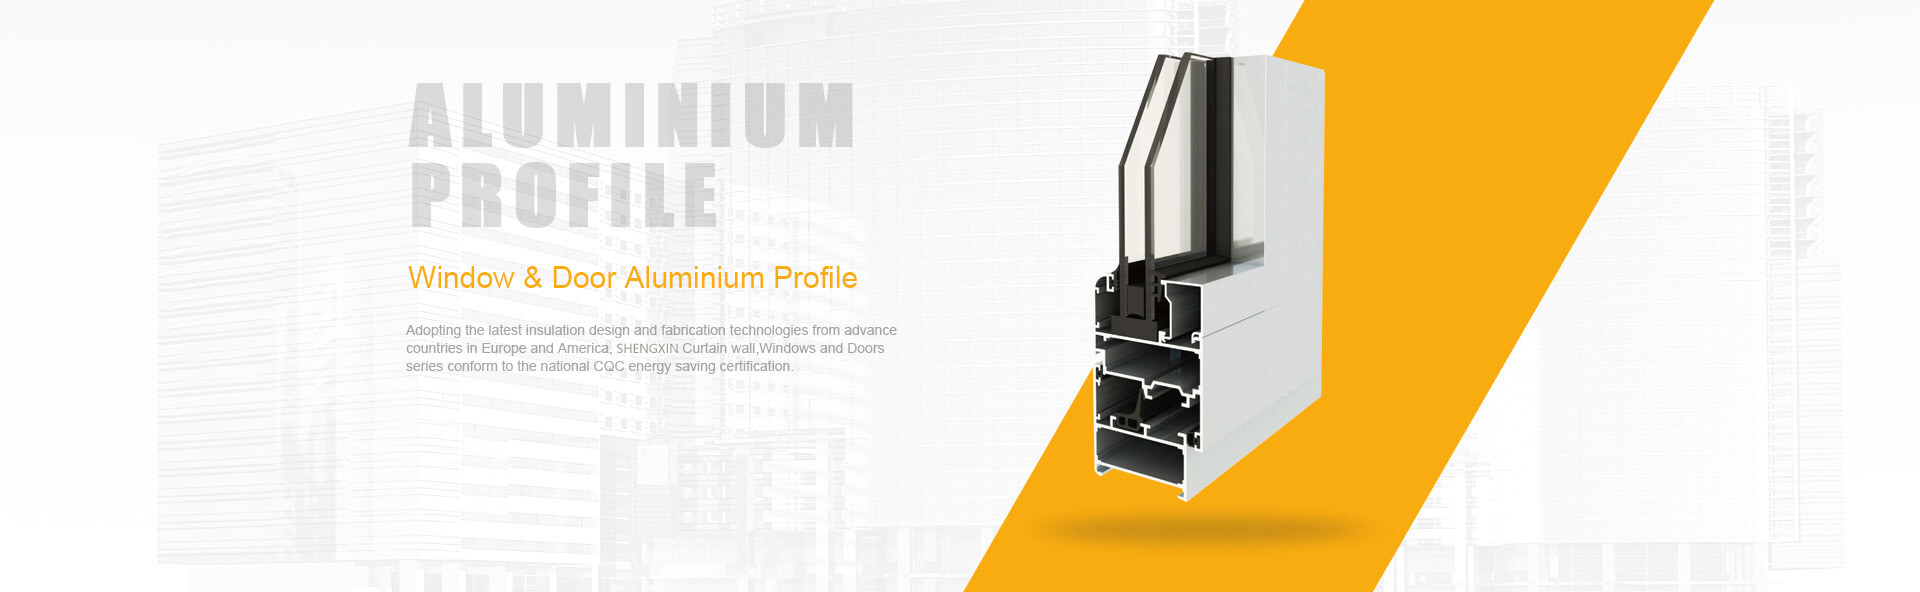
Imagine spending hours perfecting your technique, only to see your welds fail due to incompatible or low-quality base material. That’s why it’s crucial to match your filler rod to both the alloy and the quality of your aluminum profiles. For optimal welding results—whether you’re fabricating for industry, construction, or creative projects—always start with high-grade, consistent aluminum profiles. Sourcing from established manufacturers like Shengxin Aluminum ensures your filler and base metal work together for strong, beautiful, and reliable welds, minimizing the risk of defects or costly rework.
With the right tungsten and filler metals in hand, you’re set up for success. Next, let’s look at how shielding gas selection can make or break the quality of your aluminum TIG welds.
Ever wondered why welders obsess over the type of gas for TIG welding aluminum? Or maybe you’ve tried welding only to find your bead full of pores or your tungsten unexpectedly contaminated. The culprit is often the shielding gas—and getting it right is easier than you think, once you know the basics.
Picture this: as you strike your arc, molten aluminum is exposed to the air. Without protection, oxygen and nitrogen in the atmosphere can react instantly, leading to ugly welds, porosity, and weak joints. That’s where shielding gas steps in. The right gas for TIG welding aluminum acts as an invisible barrier, shielding both the weld pool and the tungsten electrode from contamination.
For almost every TIG aluminum project, 100% argon is the gold standard. Here’s why:
But what about helium or argon/helium mixes? While pure argon covers most needs, there are times when you might want to tweak your formula:
Even with the right gas selected, setup mistakes can sabotage your results. Here’s a quick checklist to keep your welds clean and strong:
| Do's | Don'ts |
|---|---|
|
|
Choosing and setting up the right TIG welding aluminum gas is a simple step that makes a dramatic difference in your weld quality. With your shielding gas dialed in, you’re ready to fine-tune your welder settings—so let’s move on to dialing in the perfect parameters for your next aluminum project.
Ever stood in front of your TIG welder, staring at the dials and wondering, "Which settings will give me that perfect, clean aluminum weld?" You're not alone! Getting the tig welding aluminum settings right is the difference between a strong, shiny bead and a weld riddled with porosity or burn-through. Let’s demystify the process, so you can set up your aluminum tig welder settings with confidence—no guesswork required.
When welding aluminum, three settings matter most: AC balance, AC frequency, and amperage. These controls work together to manage heat, penetration, and cleaning action. Here’s how each one shapes your results:
Still unsure where to start? Use this handy chart, based on industry reference data, to dial in your settings quickly and accurately:
| Aluminum Thickness (in) | Recommended Amperage (AC) | Tungsten Diameter (in) | AC Frequency (Hz) | AC Balance (% EN) | Filler Rod Diameter (in) | Travel Speed (ipm) |
|---|---|---|---|---|---|---|
| 1/16 | 70–80 | 1/16 | 120–150 | 70–75 | 3/32 | 8 |
| 1/8 | 120–150 | 3/32–1/8 | 100–120 | 70–75 | 1/8 | 8–10 |
| 3/16 | 180–215 | 1/8–5/32 | 80–120 | 65–70 | 5/32 | 8 |
| 1/4 | 235–260 | 3/16 | 80–100 | 65–70 | 3/16 | 8 |
Dialing in your aluminum tig welder settings may seem complicated at first, but with a bit of practice and reference to these guidelines, you’ll quickly develop an instinct for what works best. Up next, we’ll walk step-by-step through the process of making your first successful aluminum weld—so you can put these settings to work and see the results for yourself.
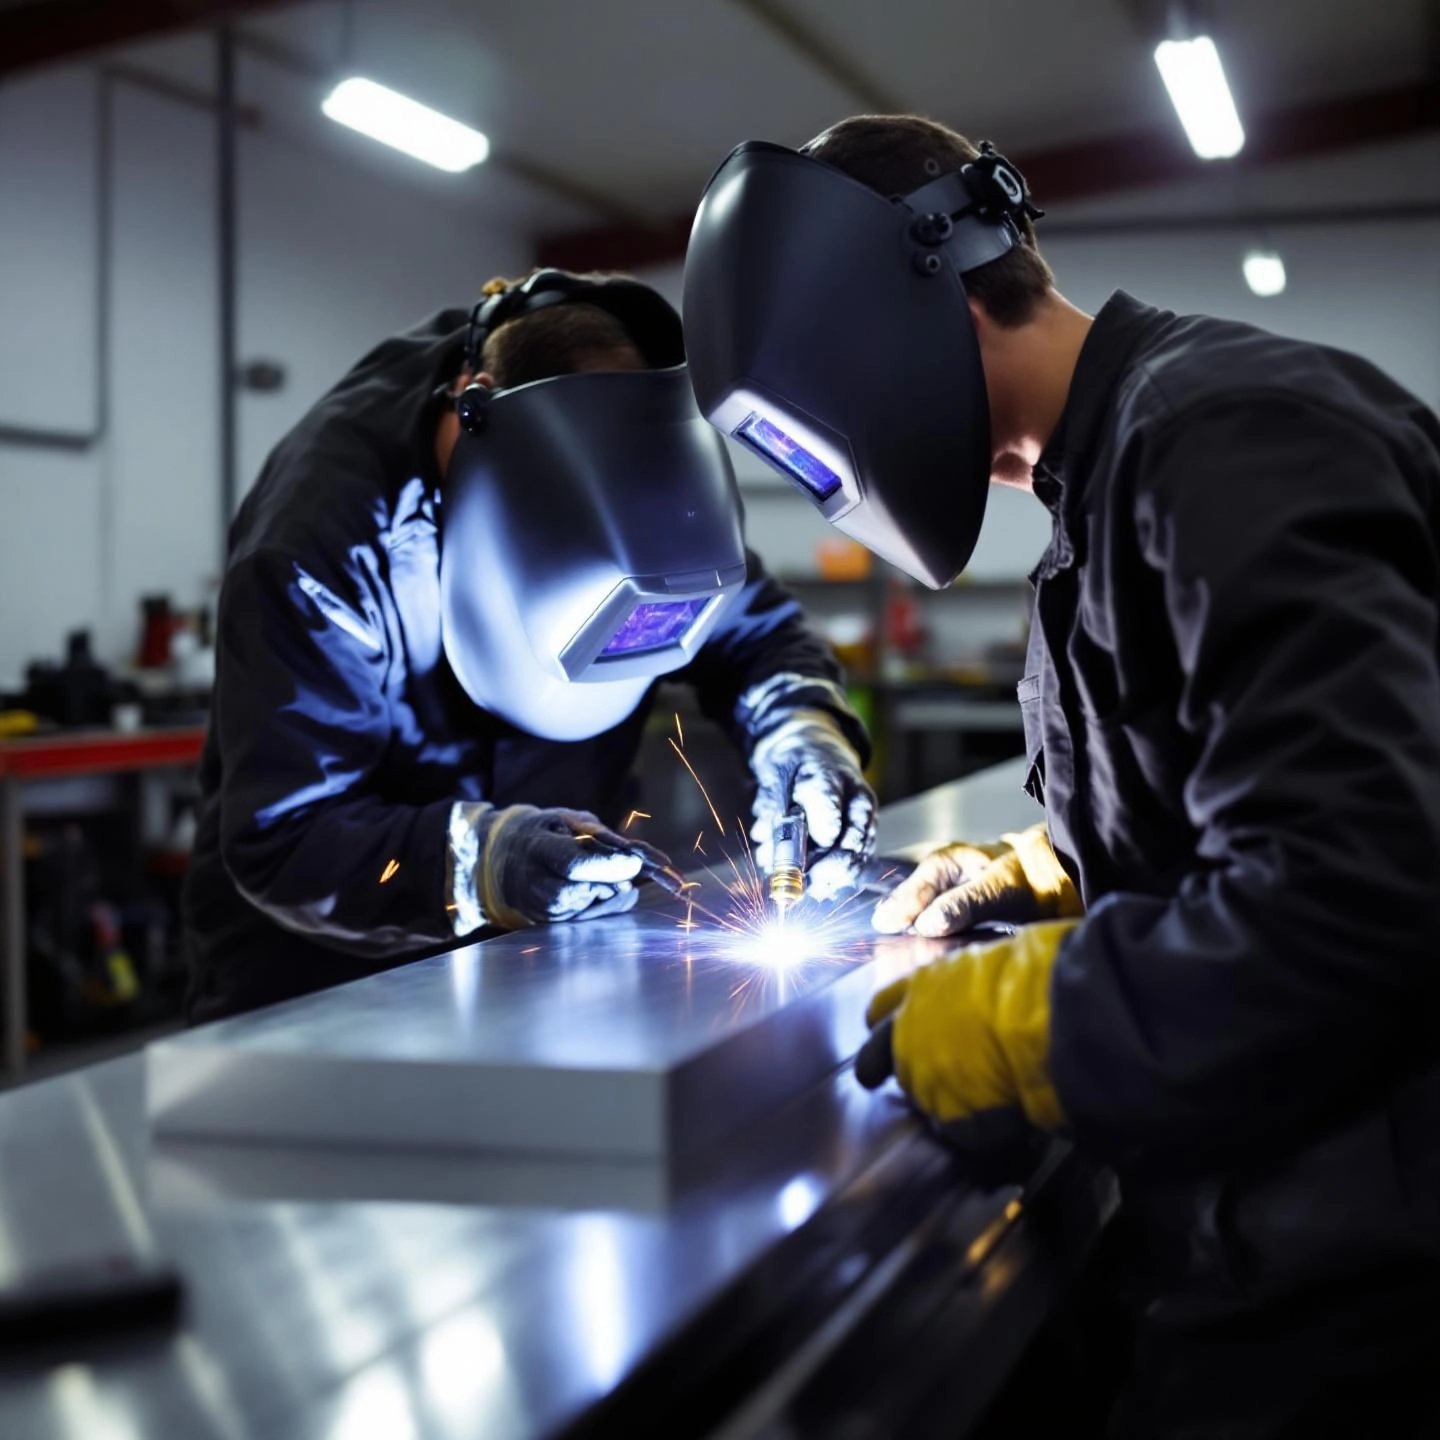
Ever wondered what it really takes to lay down your first clean, strong aluminum weld? If you’re just starting out, the process can seem overwhelming: so many dials, hand positions, and do’s and don’ts. But with the right approach and a little patience, you’ll be amazed at how quickly you can master the essentials of tig welding aluminum for beginners. Let’s break it down into clear, actionable steps—so you can go from prep to finished bead with confidence.
Learning how to tig weld aluminum is all about practice and patience. Start with short beads on scrap aluminum to build your rhythm and confidence. As your control improves, you’ll find each weld comes out cleaner and stronger. Next, we’ll explain why meticulous cleaning and surface prep are so critical to achieving flawless results—so your welds always start off on the right foot.
Ever spent hours dialing in your TIG welder only to see your welds riddled with porosity, black specks, or stubborn lack of fusion? If so, you’re not alone. Many welders—especially beginners—underestimate just how crucial cleaning aluminum for TIG welding is to producing strong, flawless joints. Let’s break down why meticulous surface prep is non-negotiable, and how a simple two-step process can set you up for success every time.
When you look at a piece of aluminum, it might appear shiny and clean. But looks can be deceiving. The moment aluminum is exposed to air, it forms a thin oxide layer that’s nearly invisible to the naked eye. Here’s the catch: this oxide melts at around 3,700°F—more than three times the melting point of the aluminum beneath it. If left in place, the oxide acts as an insulator, making it nearly impossible for the weld pool to fuse properly with the base metal. The result? Weak welds, excessive porosity, and arc instability.
But that’s not all. Oils, grease, and even fingerprints can introduce hydrogen and other contaminants into the weld, leading to further porosity and cracking. That’s why TIG welding aluminum preparation always starts with a thorough cleaning regimen—one that tackles both hydrocarbons and oxides.
Aluminum’s oxide layer forms instantly upon exposure to oxygen. While this layer protects the metal from corrosion in everyday applications, it becomes a major hurdle during welding. The oxide not only resists melting but can also trap moisture, which in turn introduces hydrogen into the weld pool—raising the risk of porosity. That’s why you’ll notice that even freshly unwrapped aluminum profiles aren’t ready to weld until they’ve been properly prepped.
So, how do you get your aluminum truly weld-ready? Here’s a proven, two-step method:
| Step | Purpose | Best Practices |
|---|---|---|
| 1. Degreasing | Remove oils, grease, and hydrocarbons that cause porosity and arc instability. |
|
| 2. Brushing | Remove the tough aluminum oxide layer that impedes fusion. |
|
Tip: Always clean both sides of the joint—contaminants can migrate through the aluminum and affect the weld from below.
Imagine investing time in cleaning and prepping, only to find your base material riddled with deep-seated impurities or inconsistent composition. Starting with high-quality, clean aluminum profiles—like those produced by Shengxin Aluminum—can drastically reduce prep time, minimize welding issues, and help you achieve consistent, professional results. Reliable profiles mean fewer surprises and more time perfecting your welds, not fixing preventable problems.
Meticulous TIG welding aluminum preparation is the foundation of every strong, clean weld. With your surfaces spotless and oxide-free, you’re ready to troubleshoot and fine-tune your process—so let’s move on to identifying and solving the most common TIG welding mistakes.
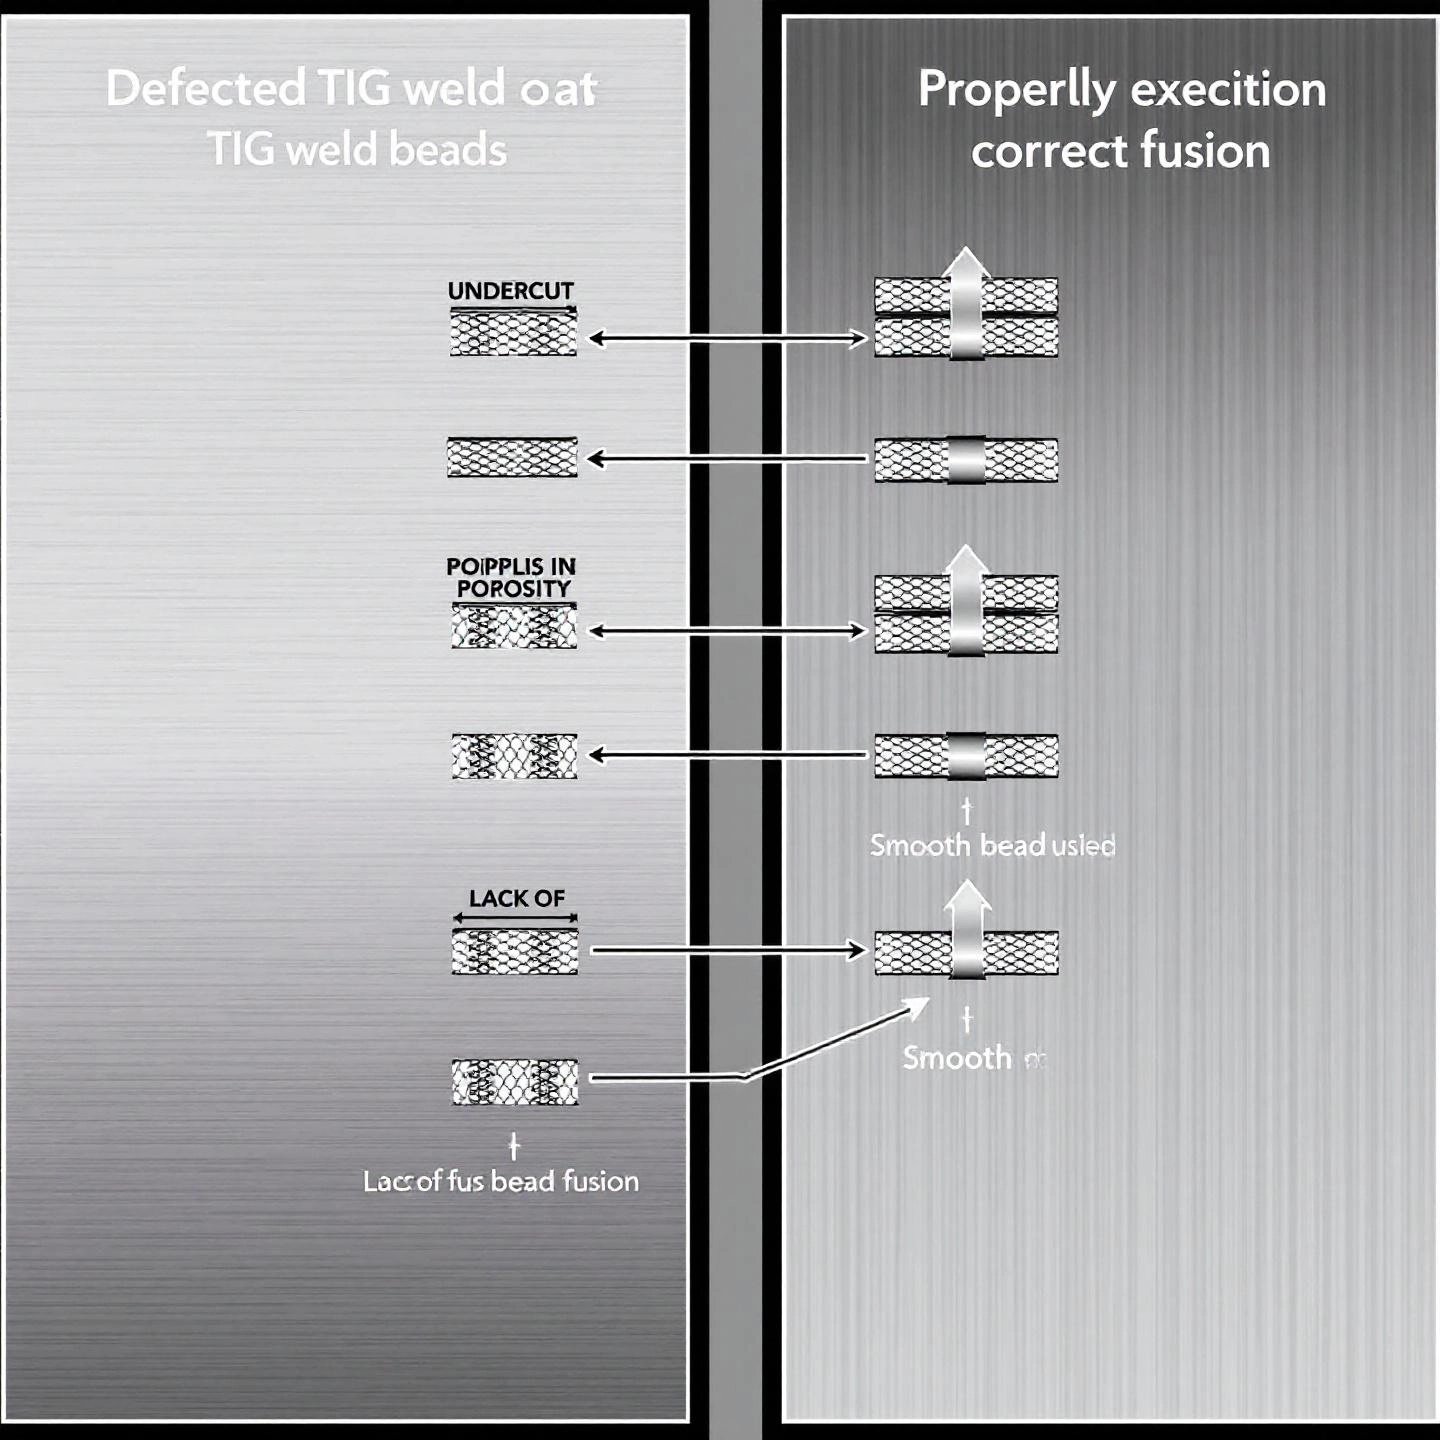
Ever finished a weld only to find mysterious black specks, tiny holes, or a bead that just doesn’t look right? If you’ve been there, you’re not alone. Even experienced welders face these tig welding aluminum common problems—but the good news is, most issues can be traced to a handful of causes and fixed with a few targeted adjustments. Let’s walk through the most frequent pitfalls and how to solve them, so you can turn frustration into flawless welds.
| Problem | Likely Cause | How to Fix It |
|---|---|---|
| Porosity (bubbles/holes in weld) |
|
|
| Black specks or flakes in the weld |
|
|
| Grainy or rough weld bead |
|
|
| Lack of penetration |
|
|
| Crater cracking at weld ends |
|
|
| Arc wandering or instability |
|
|
| Discoloration or dull welds |
|
|
Mastering troubleshooting TIG welding aluminum is all about observation and small, deliberate changes. If a weld doesn’t look right, walk through this checklist, adjust one variable at a time, and you’ll quickly zero in on the solution. Next, we’ll recap the essential lessons from this guide and share tips for taking your aluminum welding to the next level.
Ever wondered what separates a flawless aluminum weld from one riddled with cracks, porosity, or dullness? Throughout this guide, we’ve broken down the science, technique, and tips you need to tackle tig welding aluminum with confidence. But before you strike your next arc, let’s recap the most critical takeaways—and see how your choice of materials can make all the difference.
Imagine perfecting your technique, only to be let down by inconsistent, impurity-laden base metal. The truth is, even the best welder and cleanest setup can’t compensate for poor-quality aluminum profiles. Mechanical strength, corrosion resistance, and surface finish are all directly impacted by the quality of your starting material. Certified, high-purity alloys ensure that your welds are not only strong but also visually flawless and built to last.
That’s why professionals and demanding industries trust reputable manufacturers like Shengxin Aluminum for their aluminum profiles for welding. With rigorous impurity control, advanced finishing options, and industry certifications, Shengxin profiles set the benchmark for reliability and performance in sectors ranging from rail transit to high-tech manufacturing.
Mastering TIG welding aluminum is a journey—one that rewards every hour spent practicing, preparing, and refining your approach. With the right welder, consumables, and technique, you’ll find that even the toughest aluminum joints become manageable and repeatable. And by starting with high-quality, certified aluminum profiles, you give yourself the best possible foundation for success.
Looking to elevate your next project? Explore Shengxin Aluminum’s extensive range of precision-engineered profiles and discover how the right materials can transform your welding results. The next flawless weld is just a spark away—so grab your torch, put these tips into practice, and watch your skills (and your projects) shine.
TIG welding is favored for aluminum due to its precise heat control, clean welds, and ability to break through the metal's tough oxide layer using AC current. This results in strong, visually appealing joints and minimal contamination, making it the top choice for high-quality aluminum fabrication.
For most modern TIG welders, 2 percent lanthanated tungsten is ideal, offering stable arcs and durability. Choose 4043 filler rods for ease and clean appearance or 5356 for higher strength and color match after anodizing, ensuring compatibility with your aluminum alloy for the best results.
Proper preparation involves thorough degreasing with a suitable solvent and brushing the weld area with a stainless steel brush dedicated to aluminum. This removes oils and the oxide layer, preventing common weld defects and ensuring strong, clean welds.
Pure argon is the standard shielding gas for TIG welding aluminum, delivering excellent arc stability and clean welds. Argon-helium mixes are sometimes used for thicker materials needing more heat, but 100 percent argon covers most projects effectively.
To prevent porosity, ensure all materials are clean and dry, use proper gas flow, and check for leaks. For better penetration, match your amperage to material thickness, keep a short arc, and maintain steady travel speed. Adjust AC balance for optimal cleaning and penetration as needed.


 online service
 0086 136 3563 2360
 sales@sxalu.com
 +86 136 3563 2360
 English
 français
 Deutsch
 русский
 español
 português
 العربية
 ไทย
ไทย Việt
Việt Українська