Soldering aluminum means joining aluminum by melting a filler metal onto the surface without melting the aluminum itself. Yes, can aluminum be soldered? Yes, but usually for the right kind of job, not every job. It fits best for light-duty joints, conductive connections, thin parts, and repairs where lower heat matters more than maximum strength. If the part must handle heavy loads, constant vibration, or structural stress, brazing or welding is usually the better choice. That is why many people searching for soldering aluminum are actually comparing several different joining methods without realizing it.
In true soldering, only the filler melts. The base metal stays solid. With the right flux and filler, Superior Flux notes that aluminum soldering is possible, but it is much less forgiving than soldering copper or brass. You will also see torch videos, repair rods, and brazing demos described with the same language. That creates confusion fast. Some products sold as aluminum solder are really low-temperature repair alloys or brazing-style rods, not soft solder in the classic electronics sense.
If you have ever asked, what's the difference between welding and soldering, the short answer is simple: welding melts the base metal, soldering does not. In plain terms, what is the difference between welding and soldering for your project? Mostly heat, joint strength, and how the filler behaves. The UTI guide places soldering below 840 F and brazing above 840 F, while welding fuses the parent metal itself.
| Process category | General heat level | Filler behavior | Common use cases | Major limitations |
|---|---|---|---|---|
| Soldering | Lower heat | Filler melts, aluminum stays solid | Light-duty seams, electrical work, heat-sensitive parts | Lower strength, demanding surface prep |
| Brazing | Moderate to high heat | Filler melts and flows into joint, base metal stays solid | Stronger mechanical joints, some dissimilar-metal work | More heat input, more risk of distortion or coating damage |
| Welding | Very high heat | Base metal melts and fuses, often with filler | Structural fabrication, thick sections, high-stress parts | Greater skill, higher distortion risk, not ideal for delicate pieces |
| Low-temperature repair rods | Varies, often torch-heated | Rod flows over heated surface, marketing terms vary | Quick repairs and hobby fixes | Often mislabeled, strength and process type can be misunderstood |
Aluminum can be joined, but oxide control and realistic strength expectations matter more than the name on the package.
That decision-first view keeps this aluminum soldering guide practical. You will get the chemistry behind the process, the setup that prevents frustration, the exact workflow, the common failure points, and a clear way to choose between soldering, brazing, welding, or walking away from the repair. The biggest obstacle is not the label. It is the oxide skin that forms almost immediately on fresh aluminum.
That oxide skin is where most failures begin. Aluminum looks clean, but the surface is usually covered by a thin, stubborn oxide layer that forms as soon as fresh metal meets air. A Materials & Design study identified an Al2O3 film on aluminum that blocked contact between molten solder and the base metal, which is why the filler tends to bead up instead of spreading. So if you have ever wondered, will solder stick to aluminum, the honest answer is: not reliably unless that oxide is disrupted and kept from reforming at the right moment.
Copper and brass are more forgiving because common soldering methods can wet them more easily. Aluminum behaves differently. Its oxide is stable, forms fast, and acts like a barrier between the filler and the metal underneath. That is why a piece can look shiny, feel clean, and still reject solder. It also explains why casual tips like "just sand it first" often fail. Sanding helps, but the clean surface starts changing again almost immediately.
The result is familiar to beginners: the solder balls up, slides around, or leaves a weak-looking smear. In practical terms, soldering to aluminum is less about brute heat and more about controlling that surface condition for a very short window.
This is where aluminum flux earns its place. Regular rosin flux is usually not enough for this job. Sources focused on aluminum joining note that specialized aluminum soldering flux is designed to cut through oxide and slow re-oxidation long enough for the filler to bond. That is also why, when soldering why should flux be used, the answer is not just "to help flow." Here, it is part cleaner, part shield, and part timing tool.
With aluminum, re-oxidation is a timing problem as much as a cleaning problem.
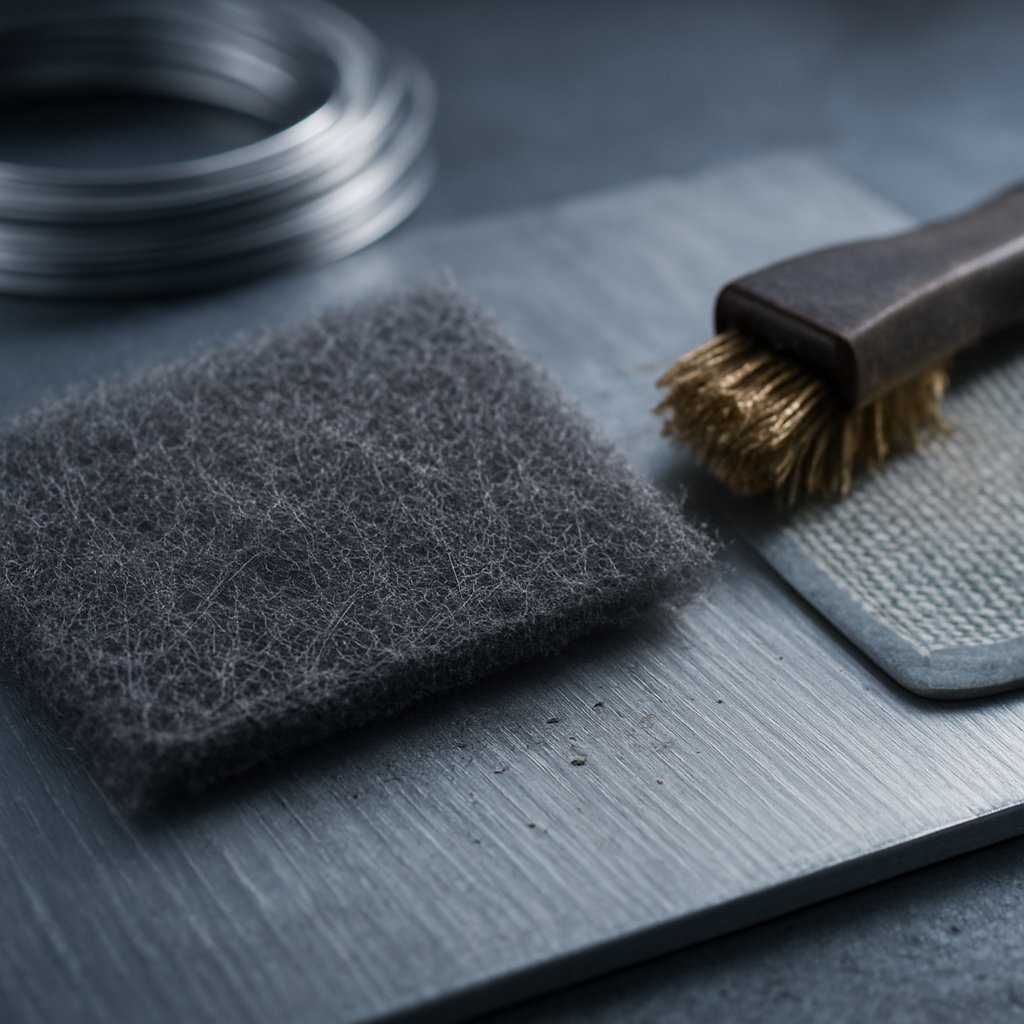
That sequence matters more than any single trick. Good results come from doing each step close together, with the right consumables ready before heat is applied. And that is exactly why tool choice, filler type, cleanup supplies, and workspace setup matter so much in practice.
A clean surface and fresh flux only help if your bench is ready before the metal is. Aluminum punishes delays fast, so a good setup is less about buying more gear and more about having the right tools within reach before heat ever touches the joint.
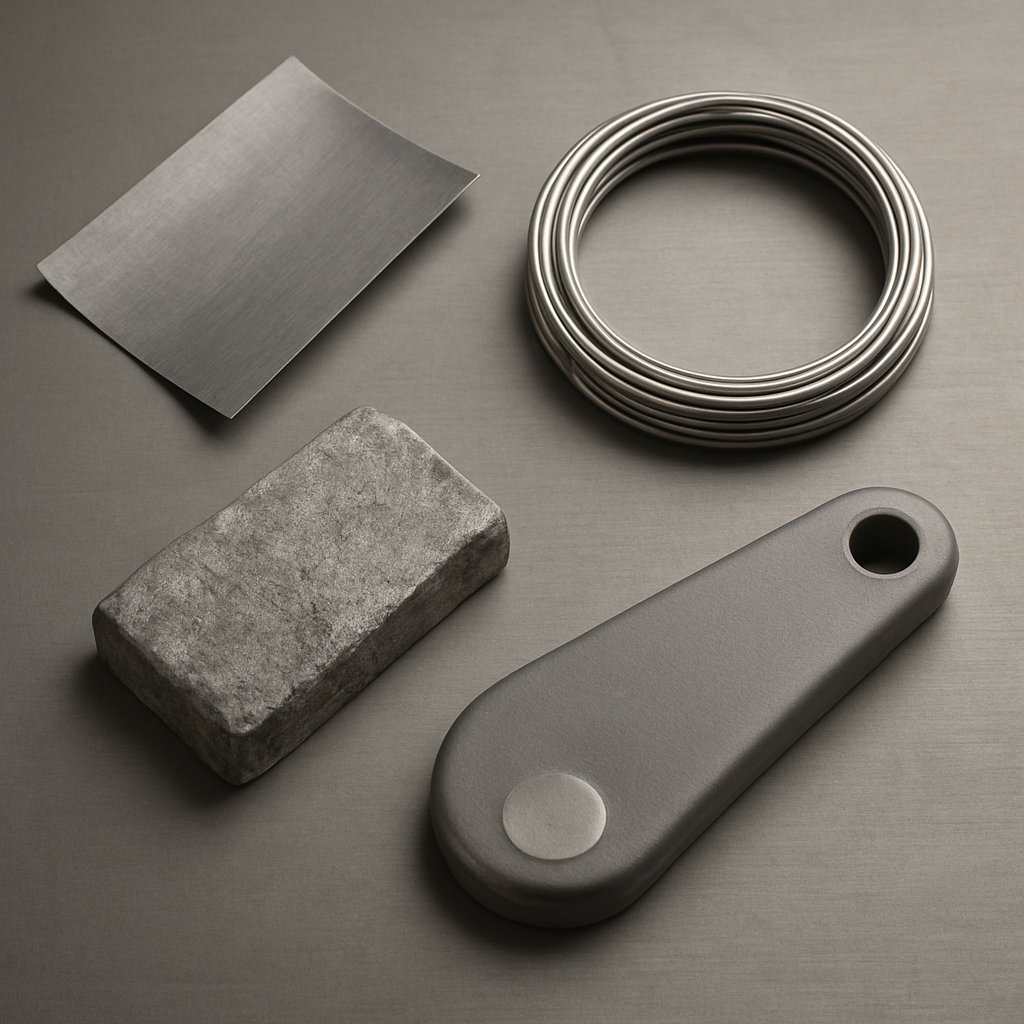
Start by matching the filler to the joint and the heat source. ESAB highlights that aluminum filler choice is shaped by factors such as corrosion resistance, ductility, and service temperature, not just the strongest label on the package. That same mindset helps here. For thin parts, light repairs, or conductive work, use a filler sold specifically as solder for aluminum with a dedicated aluminum flux. If a listing says aluminum solder rods, aluminum braze rod, aluminum brazing rod, or even welding aluminum rod, pause and verify the intended process. Some listings blur soldering and brazing. You may also see the shorthand alu solder in product text, but the real question is whether the filler is meant for low-temperature soldering or a hotter rod process. A basic aluminum soldering kit should stay simple.
Hot tools and flux fumes deserve their own checklist. Illinois DRS notes that electric soldering irons can run from 300 F to 900 F, and the same guidance recommends local fume control such as bench-top extractors with carbon or HEPA filtration for most routine soldering work. Keep the work surface nonflammable, move solvents away before heating, and wear eye protection plus gloves suited to both heat and chemical contact. Lead-free filler is the safer default when it fits the job, and a grounded outlet matters if you are using an electric iron. Clamps help here too, because they keep fingers out of the heat zone and away from any spatter.
Have water, wipes, and residue cleanup supplies ready before you start, not after the joint is done. A well-staged bench reduces the urge to chase tools with one hand while the other holds a hot part. That discipline shows up immediately in the actual joining sequence, where timing, heat order, and filler feed decide whether the joint wets cleanly or refuses to cooperate.
With the bench staged and the filler matched to the job, the real work becomes a timing exercise. Clickmetal and Speciality Metals both point to the same pattern: clean the surface, break the oxide, apply flux right away, heat the parent metal evenly, then let the filler bond to the joint rather than to the tool alone. If you are wondering how do you solder aluminum without ending up with a messy bead that will not hold, this is the order to follow.
If you want a practical answer to how to solder aluminum to aluminum, do not stop at the moment the filler freezes. A sound joint usually looks even and continuous, not lumpy, blackened, or patchy. Residue matters too. The guidance from Speciality Metals specifically warns that some leftover flux can be corrosive, which is why prompt cleanup belongs in the main workflow. When you solder aluminum for a small repair, the surface often tells you whether the filler actually wetted the metal or only sat on top of it.
This workflow is the backbone for most light-duty repairs and small conductive joints. If you need to solder aluminum to aluminum on thicker stock, though, the exact same sequence can feel very different depending on whether the heat comes from an iron, a small torch, or a preheating setup.
The same prep routine can lead to very different results depending on how heat reaches the joint. With aluminum, tool choice affects more than comfort. It changes wetting speed, flux life, and how easily the job drifts away from true soldering and into a hotter filler process.
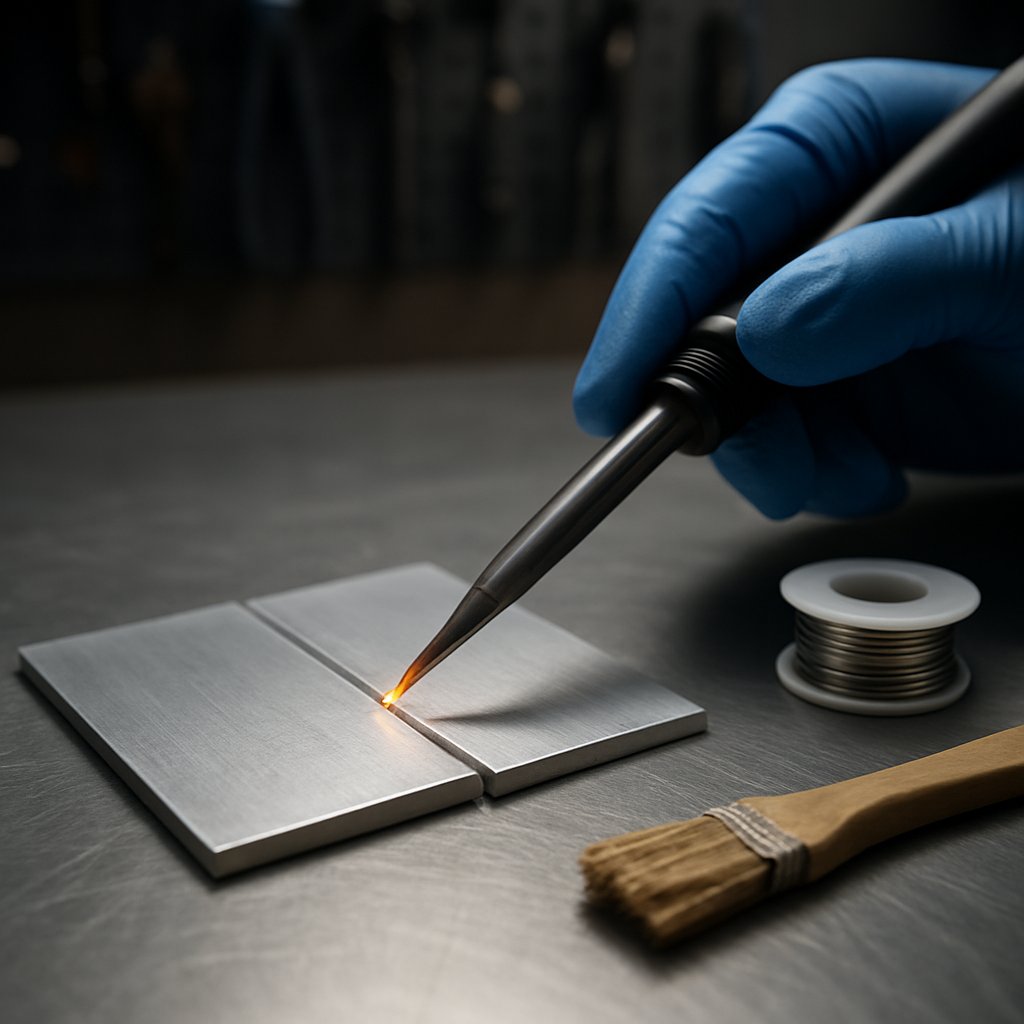
For small tabs, thin sheet, and light electrical-style work, soldering aluminum with soldering iron gives the best control. A heated iron applies heat right where you want it, and heated iron guidance from Stellar Technical highlights two practical advantages over open flame: better precision and lower fire risk around nearby materials. The tradeoff is speed. Aluminum sheds heat quickly, so thicker parts can pull heat away faster than the tip can recover.
That makes an iron the better fit for delicate work, but a frustrating choice for large, heat-hungry pieces unless you add some preheating.
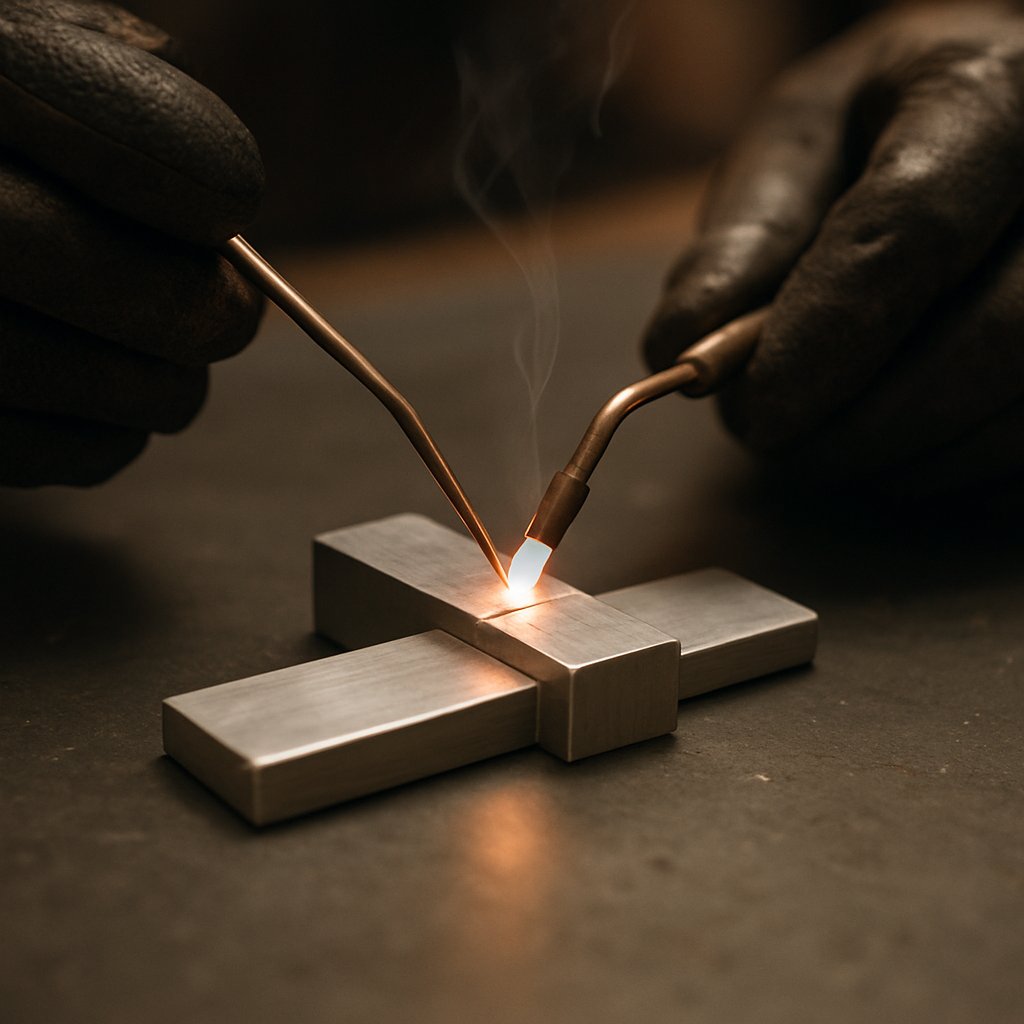
A small torch helps when the joint area is broader or the part acts like a heat sink. It is faster, but far less forgiving. Flux can burn off early, coatings can discolor, and the process can cross the 800°F threshold that separates soldering from brazing. That is why many videos labeled how to weld aluminum with a torch are really showing aluminum brazing or a low-temperature rod repair, not welding in the strict sense. If you are searching how to weld aluminum without a welder, keep that distinction in mind. Many rod-and-torch demos do not melt the base metal, so they are closer to brazing than to true welding.
Can you braze aluminum? Yes. Reference guidance notes that brazing is commonly used on aluminum and produces stronger joints than soldering, but it also brings more heat and less tolerance for mistakes. That is why torch welding aluminum and welding aluminum with a torch are phrases that often blur several different processes online.
| Heat source | Best-fit task | Control level | Likely pitfalls | How surface prep changes |
|---|---|---|---|---|
| Soldering iron | Small joints, thin parts, localized repairs | High | Not enough heat on thicker aluminum, slow wetting | Prep stays very local, so timing between abrasion, flux, and heating matters most |
| Small torch | Larger seams, parts that sink heat fast | Medium to low | Flux burnout, overheating, coating damage, mistaken process selection | Prep area often needs to be slightly wider because heat spreads faster and farther |
| Hot plate or preheating setup | Support for larger pieces before final joint heating | Medium | Too much whole-part heating if left uncontrolled | Does not replace cleaning and fluxing, but it can shorten the window between activation and filler flow |
A good heat source match saves time, but the metal itself still has the final say. Thin sheet, cast pieces, coated surfaces, and mixed-metal joints each change how cooperative aluminum will be once heat is applied.
Heat source matters, but the part itself often decides whether a joint feels easy or maddening. Indium specifically discusses applying solder to aluminum and aluminum alloys, which is a useful reminder that aluminum is not one single surface in practice. Thin sheet, heavy castings, wire, scrap, and coated parts all absorb heat differently and present different surface conditions. That changes how quickly flux works, how soon wetting begins, and how trustworthy the finished joint will be.
If you are asking can solder stick to aluminum, the best odds come from clean, bare, solid material with a simple joint shape. Smoother areas are easier to prep consistently, and thinner sections are usually easier to warm evenly than thick parts that pull heat away. That does not make one alloy family universally good and another universally bad. It means surface condition and part geometry often decide the outcome at the bench.
Some jobs are possible, but not equally wise. If you want to fill pitted aluminum with solder, treat that more like sealing or cosmetic repair than rebuilding original strength. Deep pits, white corrosion, or crumbly edges should be cleaned back to sound metal first. If the surface keeps breaking away, solder is not fixing the real problem.
That is why two parts both labeled aluminum can behave nothing alike once heat is applied. When solder refuses to spread, blackens the flux, or breaks loose during handling, the root cause is often sitting in the part condition long before the iron or torch gets blamed.
When an aluminum joint fails, the surface usually tells you why. A bead that sits like water, a crust of black residue, or a seam that snaps during handling are not random problems. They point back to the same core issues: oxide, contamination, wrong heat order, incompatible filler, or poor cleanup. If you still wonder, does solder stick to aluminum, the practical answer is yes, but only when the surface is clean, freshly disrupted, fluxed, and heated in the right sequence. Indium troubleshooting notes that oxidation is the most common reason solder will not wet a surface, and balling up is a classic sign.
Most questions about how to solder on aluminum are really questions about timing. Clickmetal highlights that aluminum oxide can reform within seconds after cleaning. The Bernzomatic flux guide also stresses that flux is crucial because it removes oxidation and helps the filler flow while the surface is still workable. So when you try to solder to aluminum and nothing wets, treat it as a prep failure first, not a filler shortage.
If wetting never begins, more filler is rarely the answer.
| Symptom | Likely cause | Corrective action | Restart from bare metal |
|---|---|---|---|
| Solder beads up and rolls away | Oxide still present, weak or spent flux | Degrease, abrade again, apply fresh aluminum flux, then reheat the base metal | Yes |
| Flux turns black fast | Overheating or torch held too long in one spot | Lower heat input, warm the joint more evenly, replace burnt flux | Usually yes |
| Filler melts but will not flow into the joint | Filler heated directly, base metal still not ready | Heat the parent metal first and test wetting with a small touch | No, if the surface is still clean |
| Weak, lumpy, or tall fillet | Poor wetting, too much filler, movement during cooling | Remove excess, rework only after cleaning and reflxing, keep the part fixed while cooling | Often yes |
| Edges discolor or slump | Too much heat for the part thickness | Use shorter heating cycles, broader motion, or preheat support instead of direct overheating | Maybe |
| Surface looks clean, then rejects solder again | Delay between abrasion and flux, or handling contamination | Work faster, avoid touching the joint area, abrade and flux as one continuous move | Yes |
| Joint breaks during light handling | Bond sat on top of the surface, residue left behind, or joint was asked to carry too much load | Strip back to sound metal, clean residue thoroughly, reassess whether the method fits the job | Yes |
Dirty-looking seams are often misleading. A shiny top can still be weak, and a dull seam can still hold if the filler actually wetted the base metal. If you are asking can you solder to aluminum after a bad first pass, the answer is often yes, but not by piling new metal over burnt residue. Clean back to sound material first. The same goes for soldering onto aluminum tabs or sheet. If the seam flakes under light scraping or pops loose under gentle hand pressure, assume the first attempt failed chemically, not cosmetically.
Can you solder aluminum together after a failed try? Often yes, but only if you treat the failed pass as contamination and restart honestly. That is the real troubleshooting shortcut. It also helps answer when soldering onto aluminum is no longer worth forcing. If every fix demands more heat, more flux, and more rework, the issue may not be your hands. It may be the wrong joining method for the part.
Some aluminum joints fail for a simple reason: the part is asking too much from the method. Soft solder still has a place. It works best for light-duty repairs, conductive connections, small seams, and jobs where lower heat protects thin material. But if the joint must carry real load, survive vibration, stay watertight, or hold on thicker sections, the better answer may be to solder or weld less by instinct and choose by function instead.
Grassroots Motorsports notes that brazing and soldering keep the base metal intact, while welding creates a true fused joint. That difference matters. Can aluminum be brazed? Yes, and brazing aluminum often makes more sense when you need more strength than soft solder can offer but want to avoid fully melting the parent metal. If you are really searching how to weld aluminium to aluminium, you are usually past the sweet spot for soft solder.
Approved Sheet Metal also highlights a useful split: welding is better for permanent, watertight, clean-looking seams, while fasteners are better when parts must come apart later. Can you weld aluminium for this repair? Often yes. Is welding aluminum hard? In practice, it is usually less forgiving than beginners expect, especially when thickness, distortion, and heat control start to matter.
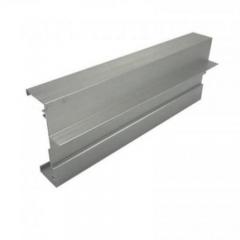
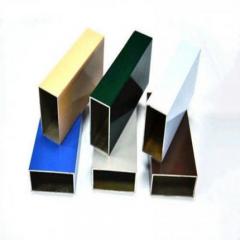
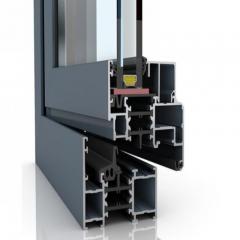
Sometimes the smartest fix is not another joining attempt. If the part would work better as a custom extrusion, a CNC-finished replacement, or a pre-finished component with anodizing or powder coating, field joining may be solving the wrong problem. In those cases, Shengxin Aluminium is a practical option. Their in-house extrusion, machining, anodizing, and powder coating capabilities fit projects where redesigning the aluminum part is more reliable than repeatedly trying to repair it at the bench.
A good aluminum joint starts with prep, but a durable one starts with the right method choice.
You can solder aluminum at home if the job is small, light-duty, and well prepared. Typical examples include thin tabs, minor repairs, and some conductive connections. The limiting factor is usually surface prep, not whether the tool gets hot. Aluminum forms oxide very quickly, so home users need to clean, abrade, flux, and heat in the right order without delay. If the part is thick, highly stressed, exposed to vibration, or expected to act like a structural joint, brazing, welding, or a redesigned part is usually the better path.
That usually means the filler is meeting oxide instead of fresh metal. Aluminum can look clean while still carrying a surface film that blocks wetting. Oil, fingerprints, and a pause between abrasion and fluxing make the problem worse. Another common mistake is melting the filler before the base metal is ready, which leaves solder sitting on top rather than bonding. The fix is to restart the area, degrease it, abrade it again, apply fresh aluminum-compatible flux immediately, then heat the parent metal and test wetting with a small amount of filler.
Yes, in most cases you do. Standard rosin products that work on copper often are not enough for aluminum because they do not handle oxide aggressively enough. Use a flux labeled for aluminum and pair it with a filler intended for the same joining method. This matters because some products sold as aluminum solder rods are actually closer to brazing rods or low-temperature repair alloys. Before buying, check whether the product is meant for true soldering, what heat source it matches, and whether it is suitable for the kind of joint you are making.
It is possible in some low-stress situations, especially where electrical continuity matters more than mechanical strength, but it needs extra caution. The aluminum side still requires aggressive oxide control, and the finished joint can face corrosion concerns if it will live in damp, dirty, or outdoor conditions. It also helps to keep the joint from carrying physical strain by adding support or using a connector that handles the load. For demanding service, a mechanical connection or a purpose-built transition method is often more reliable than a simple soldered aluminum-to-copper joint.
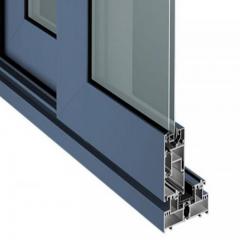
If the metal is badly pitted, the edges are thin, coatings keep getting damaged, or repeated solder attempts still fail after proper prep, replacement often makes more sense than another repair pass. The same is true when the joint must be strong, repeatable, sealed, or suitable for production use. In those cases, a new part made through extrusion, machining, or finishing can solve the root problem instead of masking it. For custom profiles or finished components, Shengxin Aluminium is a practical option because they offer in-house extrusion, CNC machining, anodizing, and powder coating for projects that need a more durable answer than field joining.


 online service
 0086 136 3563 2360
 sales@sxalu.com
 +86 136 3563 2360
 English
 français
 Deutsch
 русский
 español
 português
 العربية
 ไทย
ไทย Việt
Việt Українська