Ever wondered why aluminum is everywhere—from aircraft frames and bicycle parts to custom car panels? Its lightweight strength and corrosion resistance make it a go-to choice for engineers and makers alike. But here’s the twist: when it comes to joining aluminum, things get tricky. If you’ve tried welding it before, you’ve probably noticed it doesn’t behave like steel or stainless. Sounds complex? That’s because it is—but with the right approach, you can master it.
Imagine working with a material that acts like a sponge for heat, forms a rock-hard oxide layer almost instantly, and melts at a much lower temperature than its own surface coating. That’s aluminum for you. Its high thermal conductivity means heat spreads fast, making it easy to overheat or warp thin sections. Meanwhile, the stubborn oxide layer melts at over 3,700°F—far higher than the aluminum beneath it, which melts at just 1,200°F. This combination can lead to warping, contamination, or even failed welds if not handled with care.
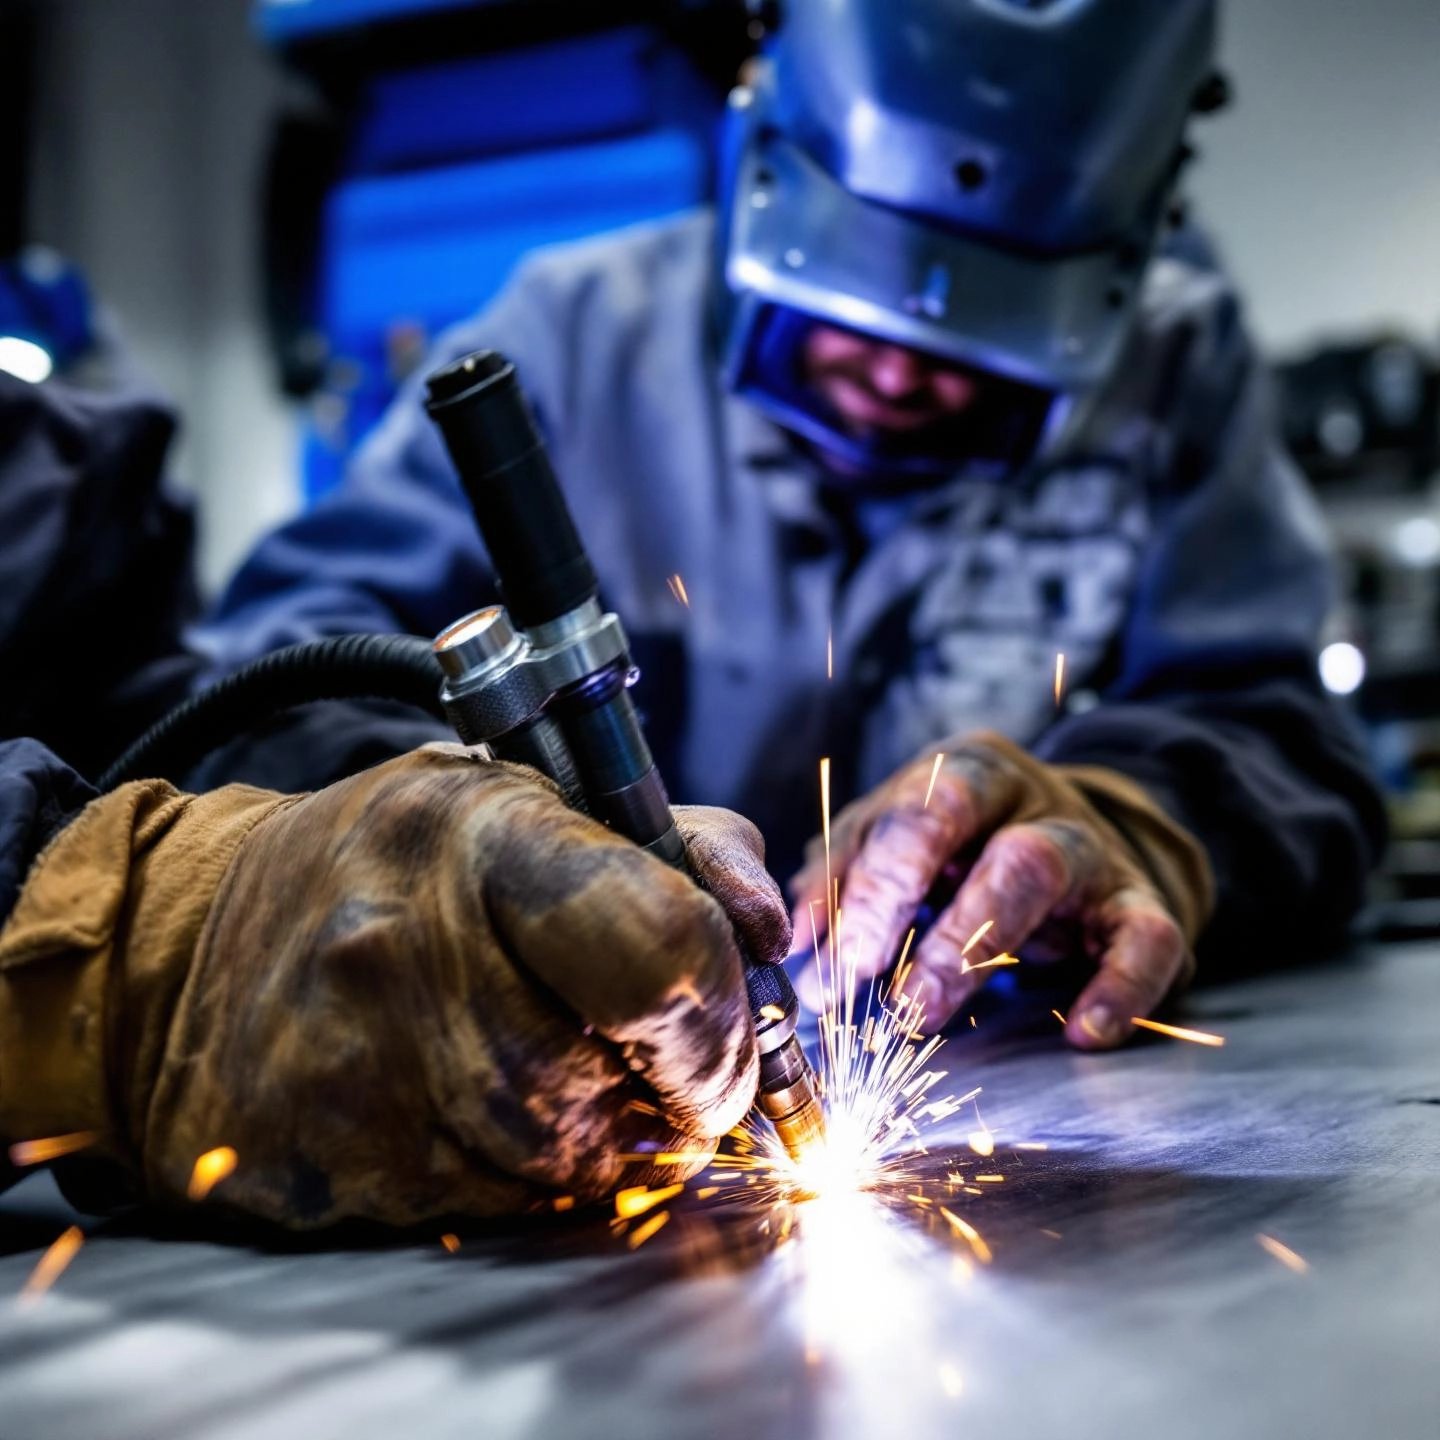
Here’s where the aluminum TIG welder shines. TIG (Tungsten Inert Gas) welding offers unmatched precision and control. You’re able to fine-tune heat input, adjust arc characteristics, and use non-consumable tungsten electrodes for a clean, controlled weld. Unlike MIG welding, which is faster but less precise, TIG lets you produce high-quality, visually appealing welds—something especially important for projects where strength and appearance matter.
Ready to tackle tig welding aluminum like a pro? This guide will walk you through every step—from understanding why AC power is essential, to choosing the right features in an aluminum tig welder, dialing in your settings, and mastering hands-on techniques for flawless welds. Whether you’re a hobbyist or aiming for professional results, you’ll find practical tips, troubleshooting advice, and expert insights to help you unlock the full potential of TIG welding aluminum.
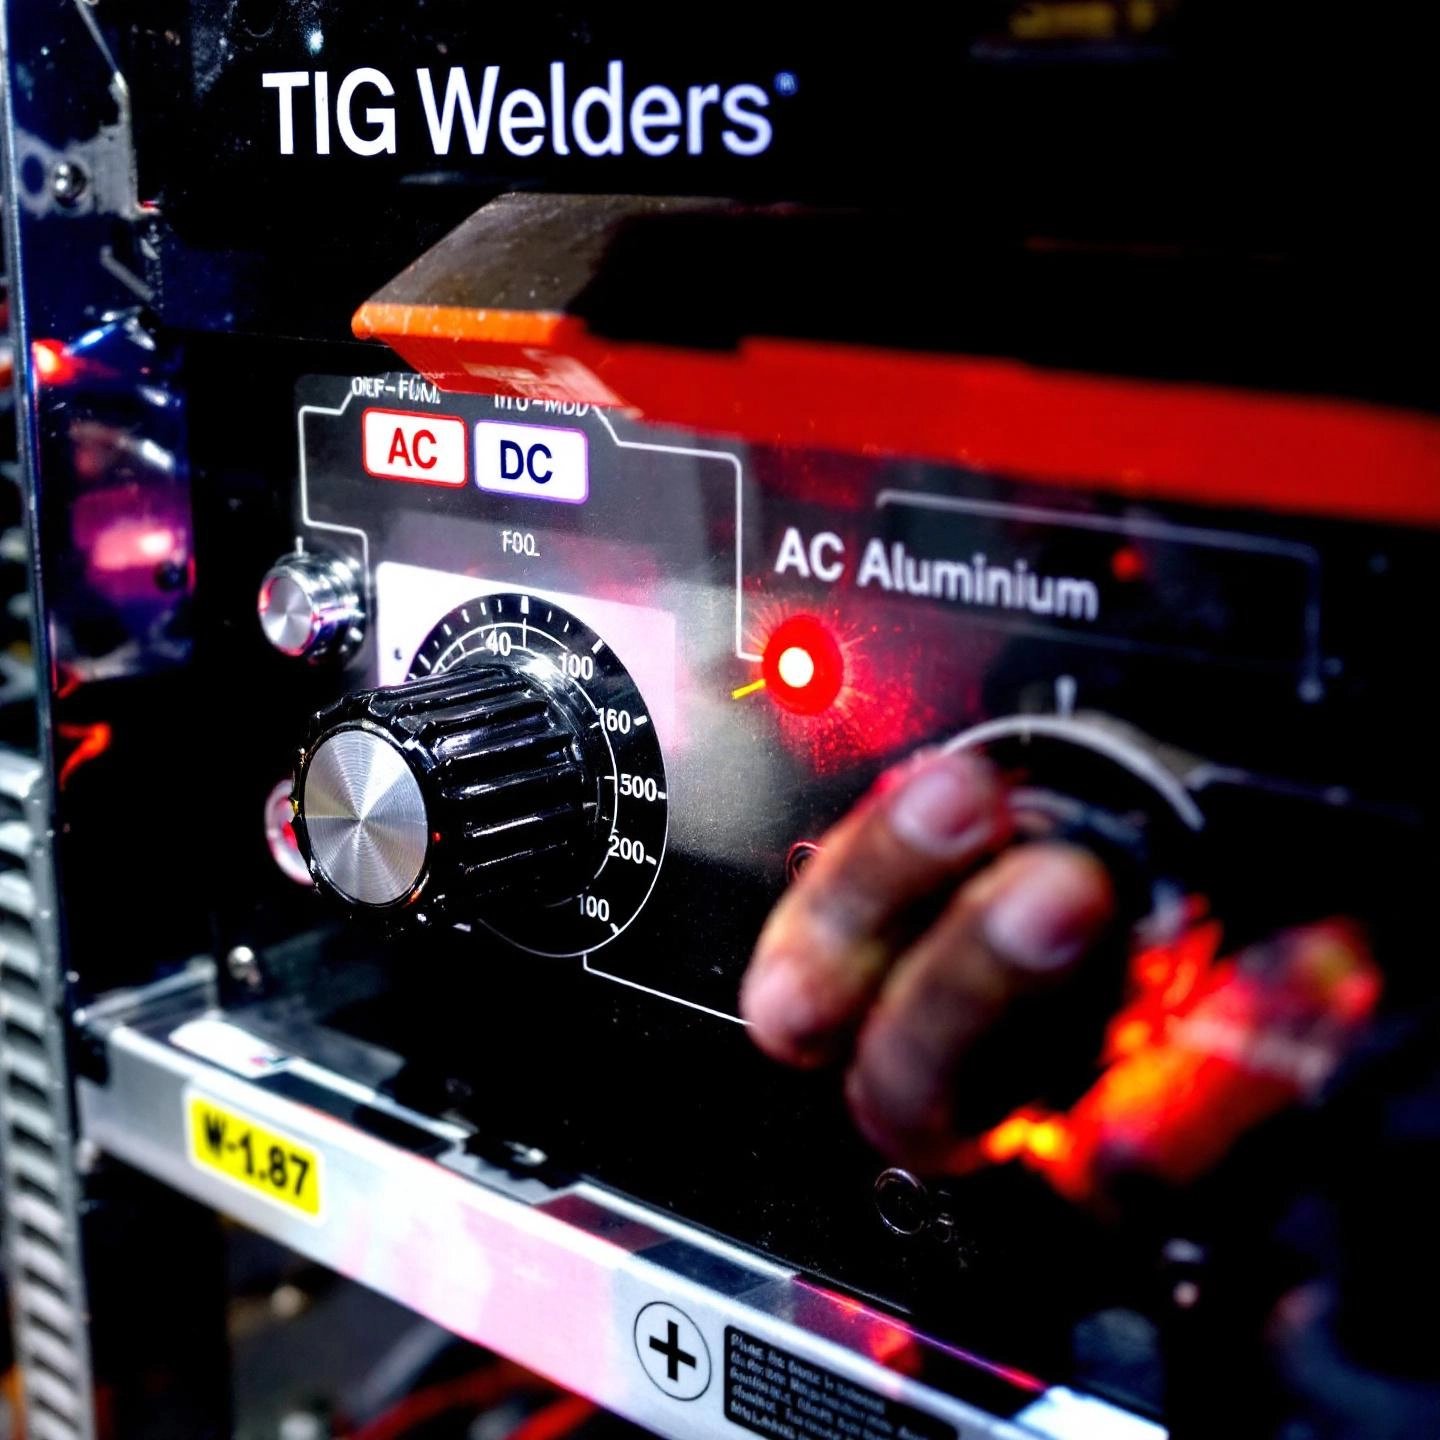
When you first set out to weld aluminum, you’ll quickly encounter one key question: Should you use AC or DC for TIG welding aluminum? The answer isn’t just a matter of preference—it’s rooted in the science of how aluminum behaves under the torch. Let’s break down why an AC-capable aluminum TIG welder is absolutely non-negotiable for most aluminum projects.
Imagine trying to peel a stubborn sticker off a surface. If you only push down (welding), the sticker stays put. But if you alternate between pushing and pulling (cleaning and welding), you eventually break the bond and remove it cleanly. This is exactly how Alternating Current (AC) works with aluminum TIG welding.
Aluminum forms an oxide coating almost instantly when exposed to air. This oxide melts at a much higher temperature than the aluminum underneath. If you try to weld with DC, the arc can’t break through this layer, leading to poor fusion and dirty welds. Here’s what makes AC so effective:
| AC TIG Welding (Aluminum) | DC TIG Welding (Aluminum) |
|---|---|
|
|
In summary, if you’re searching for an aluminum TIG welder, make sure it offers AC capability. DC-only machines are great for steel, but they simply can’t deliver the clean, reliable welds you need for aluminum. While experienced welders might occasionally use DC for thick, special-grade aluminum, AC remains the industry standard for most jobs.
Now that you know why AC is a must for TIG welding aluminum, let’s explore the key features that set high-performing aluminum TIG welders apart, ensuring you get the most out of every weld.
When you start searching for the best TIG welder for aluminum, the options—and technical jargon—can feel overwhelming. How do you know what really matters in an aluminum TIG welding machine? Imagine standing in front of a row of welders, each boasting different controls, displays, and specs. Which features are essential for clean, strong aluminum welds, and which are just nice-to-haves?
To make it easy, here’s a practical checklist of the top features you should prioritize. Each one plays a specific role in helping you achieve precise, reliable welds on aluminum:
Why do these features matter so much? Let’s break it down with a few real-life scenarios:
| Feature | Why It Matters for Aluminum |
|---|---|
| AC/DC Capability | Enables proper cleaning and penetration for aluminum; versatility for other metals |
| AC Balance Control | Fine-tunes oxide cleaning vs. weld penetration |
| AC Frequency Control | Adjusts arc focus for different joint types and thicknesses |
| Amperage Range | Determines what thicknesses you can weld |
| HF Start | Ensures clean arc starts and reduces contamination |
| Duty Cycle | Allows longer weld times on demanding jobs |
| Foot Pedal | Gives live control over heat input for precision work |
| Quality Torch | Improves comfort and access in tight spaces |
| Clear Controls | Simplifies setup and adjustments |
| Support/Consumables | Keeps your machine running smoothly |
Armed with this checklist, you can confidently compare aluminum TIG welding machines and pick the one that matches your needs—whether you’re repairing a classic car, fabricating custom parts, or building your next big project. Up next, we’ll dive deeper into how to use advanced AC balance and frequency controls to fine-tune your welds for every aluminum application.
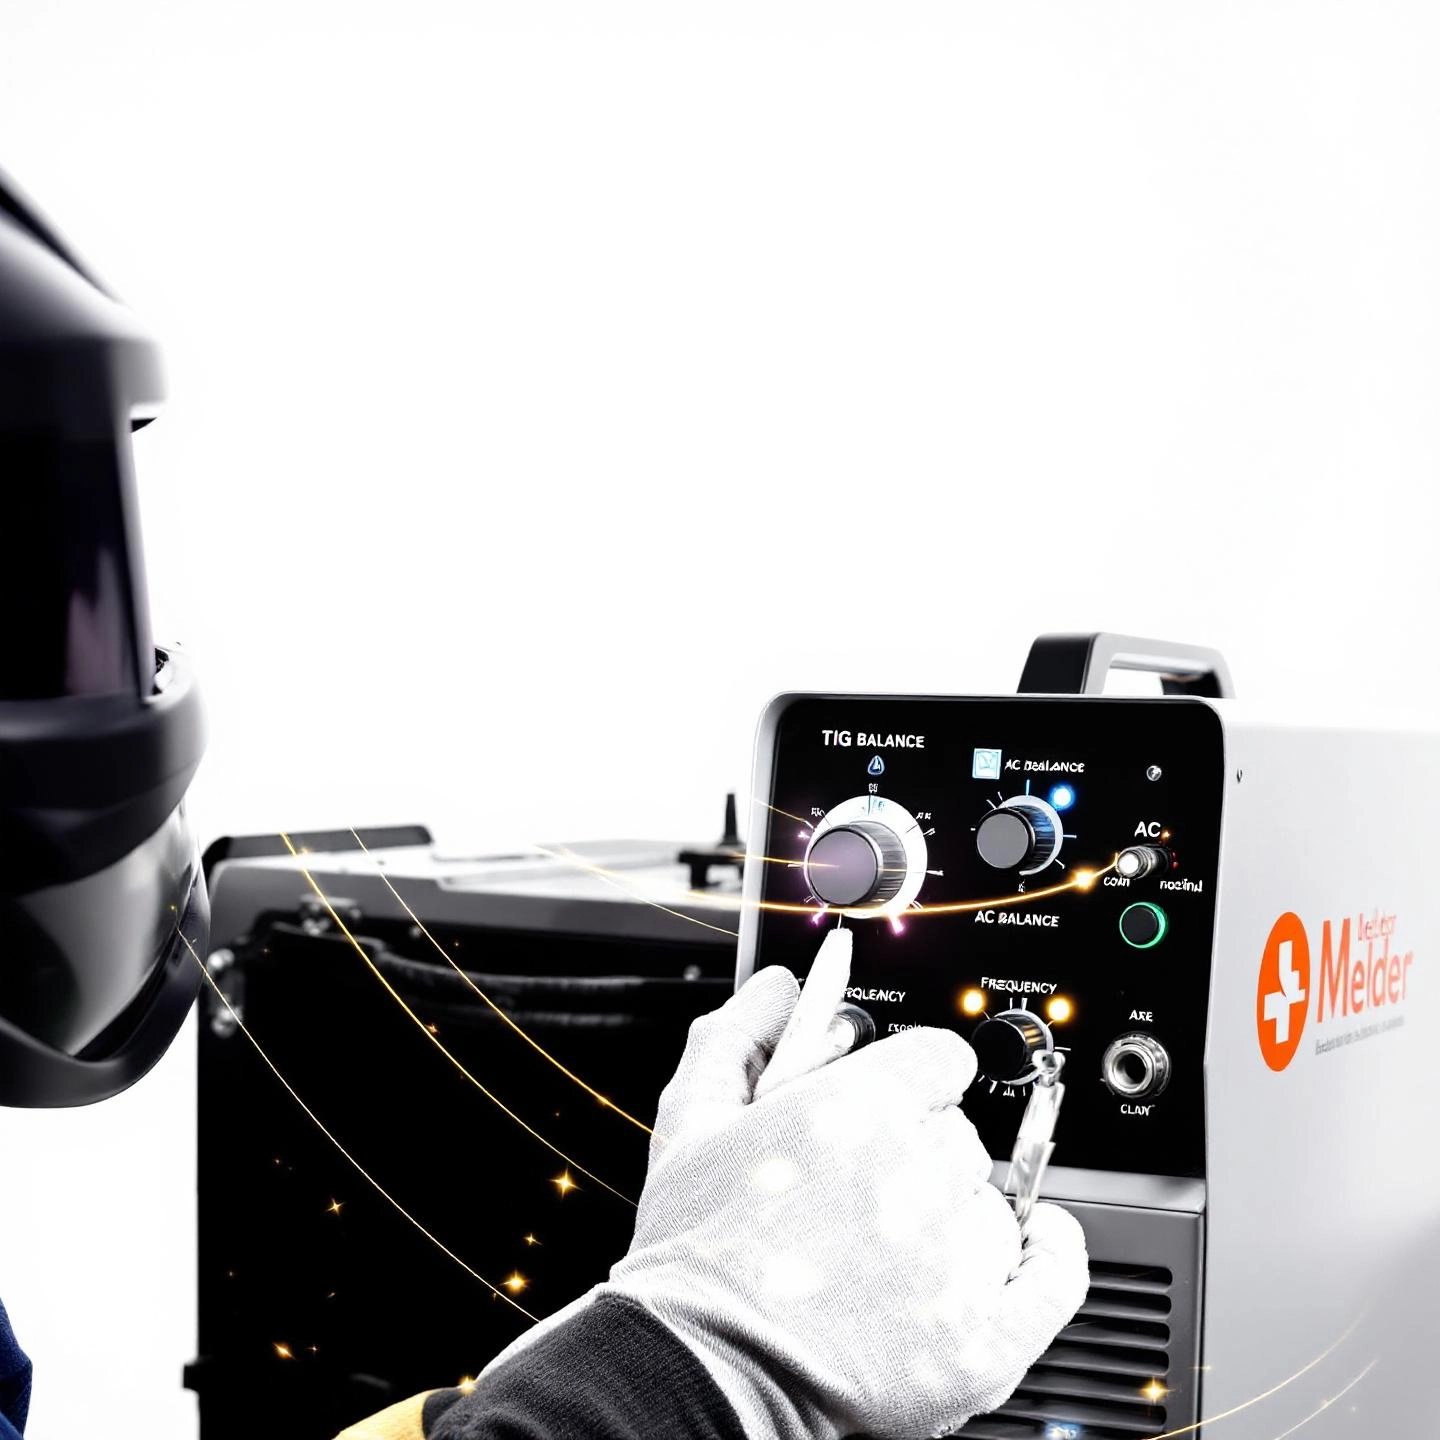
Ever adjusted your TIG welder’s settings and wondered, “What exactly does AC balance or frequency do for my aluminum weld?” If you’ve found yourself tweaking knobs but not quite sure what’s happening at the arc, you’re not alone. These advanced controls can seem mysterious, but mastering them is the secret to cleaner, stronger, and more precise aluminum welds. Let’s break down how these features work—and how you can use them to optimize your TIG welding aluminum settings.
Think of AC balance as a seesaw between two critical actions: cleaning the stubborn oxide layer on aluminum and penetrating the base metal for a solid weld. In AC TIG welding, the current alternates between electrode positive (EP) and electrode negative (EN):
Modern aluminum TIG welders let you adjust the percentage of time spent in each phase. For example, a 70% EN / 30% EP balance means more heat goes into the workpiece (deeper penetration), while a 60% EN / 40% EP setting boosts cleaning for dirtier or oxidized aluminum.
| AC Balance Setting | Cleaning Action | Penetration | Tungsten Wear | Weld Appearance |
|---|---|---|---|---|
| Higher EP (e.g., 40%) | More (removes heavy oxide) | Less (shallow fusion) | Increased (tungsten may ball or erode) | Cleaner surface, but risk of unstable arc |
| Higher EN (e.g., 75-80%) | Less (for clean aluminum) | More (deeper fusion) | Reduced (tungsten lasts longer) | Smoother weld, but may see oxide if not enough cleaning |
| Balanced (e.g., 65% EN / 35% EP) | Moderate (good for most jobs) | Moderate | Typical wear | Balanced appearance and performance |
Tip: If you see black flecks ("peppering") in the weld puddle, increase EP for more cleaning. If your tungsten is balling or eroding quickly, increase EN to protect the tungsten and boost penetration.
AC frequency refers to how many times per second the current switches polarity. Older machines ran at 60 Hz, but modern welders let you adjust from around 80 Hz up to 250 Hz or more. Why does this matter?
| AC Frequency | Arc Shape | Best For | Weld Quality |
|---|---|---|---|
| High (150–250 Hz) | Narrow, focused | Thin aluminum, detail work, tight joints | Precise, clean beads, minimal heat-affected zone |
| Low (80–120 Hz) | Wide, soft | Thick aluminum, outside corners | Wider bead, more forgiving arc |
Mastering AC balance and frequency controls gives you the flexibility to dial in the perfect weld for every aluminum project:
By understanding and adjusting these advanced controls, you’ll unlock the full potential of your aluminum TIG welder—achieving welds that are not just strong, but also visually flawless. Next, we’ll show you how to set your amperage for different aluminum thicknesses, ensuring every weld is tailored to the job at hand.
Ever wonder why some aluminum welds look picture-perfect while others end up warped or riddled with holes? The secret often comes down to dialing in the right amperage for your material. Sounds technical? It doesn’t have to be. Let’s break down how to set your TIG welding aluminum settings for different thicknesses—and why a foot pedal can make all the difference.
Think of amperage as the amount of heat you’re pouring into the metal. Too little, and your weld won’t penetrate; too much, and you risk burning through. Because aluminum conducts heat so efficiently, even small changes in thickness require big adjustments in your settings.
Here’s a quick guide to help you set the right amperage for common aluminum thicknesses. Use this as a starting point, then fine-tune based on your specific project and joint type:
| Aluminum Thickness | Recommended Amperage Range |
|---|---|
| 0.8 – 1.6 mm (0.03 – 0.06 in.) | 20 – 40 amps |
| 1.6 – 3.2 mm (0.06 – 0.13 in.) | 40 – 80 amps |
| 3.2 – 6.4 mm (0.13 – 0.25 in.) | 60 – 100 amps |
Tip: For most jobs, a good rule of thumb is about 1 amp per 0.001 inch of aluminum thickness, but as the material gets thicker, this ratio can shift—especially for pieces over 1/4 inch (SimpleWeld).
Ever notice how a weld can start off perfect, then suddenly get too hot as you go? That’s where a foot pedal comes in. It acts like a gas pedal for your welder, letting you ramp amperage up or down in real time. Here’s how it helps:
For example, when you’re learning how to tig weld aluminum, you’ll notice that using a foot pedal gives you much more control over bead consistency—especially on joints where thickness varies or heat builds up quickly.
Mastering your TIG welding aluminum settings is about more than just numbers—it’s about reading the puddle, adjusting on the fly, and using tools like the foot pedal to stay in control. Next, we’ll explore how to select the right tungsten and filler rods to match your amperage and material for flawless results every time.
When you’re ready to fire up your aluminum TIG welder, one of the most important (and often overlooked) decisions is which tungsten electrode and filler rod to use. Sounds like a small detail? Actually, the right combination can mean the difference between a smooth, shiny bead and a weld riddled with contamination or cracks. So, how do you pick the best match for your project?
Let’s start with the tungsten electrode—the heart of the TIG process. Not all tungstens are created equal, especially for aluminum. Here’s a quick breakdown of the most popular options and how they stack up for AC TIG welding aluminum:
In summary: If you’re using a modern AC TIG welder, 2% lanthanated tungsten is your best bet for most jobs. For high-amperage or very thick aluminum, zirconiated is a solid backup. Pure tungsten still works for older machines but is less common today.
Once your tungsten is set, it’s time to pick the right aluminum TIG welding rod (filler alloy). The two most common choices are 4043 and 5356. But which is right for your job? Here’s a side-by-side look:
| Filler Alloy | Main Alloying Element | Best Used For | Key Properties |
|---|---|---|---|
| 4043 | 5% Silicon |
|
|
| 5356 | 5% Magnesium |
|
|
In short, use 4043 for most general aluminum welding, especially if you want easy welding and a smooth finish. Go with 5356 for higher strength, marine environments, or if you need the weld to match after anodizing.
Choosing the right tungsten and filler rod is the foundation of a clean, strong aluminum weld. With your electrodes and rods dialed in, you’re ready to set up your shielding gas—the final piece in building flawless welds every time.
Ever noticed how a perfect aluminum weld looks bright and smooth, while a flawed one is riddled with dark spots or holes? The secret often lies in the shielding gas you choose. When it comes to gas for TIG welding aluminum, making the right selection is crucial for strong, clean welds.
Shielding gas serves as an invisible barrier, protecting your molten weld pool and tungsten electrode from contamination by oxygen, nitrogen, and moisture in the air. Without this protection, your welds can suffer from porosity, cracking, or even outright failure. Imagine pouring a glass of water—if dust or dirt falls in, the water is no longer clean; shielding gas keeps your weld zone pure in much the same way.
Getting the flow rate right is just as important as choosing the correct gas. Too little, and air sneaks in to contaminate your weld; too much, and you risk turbulence that actually draws air into the arc. Here’s a quick guide based on cup size and conditions:
| TIG Cup Size | Recommended Flow Rate (CFH) |
|---|---|
| #5 (small) | ~12 CFH |
| #7 or 7/16" | ~15 CFH |
| #8 | 15–20 CFH |
Remember: More isn’t always better. The goal is a smooth, laminar flow that gently envelops the weld pool—too much gas can create turbulence, drawing in contaminants instead of keeping them out.
With your shielding gas and flow rate dialed in, you’re set up for clean, strong aluminum welds. Next, let’s make sure your aluminum is perfectly prepped—because even the best gas can’t save a dirty surface.
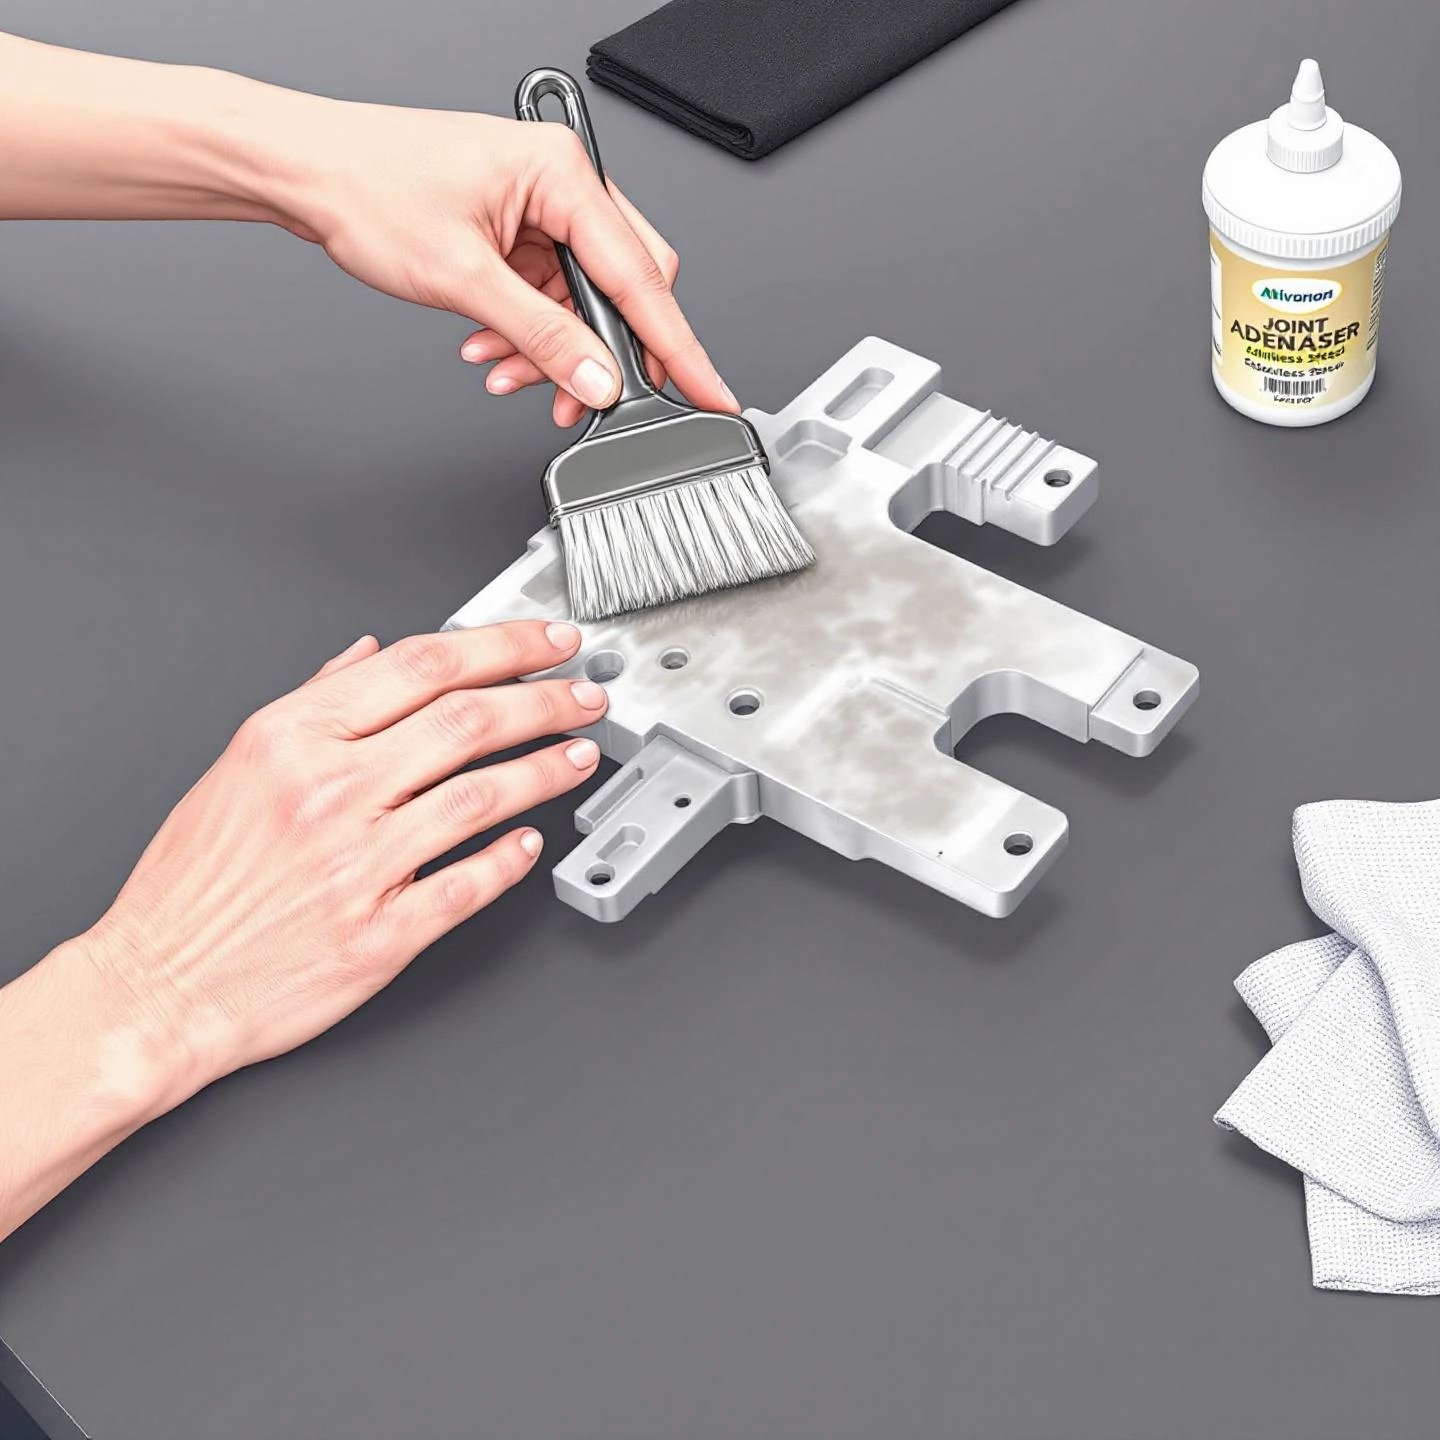
Ever wondered why even a perfectly set up aluminum TIG welder can produce flawed results? The answer often lies in the prep work. If you’re eager to learn how to tig weld aluminum with clean, strong results, start by mastering the cleaning process. Aluminum’s natural oxide layer and its tendency to attract contaminants make surface preparation absolutely critical—no matter how advanced your equipment is.
Imagine trying to paint over a dirty, oily wall. The paint won’t stick, and the finish will look uneven. Welding aluminum is much the same: dirt, grease, or even the invisible oxide layer can ruin your weld, causing porosity, weak joints, or ugly black marks. That’s why top welders say, “Clean, clean, clean, and clean again”.
Follow these steps to ensure your aluminum is ready for TIG welding. Skipping any can mean the difference between a flawless weld and a frustrating redo.
Wondering how hot to pre-heat aluminum for TIG welding? For most thin or clean aluminum, pre-heating isn’t necessary if your prep is thorough and your welder is properly sized. However, for thick sections or castings, gentle pre-heating (typically up to 300°F/150°C) can help reduce thermal shock and improve weld penetration. Always use a temperature-indicating crayon or digital thermometer to avoid overheating, which can damage the metal’s properties.
Even the best cleaning routine can’t fix poor base material. For consistent, professional results, source aluminum from reputable manufacturers like Shengxin Aluminum. Their precision-engineered profiles and strict quality control mean fewer contaminants, more uniform surfaces, and welds that meet the highest standards—especially for demanding applications in transportation, construction, or custom fabrication.
With your aluminum perfectly prepped and your TIG welder dialed in, you’re ready for hands-on technique. Next, let’s break down the fundamental torch skills that turn clean metal into flawless beads.
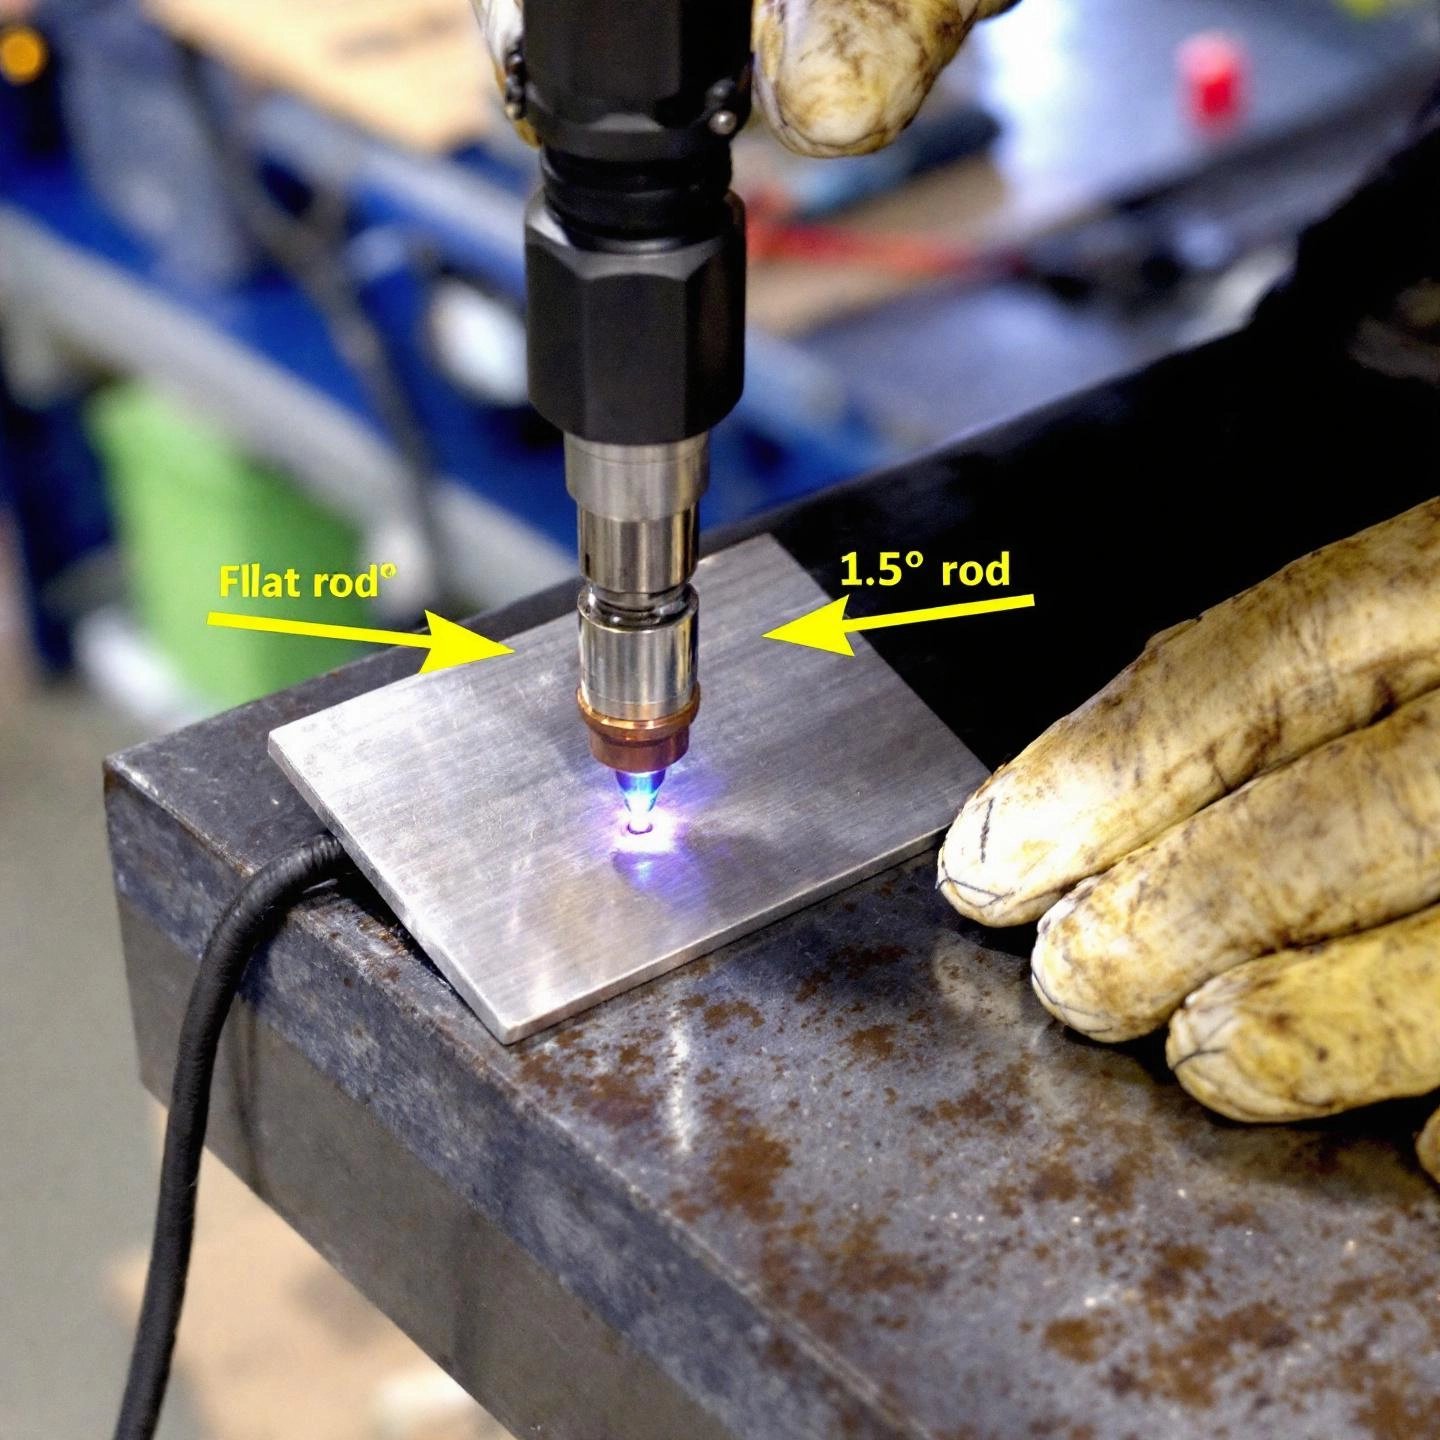
Ever watched a seasoned welder lay down a flawless aluminum bead and wondered, “How do they make it look so easy?” The secret isn’t just in the machine settings—it’s in the hands-on technique. If you want to weld aluminum with TIG and achieve those clean, stacked-dimes beads, mastering a few physical fundamentals is essential. Let’s break down the key moves that separate a beginner from a pro.
Sounds complex? Not when you break it into manageable steps. Here’s how to tig weld aluminum with confidence:
Once you’ve nailed these basics, you’ll notice your welds become more consistent, with fewer defects and better appearance. This foundation enables you to tackle advanced projects—think custom automotive panels, aerospace components, or complex architectural elements—where both strength and aesthetics are critical. Consistent technique is what allows you to adapt to new joint types, positions, and challenging alloys with confidence.
Even the best torch technique can’t compensate for poor material. For high-specification applications, sourcing precision-engineered aluminum profiles is essential. Suppliers like Shengxin Aluminum offer uniform, contaminant-free profiles that make it easier to achieve repeatable, professional results—especially when weld integrity and appearance can’t be compromised.
Ready to put your skills to the test? With these techniques and premium materials, you’re set to create clean, strong aluminum welds that stand up to scrutiny. In the final section, we’ll recap the essential lessons and help you take the next step in your TIG welding journey.
When you first set out to tackle aluminum TIG welding, it may have seemed like a maze of technical settings, unique material quirks, and hands-on skills. But as you’ve seen throughout this guide, mastering the process is a blend of understanding the science behind your aluminum TIG welder and practicing the craft with precision and care.
Imagine the possibilities—custom automotive builds, aerospace components, architectural details, or creative projects that push the limits of what aluminum can do. With the knowledge and strategies you’ve gained here, you’re equipped to approach each weld with confidence, whether you’re fabricating for fun or building for performance.
Above all, remember that great results start with the right foundation. Investing in a reliable aluminum TIG welder and sourcing premium materials—like those from Shengxin Aluminum—sets you up for success on every project. So grab your torch, dial in your settings, and let your creativity lead the way. Your journey to perfect aluminum TIG welds starts now.
The best TIG welder for aluminum is one with AC/DC capability, AC balance and frequency controls, high-frequency start, and a wide amperage range. These features allow you to adjust for different aluminum thicknesses and achieve clean, strong welds. Look for a machine with a responsive foot pedal and reliable support to ensure consistent results.
For aluminum, use AC mode with adjustable AC balance to control cleaning and penetration. Set the amperage based on metal thickness—typically 1 amp per 0.001 inch. Use high-frequency start for clean arc initiation and fine-tune AC frequency for arc focus. A foot pedal helps you control heat input during welding.
100% argon is the standard shielding gas for TIG welding aluminum, providing stable arcs and clean welds. For thick sections, an argon-helium mix can increase penetration and heat, but pure argon is ideal for most jobs and easier to control for beginners.
For most aluminum TIG welding, use 2% lanthanated tungsten for arc stability and durability, or zirconiated tungsten for high-amperage jobs. Choose 4043 filler rod for general aluminum welding and a smooth appearance, or 5356 for higher strength and color match after anodizing.
Cleanliness is crucial. Degrease the surface, remove the oxide layer with a dedicated stainless steel brush, and weld promptly after cleaning. For best results, use high-quality aluminum profiles from reputable suppliers to minimize contamination and ensure weld integrity.


 online service
 0086 136 3563 2360
 sales@sxalu.com
 +86 136 3563 2360
 English
 français
 Deutsch
 русский
 español
 português
 العربية
 ไทย
ไทย Việt
Việt Українська