If you are searching for how to cut aluminum extrusions, you are usually trying to solve one of three problems: get a safe cut at home, get a clean end that is ready to assemble, or make repeat parts without wasting stock. When people ask how to cut aluminum or wonder, how can i cut aluminum in a home shop, that is the real decision underneath the tool question. The answer is not the same for every project.
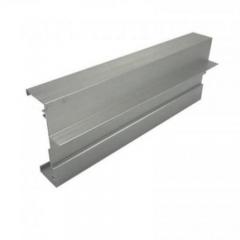
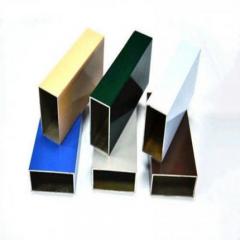
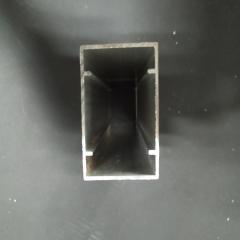
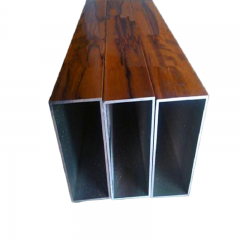
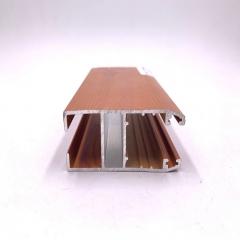
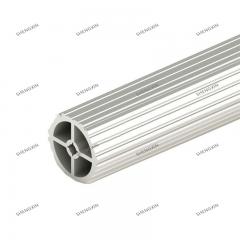
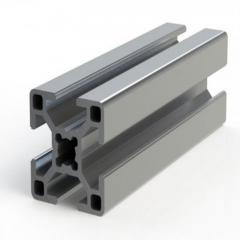
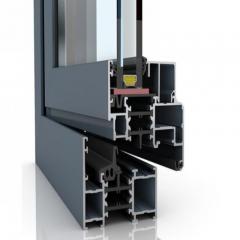
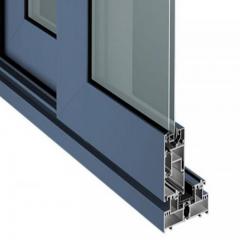
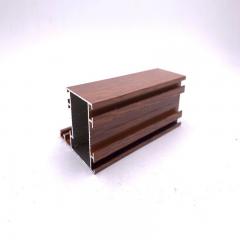
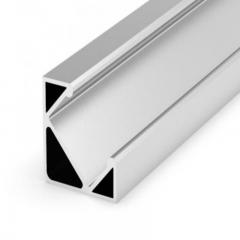
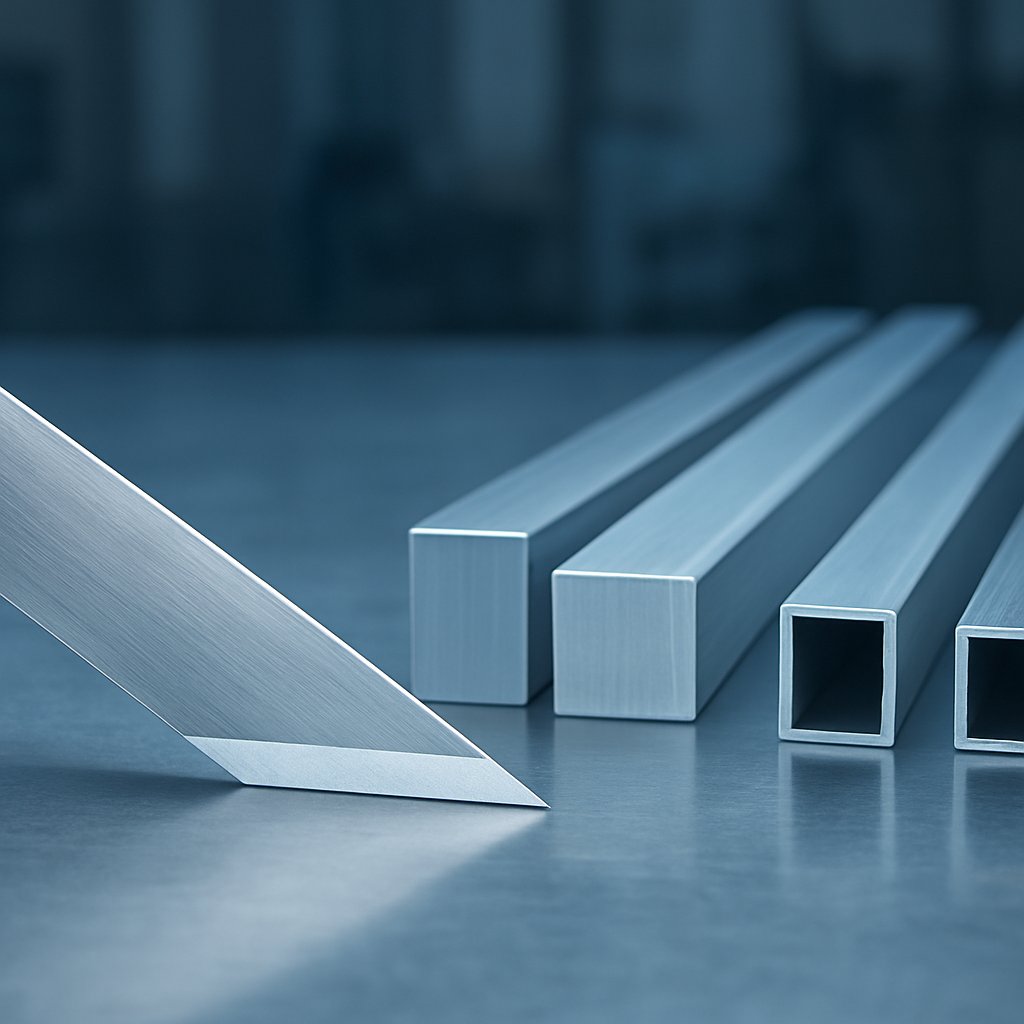
In this guide, an aluminum extrusion is an aluminum shape formed through a die. These profiles can be solid, semi-hollow, or hollow. Common examples include angles, channels, tubing, trim, frames, and T-slot profiles. They are often sold in long lengths and then cut down for enclosures, framing, guards, and other assemblies.
DIY cutting makes sense for one-off jobs, prototypes, rough framing, and many garage-shop builds. If the part only needs to be cut to length, lightly deburred, and fitted by hand during assembly, home cutting is often practical. This is where many beginners start, and it is also where experienced makers save time on simple work.
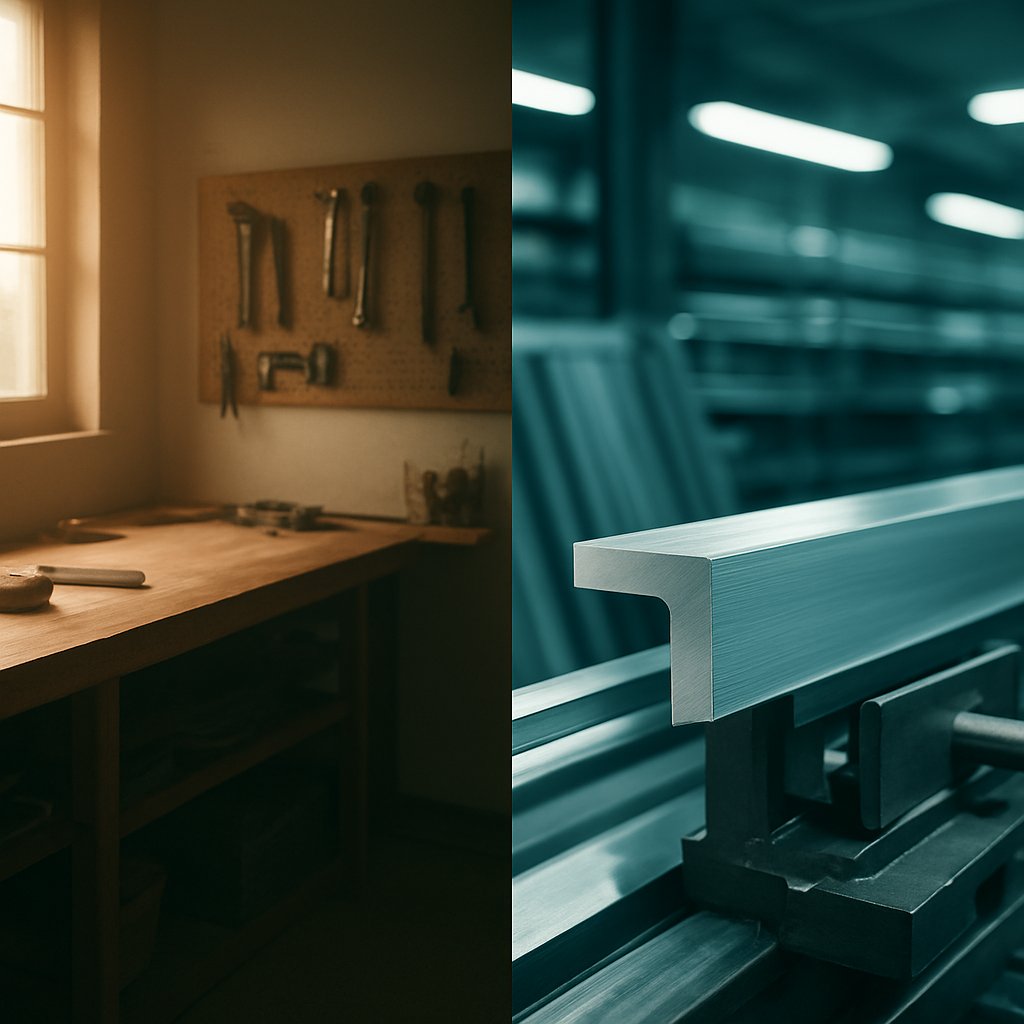
A clean-looking cut and a precision-controlled cut are not the same thing.
If the part must arrive ready to bolt together, slide into a frame, or match across a batch, supplier cutting or machining is often the best way to cut aluminum for that job. Industrial precision cutting is judged by length, angle, squareness, and cut-surface condition, not just whether the piece looks close. That matters more as finish sensitivity, repeatability, and fit-up demands increase. In other words, learning how to cut aluminum extrusions starts with honest expectations. The saw matters, but support, clamping, and control matter just as much.
A good DIY plan can still fail at the bench. For saw cutting aluminum, safety and cut quality are tied together. If the profile shifts, chatters, or drops at the end of the pass, the result is not just ugly. It can also pinch the blade, throw the cutoff, or pull the cut off square.
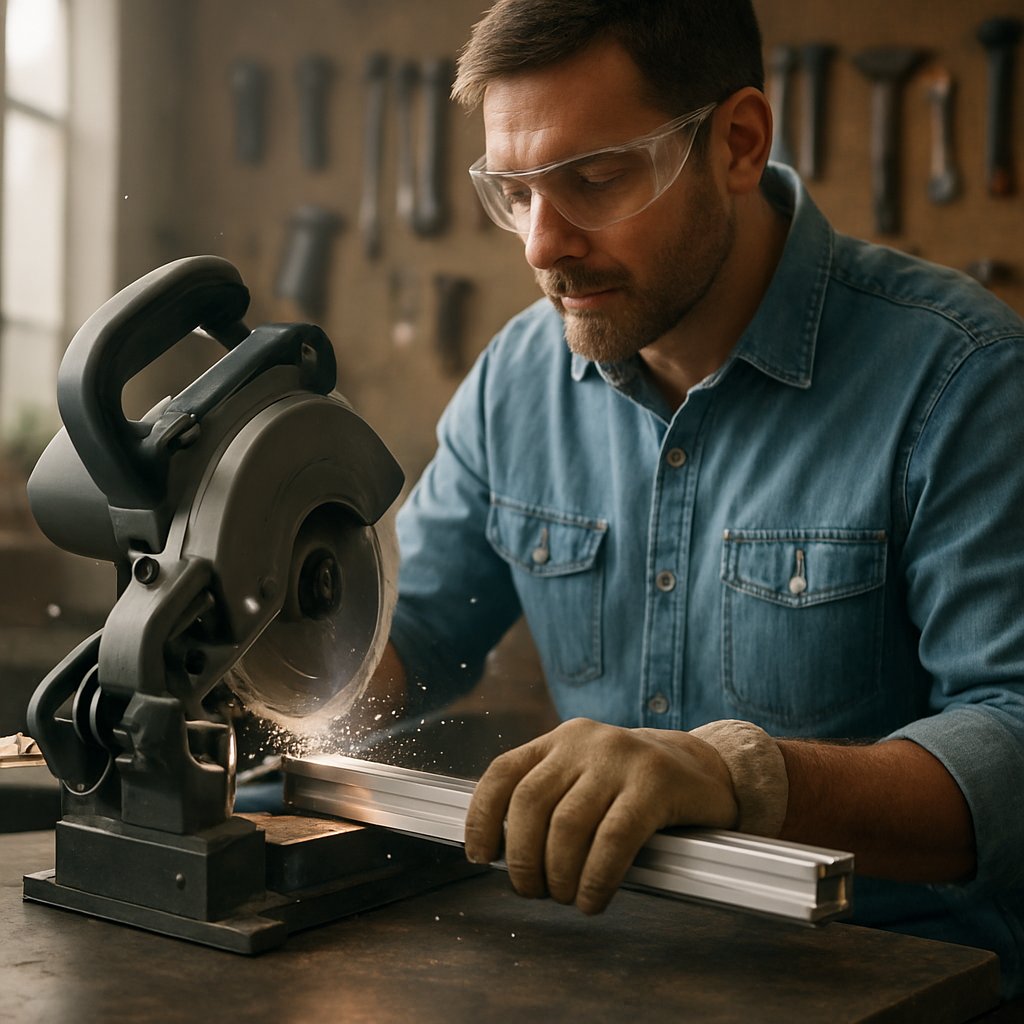
Put protection on before the saw starts. Even the right saw blade cutting aluminum cleanly will throw sharp chips. Wear ANSI Z87.1 glasses, hearing protection, and a N95 mask if fine particles may hang in the air. Gloves are useful when handling sharp offcuts after the blade stops, but loose gloves and rotating tools do not mix well during aluminum sawing.
Use a bench, saw stand, or sawhorses that keep the extrusion flat and fully supported. Clear scrap, cords, and loose tools from the cut zone. Keep your stance balanced and your body slightly out of the direct line of the blade and offcut. Any saw to cut aluminum works better when the base is steady, the fence is clean, and the stock is supported on both sides.
Clamping is not just a safety extra. It is what keeps the piece tight to the fence and bed so the blade enters straight and exits cleanly. A loose profile can vibrate, twist, or let the offcut rotate into the teeth. The binding behavior described in miter saw kickback guidance explains the risk: the blade gets pinched, or it catches a small cutoff and throws it. You can have a good setup and still watch the saw blade cut aluminum unevenly if the work moves even a little. Lock the stock down, support the drop, and the next choice becomes more important: which saw and blade suit the profile best.
Two people can use the same machine and get completely different results. One cut comes off clean and easy to deburr. The other chatters, loads the blade, and leaves a rough face. Most of that difference comes from the blade, the rigidity of the saw, and how well the extrusion is supported, not just the tool category.
That is why the best way to choose a cutting method is to start with the profile itself. Thin walls, heavy sections, long stock, and finish-sensitive pieces do not behave the same under a blade.
Thin-wall trim, light channels, and small hollow profiles tend to vibrate and grab if they are not held firmly. For those shapes, cutting aluminum with miter saw setups is popular because the fence, table, and clamp can control the part well during a square crosscut. In many home shops, a miter saw aluminum setup is the most approachable way to get repeatable lengths without much hand cleanup.
Long extrusions create a different challenge. Cutting aluminum with circular saw methods makes sense when the stock is too long or awkward for a stationary saw, but the guide and support have to do more work to keep the line straight. Heavier structural shapes often respond better to slower, steadier cutting. A band saw cut aluminum calmly on thick sections, although the cut face is usually less finish-ready than a well-tuned miter saw. If you are considering a chop saw for cutting aluminum, focus on a blade-based setup intended for non-ferrous metal, not a rough abrasive approach when surface quality matters. Cutting aluminum with a table saw can also be accurate for straight, controlled work, but it requires careful handling of both the workpiece and the offcut.
Think blade first, tool second. A sharp blade meant for non-ferrous metal usually matters more than whether the saw is labeled as a miter saw, chop saw, or table saw. Thin-wall extrusions benefit from a blade that enters smoothly and stays engaged without taking an overly aggressive bite. Heavier sections need stiffness and clean chip removal so the cut does not bind, smear, or push the stock sideways.
Blade condition matters just as much as blade type. A dull or dirty blade can make a good saw perform badly. That shows up as chatter, extra burrs, wandering cuts, and more heat. The same rule applies when cutting aluminum with chop saw setups or when cutting aluminum with a table saw. If you cut aluminum with table saw methods, the profile must sit flat, stay supported, and move through the blade without twisting. In real use, blade sharpness, clamping, and feed control usually matter more than motor size.
No saw is automatically best for every extrusion. The practical differences show up in finish quality, control, and how demanding the setup is.
| Cutting method | Likely use cases | Typical finish quality | Setup demands | Common mistakes |
|---|---|---|---|---|
| Miter saw | Short to medium crosscuts, repeat parts, small to medium profiles | Clean to very clean with the right blade and firm clamping | Moderate | Dropping into the cut too fast, weak support, no clamp |
| Circular saw with guide | Long stock, site work, pieces awkward to move | Fair to clean, depending on guide control | Moderate to high | Line drift, twisting the saw base, poor stock support |
| Blade-type chop saw | Repeated crosscuts, medium to heavier sections | Clean when matched correctly, rough if too aggressive | Moderate to high | Using the wrong blade, forcing the cut, weak hold-downs |
| Band saw | Heavier shapes, slower shop cutting, lower-impact cutting | Functional to fair, usually needs deburring | Moderate | Blade wander, expecting a finish-ready face, poor tracking |
| Table saw with sled or jig | Repeatable straight cuts where the profile sits flat and stays controlled | Clean but very setup-dependent | High | Trapping the offcut, poor infeed or outfeed support, loose workholding |
The pattern is simple. Blade choice, rigidity, and support usually decide the result before the tool label does. Once the method is chosen, accuracy starts shifting away from theory and into shop habits like measuring, marking, supporting long stock, and clamping it so the cut can stay square.
A clean cut usually begins before the motor turns on. People searching for how to cut aluminum extrusion often focus on the saw itself, but layout and support usually decide whether the blade follows the line or wanders off it. The same prep matters whether your question is can i cut aluminum with a miter saw or can i cut aluminum with a chop saw. In a home shop or garage, good results come from careful measuring, a visible mark, full support, and firm clamping.
Start from a reliable reference end and measure with the same tape or rule all the way through the job. Then use a square or straightedge to draw a clear line across the face to be cut. A practical cutting guide for aluminum profiles stresses the basics for a reason: measure carefully, double-check, and mark precisely. Also account for the blade path. If the blade removes material from the wrong side of the line, the part can end up short even when the measurement was correct. That is one of the most common mistakes behind searches for how to cut aluminium extrusion.
Long stock needs more than the saw table alone. Use stands, sawhorses, or another level support so the extrusion stays flat before, during, and after the cut. When one end hangs, the profile can flex, pull away from the fence, or let the offcut fall as the blade exits. That is where line drift often starts. Even for basic cutting aluminum extrusion at home, equal support on both sides makes the cut steadier and helps the face stay closer to square.
Clamp the piece tightly to the bench or saw table so it cannot slip or rotate. The same home-cutting guidance above recommends firm clamping because movement hurts both safety and accuracy. Keep the work seated against the fence, and do not push it sideways with your hand while tightening the clamp. If you are making repeated parts, a stop block helps with length, but the clamp is what keeps each cut consistent. Discussion around squaring extrusion on Hackaday also points to a real shop issue: even decent saws can show blade deflection, so rigid hold-downs matter when you want cleaner, more repeatable ends.
Most bad cuts are setup problems long before they become cutting problems.
Get the line right, keep the stock level, and lock it in place. Feed pressure, blade entry, and chip control become much easier to manage when those details are settled.
The line is marked and the stock is locked down. What happens in the next few seconds usually decides whether the cut stays clean or turns into chatter, burrs, and wasted material. Whether you are cutting aluminum on chop saw setups, cutting aluminum on miter saw equipment, or cutting aluminum with a circular saw, the technique stays surprisingly consistent: let the blade stabilize, enter smoothly, and keep your feed calm.
Bring the saw up cleanly before the teeth touch the extrusion. A rushed entry is more likely to grab the material, mark the leading edge, or start vibration that carries through the whole cut. On a miter or chop saw, lower the head in a controlled motion rather than dropping into the profile. On a guided circular saw, keep the base flat and steady as the blade approaches the line. If you are using an aluminum cutting miter saw setup, this first contact matters just as much as the blade itself.
Feed pressure is where finish quality is won or lost. A short extrusion guide notes that slower, steady feed helps reduce burrs, heat, and rough edges. In practice, that means pushing or lowering the blade with even pressure and resisting the urge to speed up when the cut feels slow. If resistance builds, ease off. Do not muscle through it.
Forcing the cut can raise heat, worsen chatter, and load aluminum onto the teeth. Cold Saw Shop highlights chip welding as a real issue when aluminum sticks to the blade, which is why lubricant or cutting fluid is often used when the saw and blade maker allow it.
Let the blade do the work. If you feel the need to force the cut, fix the setup instead of pushing harder.
The exit is where many decent cuts go wrong. As the blade breaks through the far wall, the offcut can drop, twist, or pinch the blade if it is not supported. That movement raises the risk of kickback and can spoil squareness right at the end. Heat also tends to build late in the cut, so rushing the final inch often leaves a rougher edge and heavier burrs.
For cutting aluminum on table saw setups, keep the profile flat and guided so it does not twist as it passes the blade. For cutting aluminum on miter saw jobs, stay steady through the breakthrough instead of speeding up at the end. The same idea applies to an aluminum cutting miter saw or a guided handheld saw: support the drop, keep chips from packing into the cut, and let the teeth clear the material cleanly. That leaves far less cleanup, which is exactly what the cut face needs next.
A cut is not finished when the blade exits the metal. Fresh aluminum can look usable and still have a sharp burr, a smeared edge, or a slight angle error that shows up only when you try to assemble it. For anyone learning how to cut extruded aluminum, this is where a rough cut becomes either serviceable or assembly-ready. In practical terms, the best way to cut extruded aluminum is the method that leaves only light cleanup, not heavy reshaping.
First, let the blade stop fully, clear loose chips, and allow the cut end to cool enough to handle safely. Then remove only the sharp lip left by the cut. Light manual deburring is common because it is quick and adaptable, but the deburring review cited by Rexcut warns that cleanup can affect dimensions, surface condition, and even create new burrs. That is why the best way to cut aluminium is usually paired with the lightest deburring that gets the edge safe and clean.
Focus on the burr itself, not the whole face. If you keep grinding or filing to make a bad cut look better, you can shorten the part or round over an edge that was meant to stay crisp.
Look at the face straight on. You want a flat cut with minimal burr, no obvious tearing at the exit edge, and no visible crushing or deformation. If the part will butt against another piece or sit in a frame, check it with a square. As a useful benchmark, precision cutting standards for industrial extrusions often reference squareness around 0.3 mm per 100 mm, with tighter frame work going lower. That is not a promise for DIY work, but it is a helpful reminder that "looks straight" is not always straight enough.
| Visible result | Likely next step |
|---|---|
| Light edge burr only | Deburr lightly and use |
| Minor saw marks, face still flat | Usually acceptable for rough or hidden work |
| Heavy burrs or smeared exit edge | Clean up lightly, then consider a recut if fit matters |
| Out-of-square face or visible deformation | Recut rather than removing a lot of material by hand |
| Same defect on multiple parts | Stop and correct the process before cutting more |
Separate the result by end use. A rough acceptable cut may be fine for hidden framing, mockups, or parts that will be fitted later. An assembly-ready cut needs a burr-free edge, a reasonably square face, and a surface clean enough to seat properly without forcing the joint.
If one flaw keeps repeating, the cut face is already pointing back to the real cause: blade condition, feed pressure, support, or clamping.
Most extrusion cutting problems do not come from one dramatic mistake. They come from a small setup error repeated over several parts. If the same defect keeps showing up, stop and diagnose the pattern before cutting more stock. The root causes are usually the same whether you are cutting aluminium with circular saw guides, cutting aluminium with mitre saw setups, or using a band saw for slower shop work: weak support, a dull blade, excessive feed force, or misalignment in the saw and support system.
Wandering cuts usually start when the workpiece, blade, or saw path stops staying consistent. Useful square-cut checks from band saw practice include making sure the machine is level and secure, the support surfaces stay on the same plane, and the blade guides and saw head remain properly aligned. On band saws, low blade tension, worn side guides, or one-sided blade wear can also make the blade lead off line. The same logic carries over to other saws. If the stock is not fully supported or the saw is being pushed too hard, the cut can drift. If you are cutting aluminium with a drop saw and hear chattering, that is often a sign of movement, excessive feed pressure, or a blade that is no longer cutting cleanly.
Heavy burrs, torn edges, and a rough cut face point back to material deformation during the cut. The basics of burr formation are consistent: too much cutting force, poor support, dull tools, and speed or feed that do not match the material all make burrs worse. Incorrect cutting angle or inconsistent depth can add to the problem by loading one side of the cut more than the other. Start simple. Check blade sharpness, reduce feed pressure, and make sure the extrusion is fully supported at entry and exit. Whether you are cutting aluminium on table saw jigs or cutting aluminium with a drop saw, smoother feed usually improves the face faster than aggressive deburring after the fact.
An out-of-square end usually means the whole alignment chain needs attention. On band saws, worn guides, loose components, a head that is no longer square to the vise, or supports that are not on the same plane can all skew the cut. On other saw types, think in the same order: is the saw stable, is the work sitting flat, and is the blade path actually square to the fence or table? Even when cutting aluminium on table saw setups, a slight twist in the stock or uneven support can show up as a crooked end. Fix the system first, then recut the part. Hand-filing a badly angled face often removes more material than you intended.
| Symptom | Likely cause | Corrective action |
|---|---|---|
| Cut wanders off the line | Poor support, dull blade, excessive feed force, or one-sided blade wear on a band saw | Support both sides evenly, reduce feed pressure, replace or sharpen the blade, inspect for uneven blade wear |
| Blade chatters or vibrates | Workpiece movement, saw not level or secure, worn guides, or too much pressure into the cut | Clamp more firmly, stabilize the saw and supports, inspect guides and bearings, feed more smoothly |
| Heavy burrs at the exit edge | High cutting force, dull tool, weak support at the edge of breakthrough | Use a sharp blade, slow the feed, support the offcut so the edge does not deform |
| Rough or torn cut face | Dull blade, poor support, inconsistent entry angle, or uneven cutting depth | Replace or sharpen the blade, keep the work seated flat, enter the material steadily |
| Blade feels loaded and the cut starts smearing | Too much friction from dull tooling or mismatched speed and feed | Back off the feed, inspect blade condition, correct speed and feed settings allowed by the saw |
| Curved or dished cut on a band saw | Low band tension, excessive feed pressure, or guide misalignment | Set tension per the machine manual, reduce feed force, align and service the guides |
| Out of square end | Machine head or table not square, supports not on the same plane, worn guides or loose components | Square the saw to the fence or vise, level the supports, inspect and correct worn or loose parts |
One flawed piece is a shop annoyance. The same flaw across a batch is a process warning. When repeatability starts slipping despite careful setup, the issue is no longer just technique. It is about whether in-house cutting still matches the quality the project needs.
A single imperfect cut can be fixed. A batch of parts that no longer match is a different problem. DIY is still a practical way to cut aluminum for a prototype, rough frame, or one-off repair. But once repeatability, appearance, and assembly readiness matter, in-house cutting starts competing with supplier processing on quality, not just convenience.
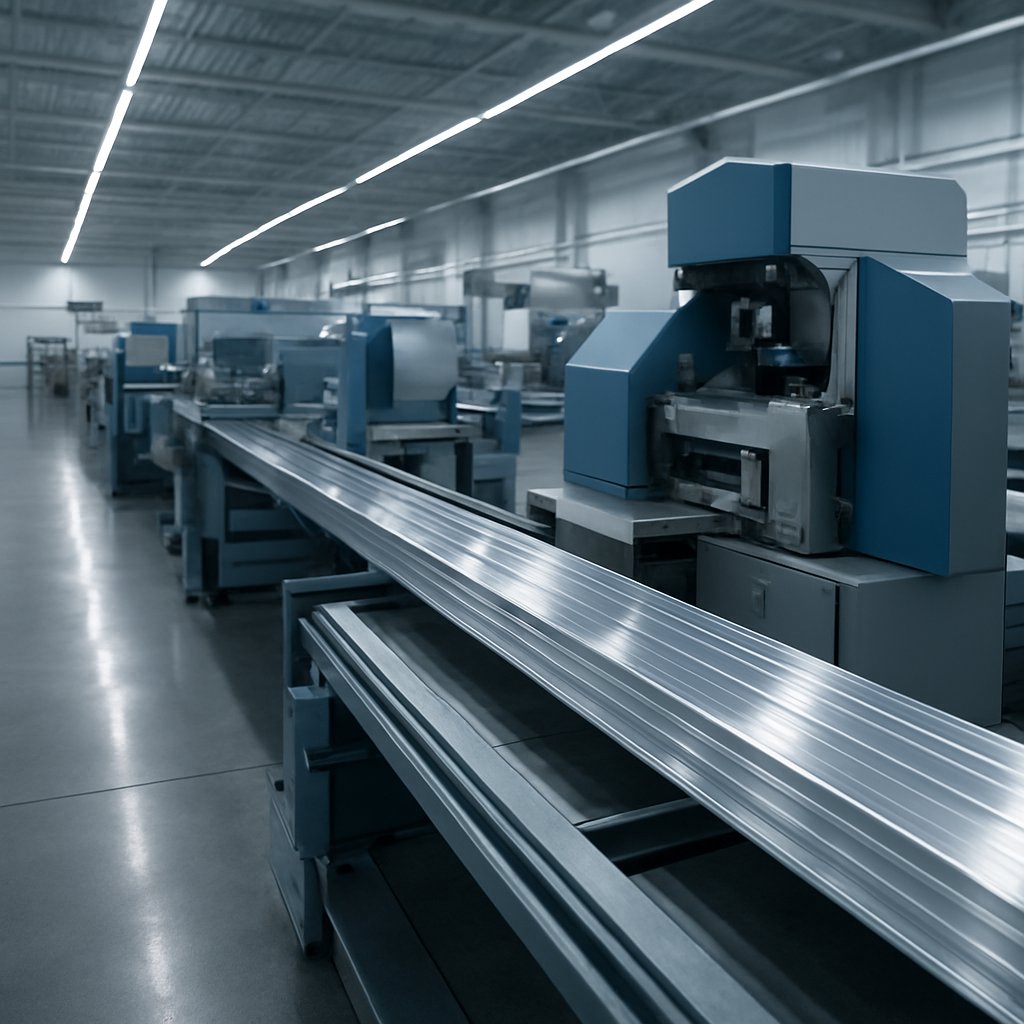
Supplier cutting makes more sense when the project cannot absorb variation from part to part. The repeatability standards outlined by Sino Extrud show why: consistent results depend on clear measurement rules, controlled process settings, stable tooling, and inspection that tracks trends across batches. If you are cutting aluminium extrusion for a visible frame, a repeated kit, or a fit-sensitive assembly, those controls often matter more than the saw itself.
That is where DIY can stop being the low-cost option. Recutting parts, sorting mismatched lengths, and cleaning up poor ends can waste more time and stock than expected.
Many jobs need more than a square cut. Holes, slots, tapped features, anodized surfaces, or powder-coated finishes add more handling steps if you do them separately. Keeping cutting, CNC machining, and finishing in one production flow reduces handoffs and helps preserve dimensional consistency from raw profile to final part.
| Option | Best for | Main advantages | Tradeoffs |
|---|---|---|---|
| Supplier processing, such as Shengxin Aluminium | Repeat parts, cosmetic pieces, assembly-ready components, custom cut aluminum extrusion orders | Cutting, CNC machining, anodizing, and powder coating in one place; 35 extrusion presses and in-house processing support broader project control | Usually less ideal for a very simple one-off cut needed immediately |
| DIY cutting | Mockups, rough fabrication, simple repair work | Fast access, low setup barrier, full hands-on control | More variation, more cleanup, and more risk of waste on repeat jobs |
For supplier work, ask how critical dimensions are defined, how measurements are taken, and how repeatability is verified. Sino Extrud also notes that final inspection alone is not enough; stronger systems use in-process checks and calibrated measurement methods. For many home-shop tasks, the best way to cut aluminum extrusion is still your own saw and careful setup. For repeat construction parts, automotive components, or finish-sensitive assemblies, a processing partner often becomes the cleaner path. The right choice is the one that delivers the cut quality your assembly actually needs, without forcing you to correct the same problem over and over.
The best home setup is usually a rigid saw paired with a sharp blade made for non-ferrous metal. A miter saw is often the easiest choice for short, repeat crosscuts, while a guided circular saw can be more practical for long stock. In most cases, firm clamping, full support, and controlled feed pressure affect the result more than the saw category alone.
Yes, a miter saw can work very well for many aluminum extrusions, especially short to medium cut-to-length jobs. It performs best when the profile sits flat, the work is clamped tightly to the fence, and the offcut is supported so it does not twist at the end of the cut. The key is a suitable blade for aluminum and a smooth, steady entry into the material.
Those problems usually mean the cutting setup is losing control somewhere. Typical causes include a dull or dirty blade, weak workholding, poor support under the stock or cutoff, or feeding the saw too aggressively. If the same defect appears on multiple parts, stop and correct the setup first, because deburring after the fact will not fix the root cause.
Start by removing only the sharp burr, then inspect the cut face for flatness, edge damage, and visible angle error. A part is closer to assembly-ready when the end is clean, reasonably square, and does not need heavy filing to fit. For fit-sensitive projects, checking with a square is much more reliable than judging the cut by eye.
Outsourcing makes more sense when you need repeatable lengths, visible finish quality, tight fit-up, or extra processing beyond a simple cut. It is also the better route when CNC machining, anodizing, or powder coating must be coordinated in one production flow. For example, Shengxin Aluminium provides in-house extrusion processing, CNC machining, anodizing, and powder coating, which can simplify custom cut aluminum extrusion projects that need assembly-ready parts.


 online service
 0086 136 3563 2360
 sales@sxalu.com
 +86 136 3563 2360
 English
 français
 Deutsch
 русский
 español
 português
 العربية
 ไทย
ไทย Việt
Việt Українська