You wipe it away, and it creeps back. You scrub harder, and it returns darker. Mould feels relentless because most people fight it without understanding what actually drives it. So before you grab a sponge or a spray bottle, the smarter move is to learn how mould thinks — or more accurately, how it feeds.
Is mold alive? Absolutely. Molds are living organisms — microscopic fungi that reproduce by releasing tiny spores into the air. These mold spores in air are invisible to the naked eye and float through virtually every indoor and outdoor environment on the planet. They land on walls, fabrics, window frames, and food — constantly. Yet they remain dormant and harmless until a specific set of conditions lines up.
So where does mold come from? The spores themselves originate outdoors, where molds play a natural role breaking down dead organic matter like fallen leaves and decaying wood. They drift inside through open windows, on clothing, or through ventilation systems. The spores are unavoidable. The growth, however, is not.
How does mold form into a visible colony? It needs exactly four conditions to activate:
Mould requires four conditions to grow: sustained moisture (above 60% relative humidity), an organic food source (wood, drywall paper, dust, fabric), warmth (most types of mold in homes thrive between 20-30 degrees Celsius), and stagnant air with poor ventilation.
Remove any single element from that list, and mould cannot colonise. This is the principle behind every effective prevention strategy — you do not need to eliminate spores (that is impossible), you need to eliminate the environment they exploit. Moisture control, specifically keeping relative humidity below 60%, is the most powerful lever you have because it is the one factor present in nearly every mould outbreak.
Most advice on how to prevent mould reads like a random checklist: open a window, buy a dehumidifier, use bleach. These tips are not wrong individually, but they fail because they lack sequence and priority. Ventilating a room will not help if a hidden leak is feeding moisture behind the wall. Running a dehumidifier is wasted effort if existing mould colonies are already producing millions of new spores daily.
That is why this guide follows a structured system rather than a scattered list. You will move through eight deliberate steps — assess your risk, remove existing growth, control humidity, upgrade ventilation, target room-specific vulnerabilities, avoid common mistakes, tailor actions to your renter or homeowner situation, and build long-term monitoring habits. Each step builds on the previous one, creating a layered defence that actually holds.
The starting point is honest evaluation. Every home has a different risk profile shaped by its age, layout, climate, and the daily habits of the people living inside it — and that is exactly where the next step begins.
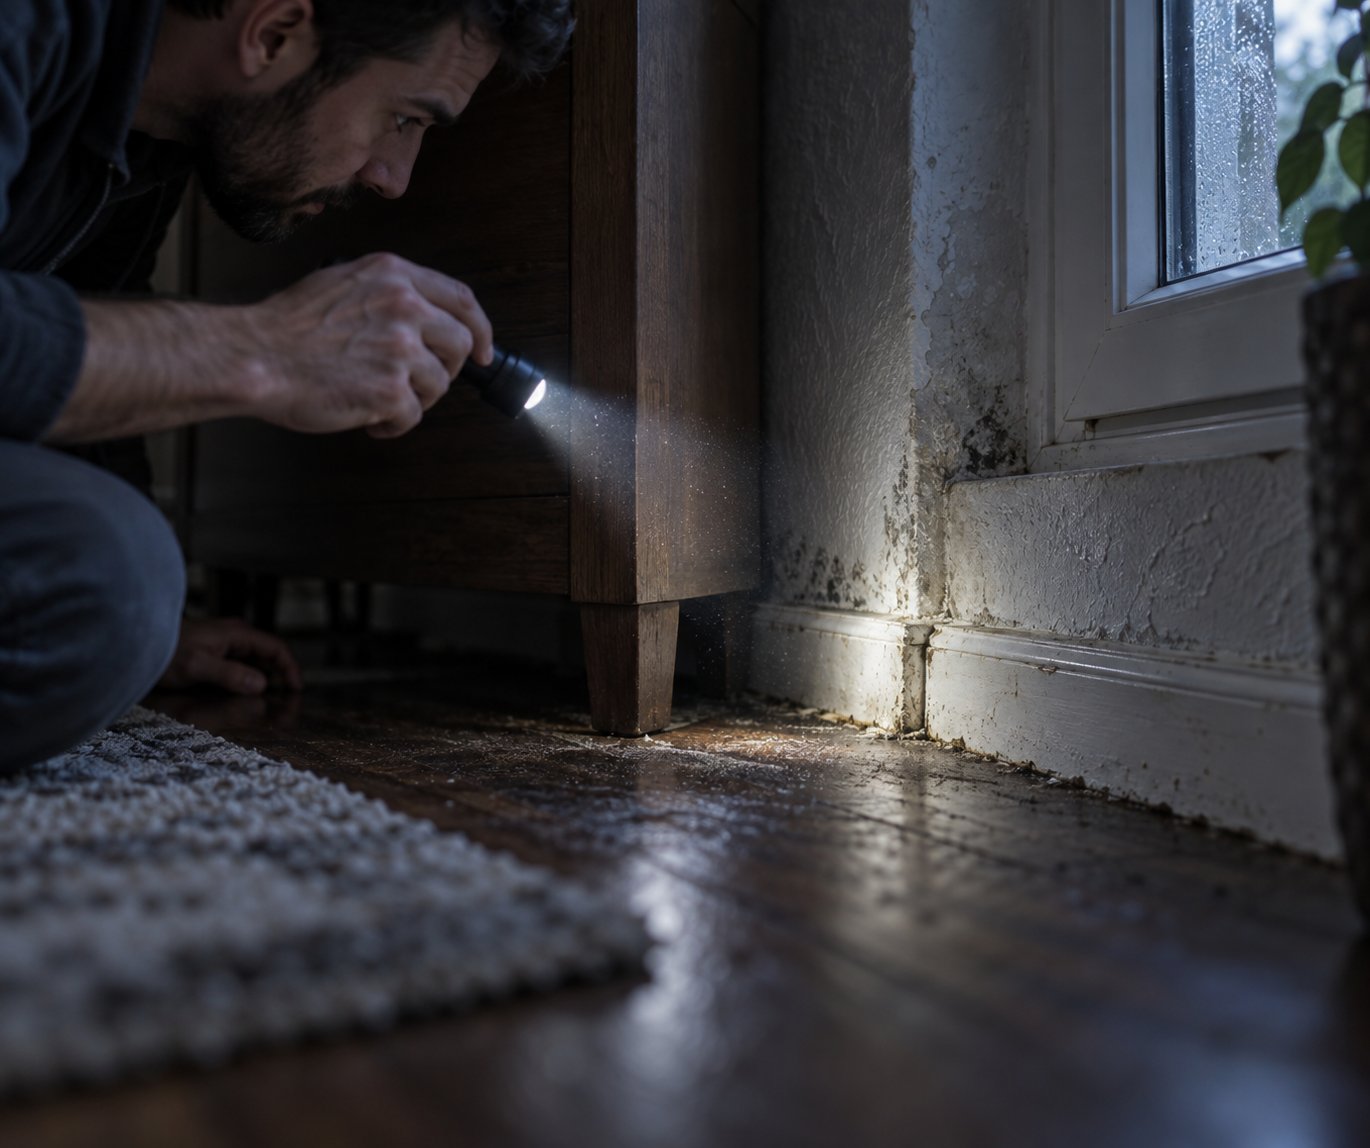
Every home carries a unique mould risk profile, and yours is shaped by factors you may never have considered. Building age plays a significant role — older properties often have weaker damp-proof courses and less insulation, while modern airtight construction can trap moisture indoors if ventilation is lacking. Your climate zone matters too. Homes in humid coastal regions face constant ambient moisture, whereas properties in colder climates battle condensation as warm indoor air meets cold external walls.
Beyond structure, your daily habits influence risk more than you might expect. Drying clothes indoors on radiators releases several litres of water vapour into the air. Long, hot showers without an extractor fan running push bathroom humidity well above the 60% danger threshold. Even cooking without pan lids or boiling kettles in poorly ventilated kitchens adds meaningful moisture to your living space. Past water damage — a leaky roof, a burst pipe, or flooding — leaves residual dampness in walls and subfloors that can feed mould growth for months or years after the event itself.
The honest truth? Most people searching for how to check for mold in house already suspect a problem exists. This step is about confirming that suspicion and understanding its severity before jumping to solutions.
Mould rarely announces itself with a dramatic black patch across the ceiling. It starts small and hides well. Knowing what does mold look like in its earliest stages — and what it smells like — gives you a critical head start.
A persistent mold smell in house is often the very first clue. What does mold smell like in a home? Most people describe it as a damp, earthy, musty odour — similar to wet cardboard left in a closed room. If you notice that smell each time you enter a particular space, mould is likely growing somewhere nearby, even if you cannot see it yet.
Visually, early mould appears as small clusters of dark spots on grout lines, faint grey-green patches in ceiling corners, or discolouration along window frames. It gravitates toward cold surfaces where condensation forms — the back of furniture pushed against external walls, the underside of windowsills, and corners where two exterior walls meet. These are the places where air stagnates and moisture lingers longest.
Here are the top seven warning signs, ranked from early indicators to signs of a more established problem:
If you recognise three or more of these signs in a single room, the problem has likely progressed beyond surface dampness and warrants closer investigation.
When you want to detect mold in your home, start with the simplest approach: a thorough visual inspection. Grab a torch and check behind furniture against cold walls, inside wardrobe corners, under sinks, around window frames, and along bathroom grout lines. Peel back the edge of any lifting wallpaper. Look at the back of curtains that sit against single-glazed windows. These are the hiding spots that casual glances miss.
A home mold test kit — typically a petri dish with a nutrient medium left open to collect airborne spores — can confirm whether mould spores are settling in a particular room. However, these kits have significant limitations. Because mould spores exist naturally in virtually every home, DIY test kits almost always return a positive result, which can cause unnecessary alarm without telling you the species, concentration, or source of the problem. They are best used as a preliminary screening tool, not as a basis for major decisions.
One of the most common points of confusion is distinguishing black mold or mildew. Mildew is a surface-level fungal growth that typically appears as flat, powdery grey or white patches — it wipes away easily and rarely penetrates the material beneath. True black mould, on the other hand, tends to look darker, feels slightly slimy or fuzzy, and indicates deeper colonisation. The black mold vs mildew distinction matters because mildew usually responds to simple surface cleaning, while established mould growth may require more aggressive treatment and an investigation into the underlying moisture source.
When should you skip DIY methods and call a professional? If you can smell mould but cannot find it, if the affected area covers more than roughly one square metre, if you have experienced recent water damage in the area, or if anyone in the household has respiratory conditions or a compromised immune system. Professional inspectors use calibrated air sampling, moisture meters, and infrared cameras to find hidden colonies that no home kit or visual check can reveal.
Assessment gives you a clear picture of what you are dealing with. The next critical question is what to do about mould that is already there — because prevention cannot begin on top of active growth.
Here is the uncomfortable reality most prevention guides ignore: if mould is already growing in your home, no amount of ventilation tips or humidity advice will solve the problem until you deal with what is already there. Active mould colonies produce millions of spores daily, seeding new growth faster than preventive habits can counteract. Prevention and remediation are not the same thing — and the second must come before the first.
The good news? If the affected area is small — roughly under one square metre — you can handle the removal yourself with the right technique, the right solutions, and a clear understanding of what actually works. The key phrase there is "right technique," because the wrong approach does not just fail. It actively spreads spores to clean areas and makes the situation worse.
Before you touch anything, gear up. Disturbing mould releases a concentrated burst of spores into the air, and inhaling them can trigger allergic reactions, respiratory irritation, and headaches — even in otherwise healthy people. You need three pieces of protective equipment: an N95 respirator mask (not a basic dust mask), rubber or nitrile gloves, and safety goggles without ventilation holes. If you are working in a small, enclosed space like a bathroom, open a window for fresh airflow before you begin.
Choosing the right cleaning solution matters more than most people realise. Many homeowners reach for bleach first, assuming it is the strongest weapon available. But the relationship between bleach and mold is far more complicated than marketing suggests. Bleach can kill mould on hard, non-porous surfaces like ceramic tiles and glass. On porous materials — wood, drywall, grout, plaster — it only strips the surface colour, giving the illusion that the mould is gone while the roots remain intact beneath the surface. Worse, the water content in bleach soaks into porous materials, adding the very moisture mould needs to regrow. This is why mould so often returns darker and more aggressively after a bleach treatment.
So what should you use instead? White vinegar (undiluted) is effective against roughly 82% of mould species and penetrates porous surfaces to reach the root structure. Hydrogen peroxide at a 3% concentration is another strong option — it is antifungal, does not produce toxic fumes, and works on both porous and non-porous materials. Does ammonia kill mold? It can kill surface mould on non-porous materials, but it is no more effective than bleach on porous ones — and you must never mix ammonia with bleach, as the combination produces toxic chloramine gas that can be fatal.
Follow this sequence for how to treat mold safely on small areas:
If the mould is on a surface you can see through to the back — like the paper facing of drywall or the underside of ceiling tiles — the material is likely colonised all the way through. In that case, the affected section should be cut out and replaced rather than cleaned, because no surface treatment will reach deeply embedded growth.
DIY removal has clear boundaries, and knowing when you have crossed them protects both your health and your home. The U.S. Environmental Protection Agency recommends professional remediation when the mouldy area exceeds roughly 10 square feet (about one square metre). Beyond that threshold, the volume of spores released during cleaning creates a significant health risk, and specialised containment measures become necessary.
Several other situations call for professional mold cleanup services, regardless of the visible area:
What does a professional mold cleaning service actually involve? Reputable mold cleanup services begin with a thorough moisture assessment using infrared cameras and calibrated moisture meters to locate hidden dampness. They establish containment barriers — plastic sheeting and negative air pressure — to prevent spores from spreading to unaffected areas during removal. Contaminated materials are physically removed, not just wiped down. HEPA-filtered air scrubbers run throughout the process to capture airborne spores, and the space is treated with antimicrobial solutions before reconstruction begins.
One principle applies whether you handle removal yourself or hire professionals: cleaning alone, without addressing the moisture source that caused the growth, guarantees the mould will return. Knowing how to kill mold on walls is only half the equation. The colony you remove today is a symptom. The leak, the condensation, or the inadequate ventilation behind it is the disease — and controlling that moisture is exactly where the next step picks up.

Moisture is the single variable that separates a clean home from a mouldy one. You can remove every visible colony, but if humidity stays elevated, new growth is inevitable. The dampness meaning behind every mould problem is always the same — too much water vapour in the air, sitting on surfaces long enough for spores to activate. Controlling that moisture is not vague advice. It is a measurable, trackable discipline, and it starts with a number.
So at what humidity does mold grow? Most species begin colonising surfaces when relative humidity stays above 60% for sustained periods. The ideal indoor target is 30–50% relative humidity — a range that keeps your home comfortable, protects building materials, and makes conditions inhospitable to mould. Drop below 30%, and you risk dry skin, cracked woodwork, and respiratory irritation. Climb above 50% regularly, and you are entering the danger zone. Exceed 60%, and you are actively incubating mould whether you can see it yet or not.
Understanding where that moisture comes from is just as important as knowing the threshold. A single hot shower adds roughly 1.5 litres of water vapour to your bathroom air. Cooking a meal on the hob without lids can release another litre. A family of four generates nearly 10 litres of moisture daily just through breathing and normal activities. Drying a full load of laundry indoors on a radiator pushes an additional 5 litres into your living space. Then there are the less obvious culprits: slow plumbing drips under sinks, mold from water damage after unnoticed roof leaks, and even an air conditioner leaking water inside the home due to a clogged condensate drain. Each source feeds the same problem — a humidity level that spores exploit.
Can water mold on its own? Standing water itself does not become mould, but it creates the exact humid microenvironment where water mold and other fungal species thrive on adjacent organic materials. A puddle beneath a leaking pipe will not grow fuzzy, but the drywall, timber, or carpet it touches certainly will.
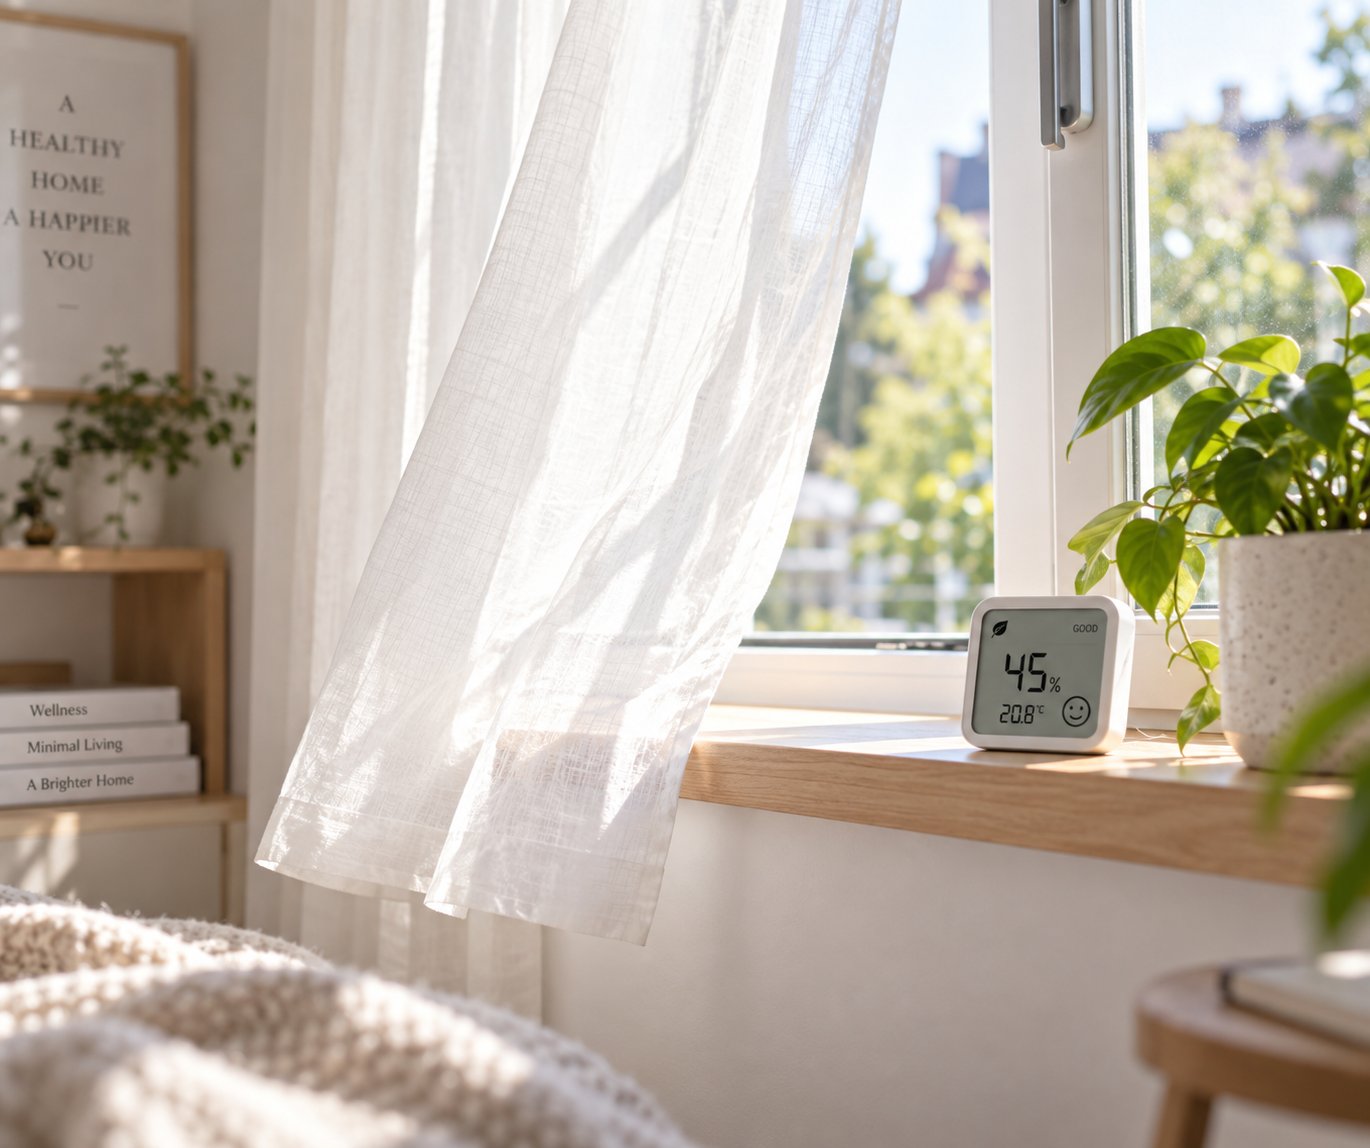
You cannot manage what you do not measure. A digital hygrometer — a small, inexpensive device that displays relative humidity and temperature — is the most practical tool for tracking indoor moisture. Quality units cost between $10 and $30, and they give you the data you need to make informed decisions rather than guessing.
Placement matters more than most people realise. For an overall assessment of your home's humidity, position the hygrometer in a central living space like the living room or hallway. Avoid placing it directly next to heat sources, near a kitchen or bathroom, or right beside a window — these locations skew readings with localised extremes that do not reflect the room's true conditions. If condensation mould has appeared in a specific bedroom or bathroom, add a second hygrometer in that room to capture its unique moisture profile.
After placing the device, allow it a few minutes to adjust to the environment before reading. What you are looking for is not a single snapshot but a pattern. Check readings at different times — morning, after cooking, before bed — and note when humidity spikes. Sustained readings above 60% in any room signal a condensation mold risk that demands action. Seasonal shifts matter too: winter tends to push indoor humidity higher in heated homes because warm air meeting cold walls and windows triggers condensation, while summer can bring elevated outdoor humidity indoors through open windows.
If you want confidence in your hygrometer's accuracy, a simple salt calibration test works well. Place the hygrometer in a sealed plastic bag with a small cup of table salt dampened with water. After 8–12 hours, the reading should sit at approximately 75%. If it is off, note the difference and adjust your future readings accordingly.
When daily habits and ventilation are not enough to keep humidity below 50%, a dehumidifier becomes essential — particularly in basements, utility rooms, and properties where structural dampness persists. The two main types serve different situations, and choosing the wrong one wastes energy without solving the problem.
| Feature | Compressor Dehumidifier | Desiccant Dehumidifier |
|---|---|---|
| Best Use Case | Warm, humid rooms (above 15°C) | Cold, unheated spaces (garages, basements, conservatories) |
| Room Size Suitability | Medium to large rooms (20–50 m²) | Small to medium rooms (10–30 m²) |
| Climate Type | Warm, humid climates or heated indoor spaces | Cold or variable climates where temperatures drop below 15°C |
| Energy Use | Lower running cost in warm conditions | Higher wattage but consistent output regardless of temperature |
| Noise Level | Moderate (compressor hum, similar to a refrigerator) | Quieter operation (no compressor vibration) |
| Key Limitation | Efficiency drops sharply below 15°C | Higher electricity cost per litre of moisture extracted in warm rooms |
Sizing matters. A unit rated for a small bedroom will run constantly and never catch up in a damp basement. Match the dehumidifier's extraction capacity (measured in litres per day) to both the room volume and the severity of the moisture issue. For a moderately damp 30 m² room, a 10–12 litre-per-day compressor unit is typically sufficient. For a chronically wet basement or a room recovering from water damage, step up to 20 litres or more.
Position the dehumidifier centrally in the room with at least 20 cm of clearance around it for proper airflow. Keep doors and windows in that room closed while it runs — otherwise it is trying to dehumidify the entire outdoors. Empty the water tank regularly or connect a continuous drainage hose to avoid overflow shutdowns.
Still, a dehumidifier is a response tool, not a root-cause fix. The most effective humidity control comes from daily habits that stop moisture at the source:
Controlling humidity removes the most critical ingredient mould needs. But even perfectly managed moisture levels can be undermined if stale, damp air has nowhere to go — which is why how air moves through your home deserves its own dedicated strategy.
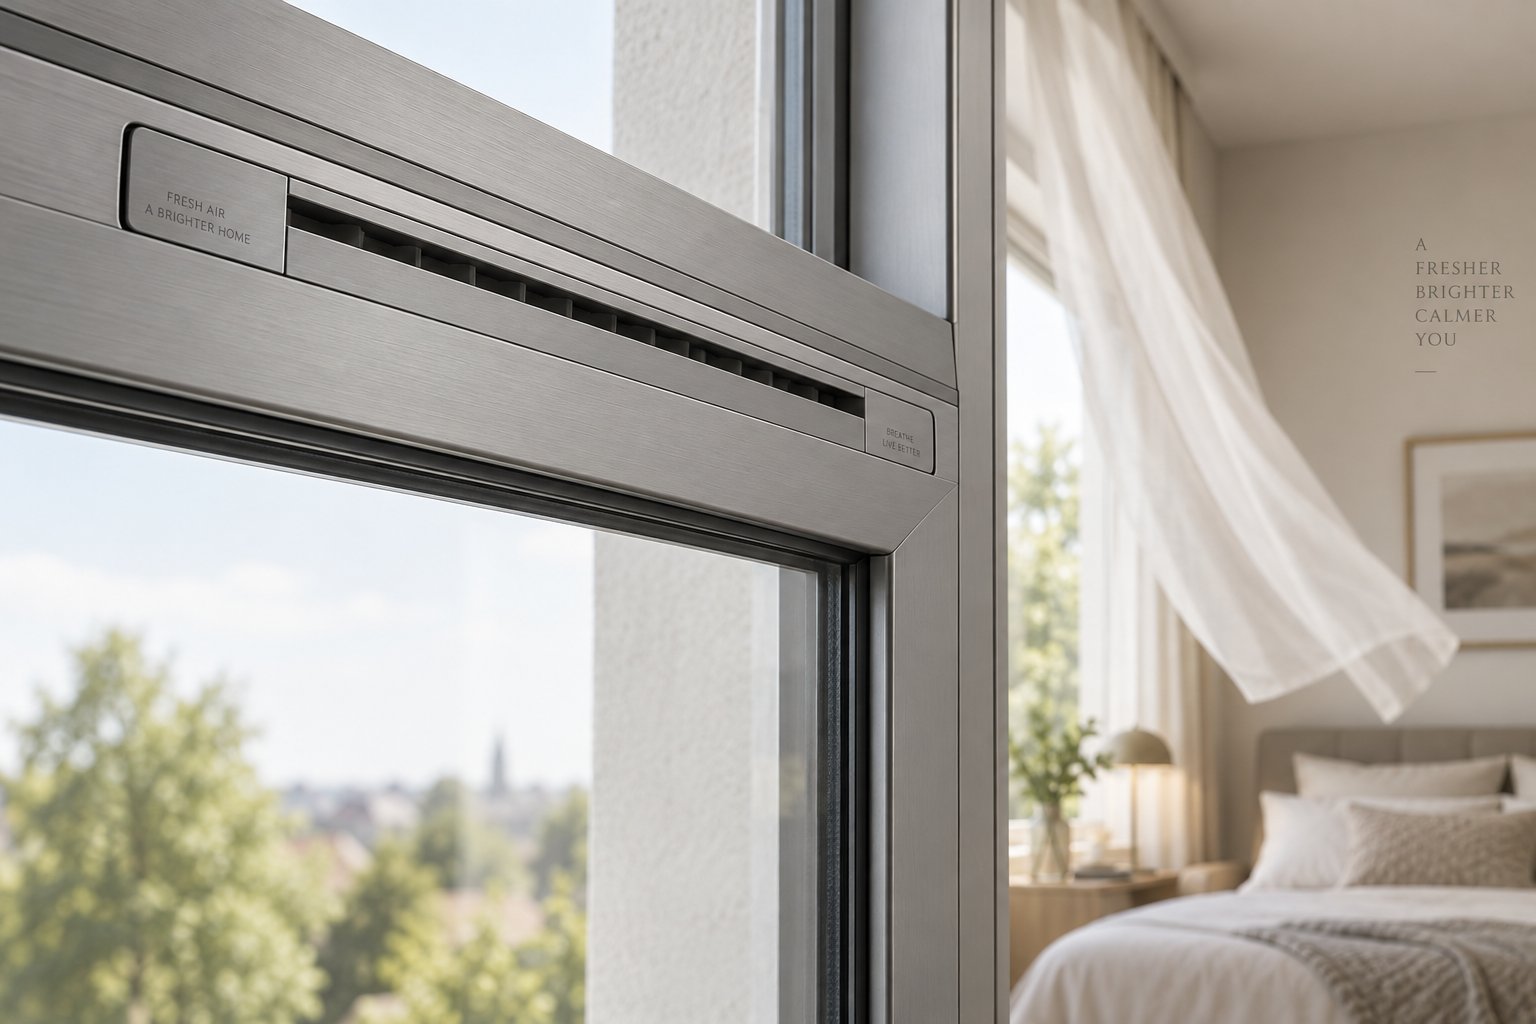
"Open a window" is the most common ventilation advice online — and it is also the least useful. In the middle of a freezing January night, nobody is cracking a bedroom window. During a rainstorm, nobody is leaving the bathroom window ajar. Yet these are precisely the moments when indoor moisture peaks and mould risk spikes. A real mould prevention system requires airflow that works around the clock and in every season, not just when the weather cooperates.
The challenge is that ventilation is not one-size-fits-all. Different methods suit different budgets, building types, and moisture levels. Understanding the full hierarchy — from free and simple to installed and mechanical — lets you choose the right combination for how to prevent mold in house environments of any age or style.
| Ventilation Method | Effectiveness for Mould Prevention | Approximate Cost | Retrofit Suitability | Best Application |
|---|---|---|---|---|
| Continuous Passive Ventilation (Trickle Vents) | High — constant low-level air exchange removes moisture 24/7 | Low ($15–$60 per vent) | Excellent — integrates into existing window frames | Bedrooms, bathrooms, and any room with condensation on windows |
| Natural Ventilation (Opening Windows) | Moderate — effective when used, but inconsistent in practice | Free | N/A | Supplement to other methods in mild, dry weather |
| Intermittent Extract Fans (Bathroom/Kitchen) | High during use — removes moisture at the source during peak events | Low–Moderate ($30–$150 per fan) | Good — straightforward installation through external walls | Kitchens and bathrooms during cooking and showering |
| Positive Input Ventilation (PIV) | High — pressurises the home slightly with filtered, dry air from the loft | Moderate ($400–$800 installed) | Good — single unit in loft or hallway ceiling | Whole-house solution for properties with loft space and condensation issues |
| Mechanical Heat Recovery Ventilation (MVHR/HRV) | Very High — continuous balanced exchange with heat retention | High ($2,000–$6,000+ installed) | Difficult — requires ductwork through the building | New builds or major renovations in airtight properties |
Each option in this hierarchy occupies a specific role. The mistake most homeowners make is relying entirely on a single method — usually just opening windows — and wondering why condensation keeps forming on cold mornings. A proper mould prevention strategy layers these methods so that baseline airflow never stops, even when you are not actively thinking about it.
Imagine two identical bedrooms in winter. In one, the occupant opens the window for 15 minutes each morning, then seals the room shut for the rest of the day. In the other, a small trickle vent built into the window frame allows a continuous stream of fresh air to enter — quietly, without any energy cost, all day and all night. Which room develops condensation mould first?
The answer is almost always the first one. Intermittent bursts of ventilation create a cycle: humidity builds overnight as occupants breathe and the room cools, moisture condenses on cold surfaces in the early hours, and by the time the window opens in the morning, damage is already underway. That 15-minute airing helps, but it cannot undo hours of unchecked moisture accumulation on window frames and cold walls.
Continuous passive ventilation solves this by maintaining a gentle, constant exchange of stale indoor air with drier outdoor air. The airflow volume is small — not enough to create a noticeable draught or affect room temperature meaningfully — but it is enough to prevent moisture from settling on surfaces long enough for spores to germinate. This is exactly how to stop mould growing in rooms where people sleep, cook, or bathe: you keep the air moving at all times, not just when someone remembers to open a window.
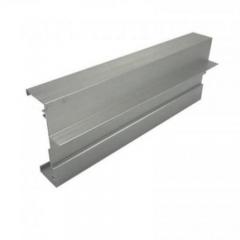
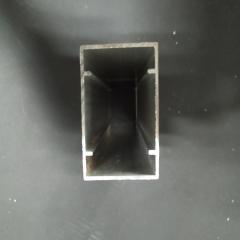
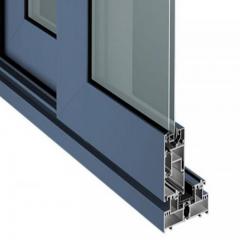
Frame-integrated trickle vents are the most practical way to deliver this passive background ventilation. They sit within the window frame itself — either at the top of the frame or within the glazing unit — and allow controlled fresh-air exchange without requiring electricity, ductwork, or manual operation. Products like Shengxin Aluminium's Fresh Air Trickle Vent are purpose-designed for this role, offering a frame-integrated passive ventilation solution suitable for both new builds and retrofit projects. For property managers dealing with condensation complaints across multiple units, or window suppliers seeking a built-in moisture management feature, this type of vent provides a permanent, zero-energy airflow path in exactly the rooms — bathrooms, bedrooms, kitchens — where preventing mold matters most.
No single ventilation method handles every moisture scenario. The most effective approach to how to avoid mould uses layered ventilation — a constant baseline supplemented by targeted extraction during peak moisture events.
Here is what that looks like in practice for common property types:
The underlying principle is straightforward: background ventilation handles the constant, invisible moisture your household generates through breathing, cooking, and daily life, while extract ventilation tackles the concentrated bursts from showers and boiling pots. Together, they form a mold prevention system that does not depend on perfect habits or perfect weather.
Ventilation strategy gives moisture an exit route. The next step is making sure that route reaches every room in your home — because mould does not care about your whole-house plan if one neglected corner stays damp and still.
A whole-house ventilation plan is essential — but mould does not think in whole-house terms. It exploits the specific conditions in a specific corner of a specific room. The bathroom ceiling above your shower, the bedroom wall behind your wardrobe, the basement corner where cold concrete meets damp earth — each one presents a unique combination of moisture source, surface material, and airflow challenge. Generic advice falls short here. Targeted, room-by-room tactics are what actually stop mould growing on walls, ceilings, and hidden surfaces before it takes hold.
These two rooms generate more moisture than the rest of the home combined. A single hot shower pushes relative humidity above 90% within minutes, and stovetop cooking without lids sends a steady stream of water vapour into the air. That is why fungus in bathroom wall grout, ceiling corners, and behind tiles is so overwhelmingly common — these surfaces stay warm and damp for extended periods unless you actively intervene.
Start with your extractor fan. Run it the moment you turn on the shower or stove, and keep it running for at least 20 minutes after you finish. This single habit removes the majority of airborne moisture before it has a chance to settle on cold surfaces. If your fan is weak, noisy, or decades old, replacing it with a modern humidity-sensing unit that activates automatically is one of the highest-impact upgrades you can make.
Beyond ventilation, focus on surfaces. Wipe down shower walls and glass with a squeegee after every use — it takes ten seconds and eliminates the standing water that feeds mould colonies on tile and grout. Inspect grout lines every six months and reseal them with a mould-resistant sealant when they start to crack or discolour. Check under-sink plumbing in both the kitchen and bathroom for slow drips. A barely noticeable leak beneath the kitchen sink can quietly foster mould growth inside the cabinet for weeks before you notice a musty smell. Open sink cabinet doors periodically to let air circulate through these dark, enclosed spaces where moisture loves to hide.
Bedrooms catch most people off guard. You might think of them as dry, low-risk rooms, but consider this: two adults sleeping in a closed bedroom release roughly one litre of moisture overnight through breathing alone. Add body heat warming the air inside the room while external walls stay cold, and you have ideal conditions for condensation — especially in corners and behind furniture.
Understanding how to prevent mould in bedroom spaces comes down to airflow and surface temperature. Keep wardrobes, headboards, and shelving units at least 50 to 100 mm away from external walls. This small gap allows air to circulate behind the furniture, preventing the cold, still pockets where moisture condenses and mold on furniture backs or wall surfaces develops unseen. If a wardrobe sits against an external wall, leave the doors slightly ajar at night or install small ventilation grilles in the back panel.
Mold in corners is another persistent bedroom issue. External wall corners are the coldest points in any room because they lose heat in two directions simultaneously. Stagnant air compounds the problem. Improving insulation on those walls is the structural fix, but in the short term, mould-resistant paint applied to vulnerable corners adds a protective barrier. Even repositioning a small fan to gently move air across a problem corner can break the cycle of condensation and stagnation that mould depends on.
Below-grade and unheated spaces play by different rules. Basements sit in direct contact with damp ground, attics face temperature extremes and potential roof leaks, and utility rooms concentrate laundry moisture in small, often poorly ventilated areas. Each demands a distinct approach.
Basement mold is driven primarily by ground moisture wicking through concrete floors and walls. A moldy basement often signals inadequate waterproofing rather than a ventilation problem alone. Running a dehumidifier helps manage symptoms, but lasting prevention requires addressing water ingress — sealing foundation cracks, improving exterior drainage, and ensuring gutters direct rainwater away from the foundation rather than pooling against it.
Here are the top three actions per room type, ranked by impact:
Basement:
Attic:
Utility and Laundry Rooms:
Room-specific prevention closes the gaps that whole-house strategies miss. Yet even the best room-by-room plan can be quietly undermined by everyday habits you might not realise are working against you — and some of the most common ones are surprisingly counterintuitive.
You could follow every prevention step perfectly and still lose the battle against mould — not because the steps failed, but because a handful of everyday habits are quietly undoing your efforts. Some of these mistakes seem harmless. A few even feel like the responsible thing to do. That is what makes them so damaging: they operate below the radar, feeding mould conditions while you believe you are keeping your home safe.
Picture a cold evening. Your laundry needs drying, so you drape wet clothes over the radiator — quick, convenient, and free. What you may not realise is that a single load of wet laundry releases roughly five litres of water vapour as it dries. That moisture has to go somewhere, and in a closed room with the heating on, it rises, meets cold window glass and exterior walls, and condenses into exactly the film of water mould spores need to germinate. Drying clothes on radiators is one of the single biggest moisture-generating habits in UK and North American homes, and it is also one of the easiest to change.
Blocking or taping over trickle vents and air bricks is another surprisingly common error. Homeowners do it to stop draughts, reduce noise, or save on heating bills — all understandable motives. But those small openings exist specifically to provide the continuous background airflow that prevents moisture from accumulating on cold surfaces. Sealing them shuts down your home's passive ventilation, trapping humid air inside with no exit. The few pounds or dollars you save on heating are dwarfed by the cost of dealing with the mould that follows.
This connects to a broader misconception: that a tighter, more sealed home is always a better home. Modern energy-efficient construction prioritises airtightness, and for good reason — it dramatically reduces heat loss. But airtightness without compensating ventilation creates what building scientists sometimes call a "moisture trap." Poor indoor air quality is caused by inadequate ventilation, not by airtightness itself. Draughty older homes can suffer the same condensation problems on still days when natural air movement drops to zero. The myth that mould only grows in old houses is exactly that — a myth. Newly built, well-insulated properties can be worse if their ventilation systems are undersized, poorly commissioned, or switched off by occupants trying to reduce energy costs.
Two more habits deserve attention. Pushing furniture flush against cold external walls — a practice covered in the bedroom section — traps still, damp air behind wardrobes, beds, and sofas, creating invisible mould colonies you will not discover until you move house or rearrange the room. And turning the heating off completely when you leave home or overnight, rather than maintaining low background warmth, allows wall surface temperatures to plummet. When you return and crank the heating up, warm air hits those ice-cold walls and produces a burst of condensation. A gentle, consistent 15–16°C background temperature costs far less in heating than the remediation bill that follows a mould outbreak.
If you have ever scrubbed mould away only to see it reappear in the same spot weeks later, you are not alone — and you are not doing something wrong in your cleaning technique. Recurrence happens because the visible mould was never the real problem. It was a symptom of an underlying condition that cleaning alone cannot fix. Stopping mould permanently means identifying and eliminating the root cause, not just the surface evidence.
Here are the five most common mistakes that cause mould to return, ranked by how frequently they drive recurrence:
Understanding how to stop mildew and mould from recurring comes down to a simple principle: cleaning addresses what you can see, but only fixing the moisture source and maintaining proper airflow addresses why it grew in the first place. Every visible patch is a diagnostic clue — it tells you exactly where moisture is accumulating and ventilation is failing. Read that clue, fix the cause, and the symptom disappears for good.
These mistakes affect renters and homeowners differently. A renter may not have the authority to fix a leaking roof or install new ventilation, while a homeowner has more control but faces bigger investment decisions. That difference in capability shapes entirely different prevention strategies — and each deserves its own roadmap.
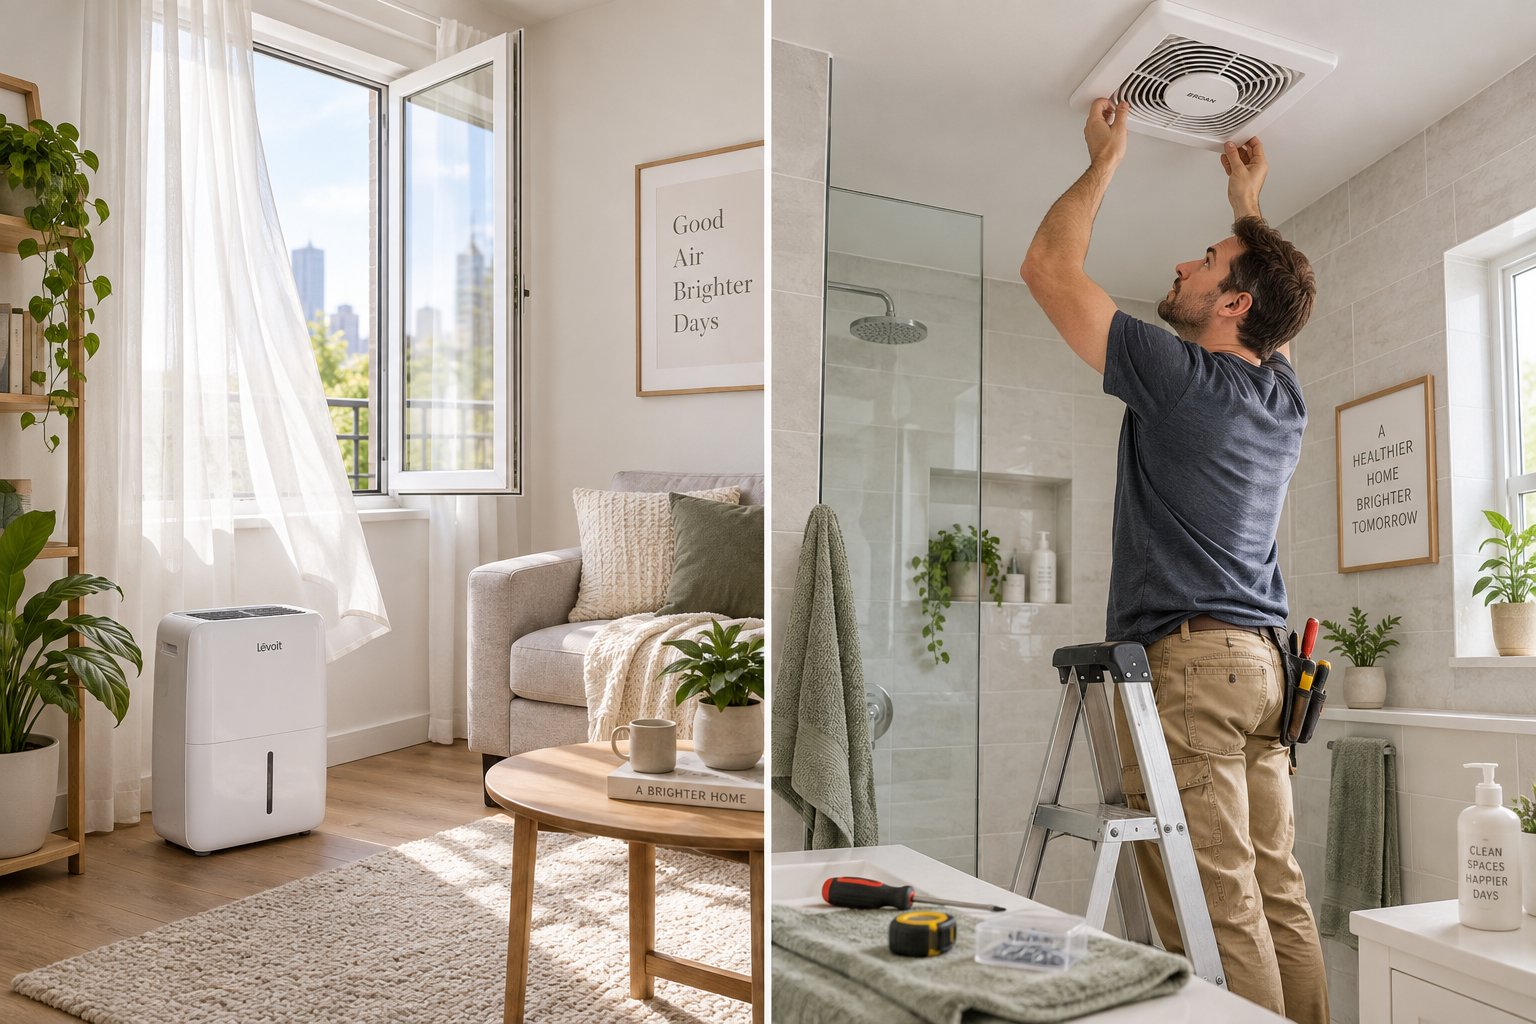
A renter staring at mould creeping across a bedroom wall and a homeowner facing the same problem share the same frustration — but their options could not be more different. The renter cannot rip out drywall or install a new extractor fan without permission. The homeowner can make structural changes but has to weigh cost against long-term value. Effective home mold prevention depends not just on what you do, but on what you are actually allowed and able to do. That distinction rarely gets the attention it deserves.
Dealing with mold in apartment living is uniquely frustrating because you control your daily habits but not the building itself. You cannot upgrade the insulation, replace the windows, or fix structural damp — those responsibilities fall on your landlord. What you can do is take control of the factors within your reach and document everything else.
Most jurisdictions impose a legal duty on landlords to maintain rental properties in a habitable condition. In New York, for example, the warranty of habitability requires landlords to ensure premises are free from conditions dangerous or detrimental to life, health, or safety — and courts have held that significant mould growth can constitute a breach of that duty. Similar protections exist across the U.S., the U.K., and most of Europe. Knowing your rights matters because it shifts structural mould problems from "your issue" to "their legal obligation."
Here are the five highest-impact actions renters can take without landlord permission:
One detail renters often overlook: never block or tape over trickle vents, air bricks, or extractor fan outlets, even if they let in cold air. These openings are your apartment's passive breathing system, and sealing them is one of the fastest ways to push indoor humidity into the mould-growth danger zone. Learning how to keep room mold free as a renter is largely about maintaining airflow and controlling moisture through consistent habits rather than structural upgrades.
Homeowners have a fundamentally different advantage: the ability to fix root causes, not just manage symptoms. While daily habits still matter, the real opportunity lies in targeted investments that permanently change your home's relationship with moisture. How to prevent mold in the house long-term comes down to structural improvements that address the three pillars of mould prevention — insulation, ventilation, and moisture barriers.
Start with insulation. Cold bridging — where a structural element like a concrete lintel or steel beam conducts cold from outside to inside — creates localised cold spots on interior walls. Moisture in warm indoor air condenses on these cold surfaces, and mould colonises the damp patch. Upgrading wall insulation, particularly internal insulation on solid-walled properties, raises surface temperatures enough to prevent that condensation from forming in the first place.
Ventilation upgrades deliver some of the highest returns for the investment. Adding extractor fans to bathrooms and kitchens that lack them, replacing old units with humidity-sensing models, and — critically — installing passive background ventilation in rooms where condensation is chronic are all practical steps that do not require major construction. Retrofit trickle vents like Shengxin Aluminium's Fresh Air Trickle Vent fit directly into existing window frames, providing continuous fresh-air exchange in moisture-prone rooms without energy costs, noise, or ductwork. For property managers maintaining multiple units or window retrofit buyers upgrading older frames, this type of frame-integrated passive vent solves condensation complaints at the source — permanently and affordably.
Basement waterproofing, gutter and drainage improvements, and choosing mould-resistant building materials (moisture-rated drywall, anti-microbial paint, treated timber) during any renovation round out the structural side. Even preventing mold in vacant house situations — where unoccupied properties are particularly vulnerable — depends on maintaining background heating and ensuring passive ventilation stays open year-round.
The table below maps mold prevention tips across four cost tiers, showing which options suit renters, homeowners, or both:
| Cost Tier | Strategy | Effectiveness | Suitable For |
|---|---|---|---|
| Free | Daily ventilation habits (opening windows, wiping condensation, using pan lids) | Moderate — reduces moisture but depends on consistency | Renters and Homeowners |
| Free | Keeping furniture 50–100 mm from external walls | Moderate — prevents hidden condensation behind furniture | Renters and Homeowners |
| Under $100 | Digital hygrometer for humidity monitoring | Moderate — enables data-driven decisions | Renters and Homeowners |
| Under $100 | Calcium chloride moisture absorbers for enclosed spaces | Low–Moderate — localised effect in wardrobes, cupboards | Renters and Homeowners |
| Under $500 | Passive trickle vents (e.g., Shengxin Aluminium Fresh Air Trickle Vent) installed in window frames | High — continuous 24/7 air exchange without energy cost | Homeowners and Property Managers |
| Under $500 | Portable dehumidifier for high-risk rooms | High — directly controls humidity levels | Renters and Homeowners |
| Under $500 | Upgraded humidity-sensing extractor fans in bathroom/kitchen | High — automatic moisture extraction at the source | Homeowners |
| Structural Investment | Internal wall insulation to eliminate cold bridging | Very High — removes the condensation trigger permanently | Homeowners |
| Structural Investment | Basement waterproofing and exterior drainage improvements | Very High — stops ground moisture ingress at the source | Homeowners |
| Structural Investment | Whole-house mechanical ventilation (PIV or MVHR) | Very High — continuous filtered air exchange with heat recovery | Homeowners |
Whether you rent or own, the pattern is the same: start with the free habits, layer in affordable tools, and — if you have the authority and budget — invest in structural fixes that make how to avoid mold in house environments a solved problem rather than an ongoing battle. The key is matching your actions to your situation rather than following advice designed for someone with a completely different set of constraints.
Choosing the right strategies is only half the equation, though. Mould prevention is not a project with a finish line — it is a maintenance routine. The difference between homes that stay mould-free and homes where the problem quietly returns often comes down to what happens in the months after you stop actively thinking about it.
Mould does not take seasons off, and neither should your prevention routine. The homes that stay mould-free long-term are not the ones where someone did a deep clean once — they are the ones where small, consistent habits became automatic. Knowing how to combat mould is not about dramatic interventions. It is about quiet vigilance: checking the right things at the right times and catching small shifts before they become expensive problems.
Each season brings a different moisture profile to your home. A structured quarterly routine keeps you ahead of the curve rather than reacting after mould has already appeared. Follow this calendar to prevent mould in house environments throughout the year:
This cycle is how you prevent mildew and mould from gaining a seasonal foothold. Each quarter's actions prepare you for the next quarter's risks, creating a continuous loop rather than a one-time fix.
Seasonal checks catch the big things. Daily and weekly habits catch everything else. The good news is that the core routine for avoiding mould in the house takes just minutes a day once it becomes second nature.
Every morning, wipe condensation from windows and sills — a quick pass with a microfibre cloth or squeegee removes the moisture film before spores can exploit it. During every shower or cooking session, run the extractor fan and keep it running for 20 minutes after you finish. Once a week, glance at your hygrometer readings across rooms and note any sustained climb above 50%. In cold months, resist the urge to seal every gap and crank the thermostat — maintain low, steady background warmth instead. These habits are how you reduce mould in house environments without spending a penny on equipment or contractors.
Prevention is always cheaper, healthier, and easier than remediation. Every dollar spent avoiding mould saves ten dollars cleaning it up — and protects the health you cannot put a price on.
So how do you prevent mould — truly, permanently? You follow a system, not a single tip. This eight-step framework has taken you from understanding why mould grows, through assessing your risk, removing existing colonies, controlling humidity, upgrading ventilation, targeting room-specific vulnerabilities, avoiding the mistakes that cause recurrence, and tailoring your strategy to your renter or homeowner reality. This final step — ongoing monitoring — is the thread that ties it all together.
How do you prevent mold from ever dominating your home again? You stay engaged. You read the signals your home gives you — a foggy window, a musty cupboard, a hygrometer creeping past 55% — and you act before those signals become colonies. Mould is persistent, but a well-maintained prevention system is more persistent. You now have the complete, prioritised action plan to prove it.
Mould spores begin colonising surfaces when indoor relative humidity stays above 60% for extended periods. The ideal target range is 30-50% RH, which you can track with an inexpensive digital hygrometer. Keeping humidity within this window removes the single most critical condition mould needs to thrive. Daily habits like using pan lids while cooking, squeegeeing shower walls, and avoiding indoor clothes drying on radiators all help maintain safe levels without expensive equipment.
Bleach can kill mould on hard, non-porous surfaces like ceramic tiles and glass, but it is ineffective on porous materials such as wood, drywall, and grout. On these surfaces, bleach only removes the visible colour while leaving the root structure intact beneath. The water content in bleach actually adds moisture to the material, often causing mould to regrow more aggressively. White vinegar (undiluted) or 3% hydrogen peroxide are more effective alternatives because they penetrate porous surfaces to reach the fungal roots.
Renters can take several effective steps without any structural changes. Ventilate daily by opening windows for 10-15 minutes, use a portable dehumidifier in problem rooms, wipe condensation from windows every morning, and place calcium chloride moisture absorbers in wardrobes and cupboards. Critically, never tape over trickle vents or air bricks, as these provide essential passive airflow. If structural damp or mould persists, report it to your landlord in writing with dated photographs - most jurisdictions legally require landlords to maintain habitable conditions.
Mould recurrence almost always means the underlying moisture source has not been addressed. The most common causes are unfixed leaks or condensation issues, using bleach on porous surfaces (which only removes colour, not roots), painting over mould without proper treatment, and dry-brushing mouldy areas (which spreads spores). Lasting prevention requires identifying why moisture is accumulating in that specific location - whether from a plumbing leak, poor ventilation, cold bridging, or daily habits - and fixing that root cause alongside the visible growth.
The most effective approach layers multiple ventilation methods. Passive trickle vents integrated into window frames, such as the Shengxin Aluminium Fresh Air Trickle Vent, provide continuous 24/7 air exchange without energy costs or noise - forming a reliable baseline. Intermittent extractor fans in bathrooms and kitchens then handle concentrated moisture bursts during showers and cooking. This combination ensures air keeps moving even when windows are closed, which is particularly important during cold months when condensation risk peaks. For airtight modern homes, adding a positive input ventilation (PIV) system can further enhance whole-house airflow.



 online service
 0086 136 3563 2360
 sales@sxalu.com
 +86 136 3563 2360
 English
 français
 Deutsch
 русский
 español
 português
 العربية
 ไทย
ไทย Việt
Việt Українська