Low Volume Aluminum Extrusion: What Drives Costs And How To Manage Them What Low Volume Aluminum Extrusion Actually Means When you start researching custom aluminum extrusion profiles for your project, you'll quickly notice that suppliers talk about "low volume" and "high volume" production—but rarely define what those terms actually mean. This lack of clarity can make project planning frustrating, especially when you're trying to estimate costs and timelines. So let's cut through the ambiguity. Low volume aluminum extrusion typically refers to production runs ranging from 100 to 5,000 pieces, while high volume production generally starts at 10,000 pieces or more. Understanding where your project falls on this spectrum is essential for making informed decisions about manufacturing methods, supplier selection, and budget allocation. Defining Low Volume: The 100 to 5,000 Piece Sweet Spot The 100 to 5,000 piece range represents a distinct manufacturing category with its own economics and considerations. Many aluminum extruders work in quantities of 1,000, 5,000, 50,000, or higher, according to industry specialists. Some suppliers specializing in custom aluminum extrusions don't require minimum order quantities at all, accepting orders as small as a single unit for bespoke aluminium extrusion projects. This flexibility matters because not every project demands tens of thousands of identical aluminum profiles. You might need small aluminum extrusions for prototype development, specialized equipment components, or niche market products where demand simply doesn't justify massive production runs. Here are the key characteristics that distinguish low volume from high volume production: Tooling cost impact: Die and setup expenses are spread across fewer pieces, increasing per-unit costs but reducing total project investment Flexibility in design changes: Easier to modify specifications between production runs without significant financial penalties Supplier specialization: Some extruders focus on large-scale production, while others cater specifically to low volume manufacturing services Lead time considerations: Smaller runs may fit into production schedules more quickly, though this varies by supplier capacity Quality consistency: Tighter oversight is possible with smaller batches, beneficial for precision-critical applications Why Quantity Thresholds Shape Your Project Strategy Understanding whether your project qualifies as low volume directly influences three critical decisions: which suppliers to approach, how to structure your budget, and whether custom extrusion is even the right manufacturing method. From a buyer's perspective, the quantity threshold affects everything. When you communicate your volume needs upfront, you can quickly identify which suppliers align with your scale. As industry guidance suggests, some suppliers specialize in small batch or custom orders, while others are more cost-effective for large-scale production. Choosing a sup...
Read More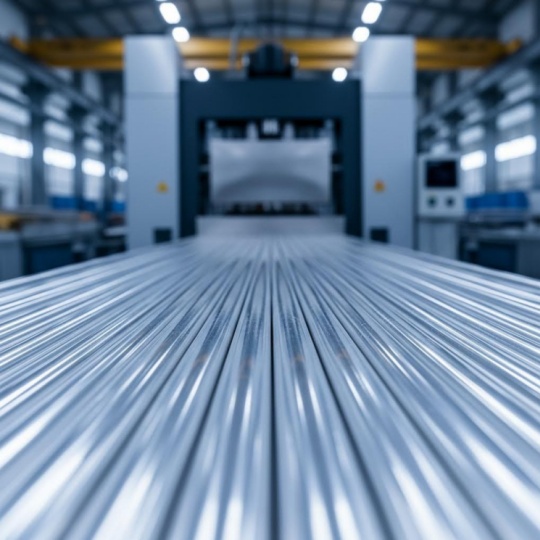
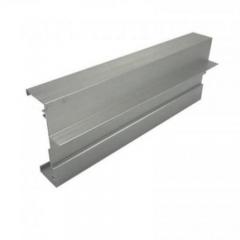
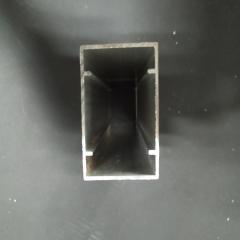
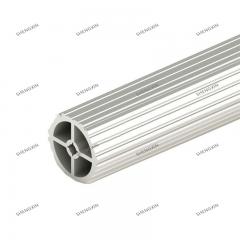
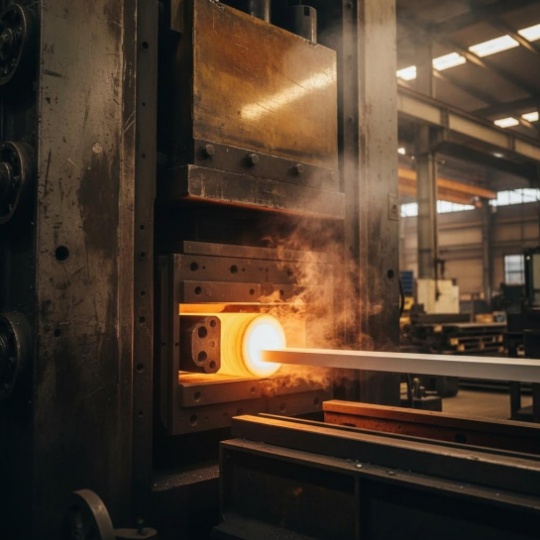
Round Tube Aluminum Extrusions: From Alloy Selection To Supplier Secrets Understanding Round Tube Aluminum Extrusions and How They Are Made When you hear the term "round tube aluminum extrusions," what comes to mind? If you're picturing a simple hollow cylinder, you're on the right track—but there's much more beneath the surface. These precision-engineered profiles represent one of the most versatile and widely used forms of aluminum in manufacturing, construction, and DIY projects alike. Whether you're sourcing materials for aerospace components or building custom furniture, understanding how these tubes are made will help you make smarter purchasing decisions. What Makes Round Tube Extrusions Different from Other Aluminum Forms Not all aluminum tubes are created equal. The manufacturing method determines everything from structural integrity to dimensional precision. Round aluminum tubing produced through extrusion differs significantly from two common alternatives: drawn seamless tubes and rolled/welded pipes. Drawn seamless tubes start as a solid billet that gets pierced and drawn through dies multiple times. While this creates a strong, weld-free product, the process limits size options and can be more expensive. Welded aluminum pipe, on the other hand, is made by rolling flat aluminum sheets into a cylinder and welding the edges together. This approach is cost-effective for larger diameters but introduces a potential weak point at the seam. Extruded aluminum tube occupies a sweet spot between these methods. The aluminum tube extrusion process forces heated metal through a precision die, creating a seamless hollow profile in a single operation. This delivers several distinct advantages: Uniform wall thickness — The die ensures consistent material distribution around the entire circumference Consistent dimensional accuracy — Tight tolerances are achievable directly from the extrusion press Excellent surface finish — Smooth surfaces require minimal post-processing Structural integrity — No weld seams mean no weak points under stress The Extrusion Process Explained Simply Imagine squeezing toothpaste through a shaped nozzle—that's essentially how aluminum round tubing gets its form, just with considerably more heat and pressure involved. The journey begins with a cylindrical aluminum billet, typically cut from a longer log of material. This billet gets preheated in a furnace to temperatures between 400-500°C—hot enough to make the aluminum malleable without actually melting it. Meanwhile, the circular die (which determines the tube's shape) is preheated to 450-500°C to ensure even metal flow and extend the die's service life. Once properly heated, the billet transfers to the extrusion press. Here's where things get impressive: hydraulic rams apply up to 15,000 tons of pressure, forcing the softened aluminum through the die opening. The material flows around a central mandrel that creates the hollow interior, emerging as a continuous extruded tub...
Read More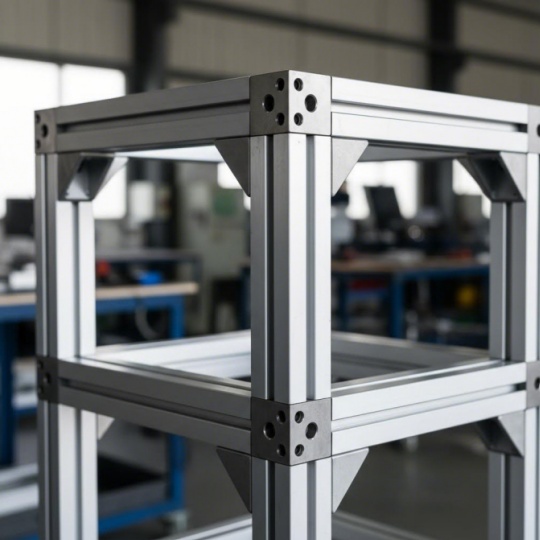
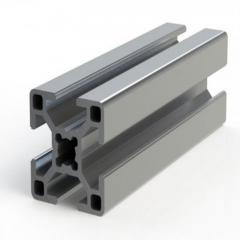
Aluminum Extrusion Profiles T-Slot: From Confused Buyer To Confident Builder What Are T-Slot Aluminum Extrusion Profiles Imagine building a structure where you can attach components anywhere you want, reconfigure it whenever needs change, and never pick up a welding torch. That's exactly what aluminum extrusion profiles with T-slots make possible. These specialized extruded aluminum sections feature distinctive T-shaped channels running along their length, creating a versatile mounting system that has transformed how industries approach modular construction. At its core, a T-slot aluminum extrusion is a precisely manufactured aluminum profile with integrated grooves shaped like the letter "T." These t slotted channels serve as secure attachment points for specialized hardware, including T-nuts, bolts, and brackets. The genius lies in the geometry: components slide into the slot and lock firmly in place when tightened, creating rock-solid mechanical connections without any drilling, cutting, or permanent modifications to the profile itself. The Anatomy of a T-Slot Profile Every T-slot profile shares fundamental design elements that make the system work. The main body consists of high-strength aluminum, typically anodized for durability and corrosion resistance. Running along one or more sides, you'll find the signature T-shaped grooves. These slots feature a narrow opening at the surface that widens into a broader channel beneath, forming the characteristic "T" shape that gives the system its name. When you insert a T-nut or specialized fastener, the wider portion of the hardware seats securely in the broader channel while the narrow opening prevents it from pulling straight out. Tightening the bolt draws everything together, creating a connection that can handle substantial loads. This is the same principle that makes 80/20 aluminum framing systems so popular across countless industries. Why T-Slot Design Revolutionized Modular Construction Before modular aluminum framing became widespread, building custom structures meant welding, drilling, and committing to permanent configurations. Need to modify something? Start over or bring in specialized equipment. T-slot technology changed everything by enabling truly flexible construction. The key characteristics that make this system so valuable include: Reconfigurable connections: Loosen a few bolts, reposition components, and retighten. Your structure adapts as requirements evolve. No welding required: Assembly uses only mechanical fasteners, eliminating heat distortion, specialized labor, and safety hazards. Precise alignment: The slot geometry naturally guides components into proper position, ensuring square corners and consistent spacing. Scalable designs: Start small and expand later. Add sections, modify layouts, or completely reconfigure without scrapping existing materials. Whether you're constructing machine frames, safety enclosures, or custom workstations, aluminum extrusion profiles offer a...
Read More
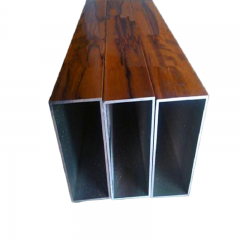
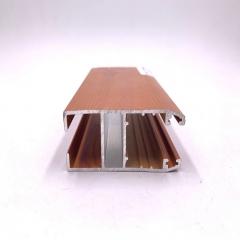
RV Aluminum Extrusions Decoded: From Alloy Selection To Installation Understanding RV Aluminum Extrusions and Why They Matter Ever wonder what gives modern RVs their impressive combination of strength and lightweight mobility? The answer lies in a manufacturing marvel called aluminum extrusion. RV aluminum extrusions are precisely shaped aluminum profiles created by forcing heated metal through custom-designed dies to produce specific cross-sectional shapes. From the structural framework holding your camper together to the decorative rv trim that gives it a polished appearance, these versatile components have become the backbone of recreational vehicle construction. You'll find these extrusions everywhere in today's aluminum recreational vehicles—in tow-along campers, motorhomes, and luxury land yachts on wheels. Their widespread adoption reflects a simple truth: no other material delivers the same balance of performance, durability, and design freedom that modern RV builders demand. What Makes Aluminum Extrusions Ideal for RV Construction Why have manufacturers embraced these profiles so enthusiastically? The benefits speak for themselves. Aluminum extrusion trim and structural components offer advantages that alternative materials simply cannot match: Lightweight Strength: Aluminum extrusions weigh significantly less than steel equivalents while maintaining impressive structural integrity. This translates directly into better fuel efficiency and easier handling on the road. Corrosion Resistance: Naturally resistant to rust and corrosion, aluminum thrives in outdoor environments where moisture, road salt, and weather exposure are constant challenges. Design Flexibility: The extrusion process allows manufacturers to create virtually any cross-sectional shape imaginable—from simple rv aluminum trim pieces to complex structural profiles with integrated channels and mounting features. Recyclability: Aluminum is 100% recyclable without losing its properties, supporting eco-friendly manufacturing practices and reducing environmental impact. These characteristics make trim for rv campers and structural extrusions indispensable for builders prioritizing both performance and longevity. The Extrusion Process Explained Simply Imagine squeezing toothpaste through a tube—the paste emerges in the tube's circular shape. Aluminum extrusion works on the same principle, just with considerably more force and precision. The process begins with a cylindrical aluminum billet, which is preheated in an oven to 400-500°C. This temperature makes the metal malleable without melting it completely. Meanwhile, the custom-designed die gets preheated to 450-500°C to ensure even metal flow and maximize tool longevity. Once prepared, the softened billet enters an extrusion press where hydraulic rams apply up to 15,000 tons of pressure. This immense force pushes the aluminum through the die opening, and the material emerges fully formed in the desired profile shape. The freshly e...
Read More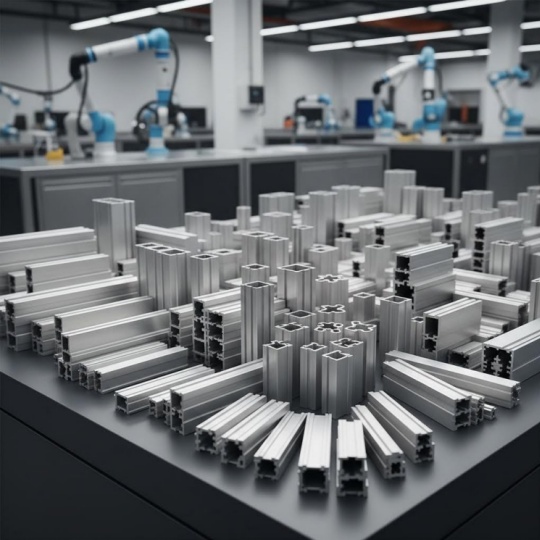
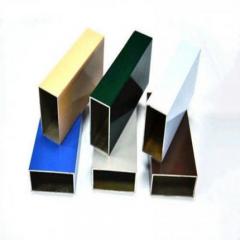
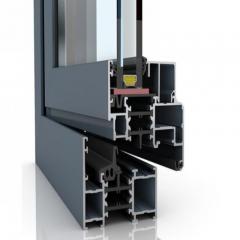
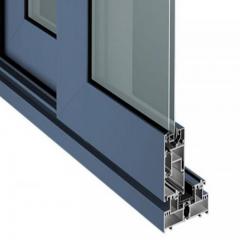
Order Aluminum Extrusions From Supplier: A Few Essential Points Understanding Aluminum Extrusions and Why Supplier Choice Matters When you're ready to order aluminum extrusions from a supplier, understanding the basics can save you time, money, and headaches. But what exactly are aluminum extrusions, and why does your supplier choice matter so much? Aluminum extrusion is a manufacturing process that creates parts with specific cross-sectional profiles. Imagine pushing heated aluminum alloy through a shaped opening, much like squeezing toothpaste through a tube. The result? Precisely shaped profiles that can be solid, hollow, or semi-hollow, ranging from simple to incredibly complex designs. These extruded aluminum components typically emerge as 8-24 foot long profiles, ready for further processing to meet your exact specifications. What Makes Aluminum Extrusions Essential for Modern Manufacturing From architectural structures to automotive components and precision-engineered products, aluminum extrusions form the backbone of countless applications. Their versatility lies in the ability to create custom cross-sectional shapes that would be difficult or impossible to achieve through other manufacturing methods. Whether you call it aluminum or aluminium depends on your location, but the material's benefits remain universal. The extrusion process allows manufacturers to produce lightweight yet strong components with excellent corrosion resistance. After extrusion, profiles can undergo heat treatment, surface finishing, and fabrication operations to achieve the exact properties and dimensions your project demands. The Hidden Costs of Choosing the Wrong Supplier Here's where many buyers stumble: focusing solely on unit price while overlooking total value. Your supplier choice directly impacts product quality, manufacturing timelines, and overall project success. Choosing the right supplier for your business is crucial; it will affect your product design, manufacturing process, product quality, and cost. No matter what kind of product you create, your supplier plays a vital role in ensuring its consistency. The wrong supplier can introduce delays, quality inconsistencies, and unexpected costs that quickly erase any initial savings. Meanwhile, the right partner brings technical expertise, reliable lead times, and problem-solving capabilities that streamline your entire production process. Whether you're debating alum vs aluminium terminology or evaluating supplier capabilities, this guide walks you through nine essential points for making informed ordering decisions. You'll learn how to prepare specifications, compare options, and ultimately partner with a supplier who meets your exact requirements. Selecting the Right Aluminum Alloy for Your Application Before contacting any supplier, you need to answer one critical question: which alloy fits your project? This decision shapes everything from structural performance to surface aesthetics and final cost. ...
Read More


 online service
 0086 136 3563 2360
 sales@sxalu.com
 +86 136 3563 2360
 English
 français
 Deutsch
 русский
 español
 português
 العربية
 ไทย
ไทย Việt
Việt Українська