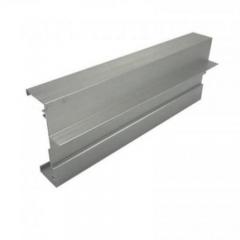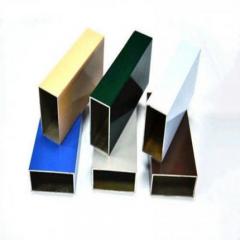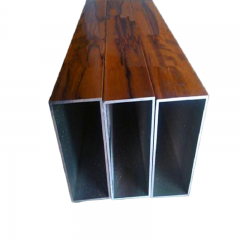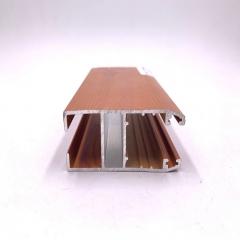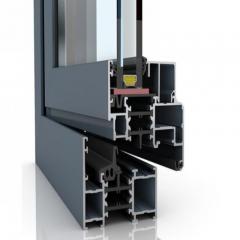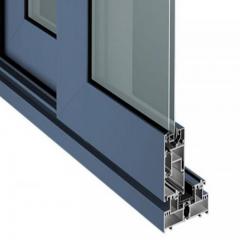

Cut To Length Aluminum Extrusion: Essential Points For Flawless Cuts Understanding Cut to Length Aluminum Extrusion Services Ever ordered aluminum profiles only to realize they arrived in standard lengths that don't quite fit your project? You're staring at a 6-meter bar when you actually needed five pieces at 847mm each. Now you're scrambling to find the right tools, workspace, and time to make those cuts yourself. Sound familiar? This is exactly why cut to length aluminum extrusion services exist. They bridge the gap between raw material and project-ready components, delivering extruded aluminum in the precise dimensions you specify. What Cut to Length Actually Means for Your Project When you order aluminum extrusions with cut to length service, the supplier takes standard-length profiles and precision-cuts them to your exact specifications before shipping. Instead of receiving long bars that require additional processing, you get pieces ready for immediate assembly or installation. Cut to length aluminum extrusion is a value-added service where suppliers precision-cut standard aluminum profiles to customer-specified dimensions, delivering project-ready components that eliminate on-site cutting and reduce material waste. Think of it this way: aluminum extrusion manufacturers typically produce profiles in standard lengths ranging from 4 to 7 meters. These lengths work well for transportation and storage, but rarely match what your actual project demands. The cut to length service transforms these standard bars into custom aluminum extrusions sized precisely for your application. The Basics of Precision Aluminum Cutting The journey from raw aluminum extrusion to your finished cut pieces involves several key stages: Profile selection: You choose from available aluminum extrusions—whether standard shapes like angles and tubes or specialized profiles for specific applications Length specification: You provide exact measurements, including quantity needed for each length Precision cutting: Professional equipment cuts each piece to your specifications, typically achieving tolerances of ±0.5mm or better Quality verification: Cut pieces are inspected to ensure they meet dimensional requirements Packaging and delivery: Components arrive ready for your assembly line or job site This process eliminates the need for you to invest in cutting equipment, develop cutting expertise, or allocate workspace for material processing. For companies working with bespoke aluminium extrusion projects, this service proves especially valuable when dealing with complex profiles that require specialized cutting techniques. Who Benefits from This Service? The appeal of cut to length services spans multiple industries and user types. Manufacturers building modular framing systems appreciate receiving components ready for immediate assembly. Architects and contractors value the time savings when aluminum profiles arrive sized for installation. Even hobbyists working on custom p...
Read More
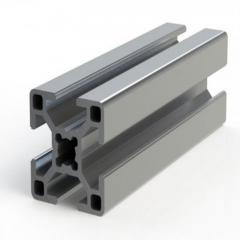
Aluminum Extrusion Press Tooling: Critical Decisions That Make Or Break Your Dies What Aluminum Extrusion Press Tooling Really Means When you hear "aluminum extrusion press tooling," what comes to mind? If you're picturing just a die with a shaped opening, you're only seeing part of the picture. In reality, this term refers to an entire system of precision-engineered components working in concert to transform heated aluminum billets into complex profiles. Understanding what is aluminum extrusion tooling—and everything it encompasses—is the first step toward making smarter decisions that directly impact your production quality and bottom line. The Complete Tooling System Explained So, what is aluminum extrusion at its core? The aluminum extrusion definition describes a process where material is forced through a shaped die opening to create elongated pieces matching that profile. Think of it like a sophisticated Play-Doh Fun Factory, but operating under extreme pressures and temperatures around 800-925°F. The extrusion process requires every component in the tooling stack to perform flawlessly—because when one element fails, the entire operation suffers. The complete aluminum extrusion tooling system includes these essential components: Dies – The shaped openings that determine your profile's final geometry Bolsters – Support structures that distribute pressure evenly across the die Backers – Additional support elements for complex or delicate profiles Sub-bolsters – Interface components between backers and the press platen Containers – Chambers holding the heated billet during extrusion Dummy blocks – Tight-fitting steel blocks that seal the billet and prevent backward metal leakage Stems – Rods connecting the dummy block to the hydraulic ram Mandrels – Internal components creating hollow sections in tubular profiles Beyond the Die: Understanding Full Press Tooling Why does understanding the full tooling stack matter? Imagine focusing all your attention on die design while neglecting your container liner condition. The result? Inconsistent billet flow, surface defects, and shortened die life. Each component influences the others in ways that directly affect your extrusion quality. The aluminium extrusion definition remains consistent whether you're working with small intricate profiles or large structural sections—but the tooling requirements vary dramatically. For solid profiles, the tool stack typically includes a die ring, die, backer, bolster, and sub-bolster. Hollow profiles add complexity with die mandrels and die caps entering the equation. What is extruded aluminum without proper tooling support? It's inconsistent dimensions, poor surface finish, and production headaches. The container must maintain precise temperatures while the dummy block creates a perfect seal. The stem transfers hydraulic force smoothly, and the die holder locks everything securely in position. When these elements work together seamlessly, you'll achieve the dimension...
Read More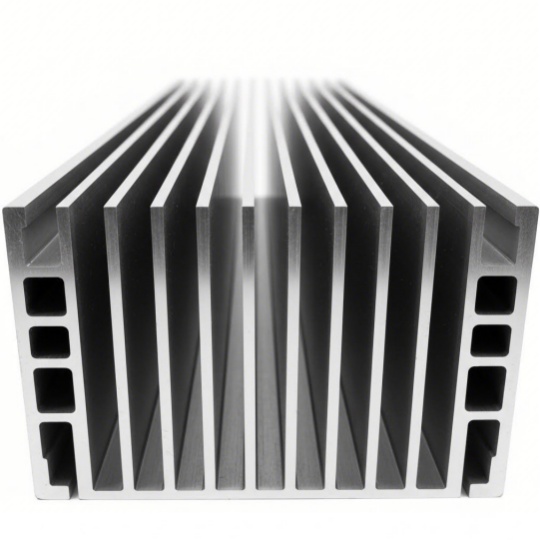
Aluminum Heatsink Extrusions: From Raw Billet To Thermal Powerhouse What Are Aluminum Heatsink Extrusions and How Do They Work Ever wondered how your laptop stays cool during heavy use? Or how LED lights maintain their brightness without overheating? The answer often lies in a specialized thermal management component called an aluminum heatsink extrusion. These engineered profiles work silently behind the scenes, drawing heat away from sensitive electronics and releasing it safely into the surrounding air. An aluminum heatsink extrusion is a thermal management component created by heating aluminum billets and forcing them through precision-shaped dies to produce finned profiles specifically designed to dissipate heat from electronic devices. The Basics of Extruded Aluminum Thermal Management The concept is elegantly simple. Manufacturers take solid aluminum billets, heat them to a malleable state, and push them through custom-designed dies. The result? Complex cross-sectional profiles with integrated fins that would be impossible or prohibitively expensive to achieve through other manufacturing methods. So why aluminum? This material strikes an ideal balance of three critical factors: Thermal conductivity: Aluminum conducts heat efficiently, with common alloys achieving approximately 167-201 W/mK depending on the grade selected Lightweight structure: At roughly one-third the weight of copper, aluminum reduces system weight without sacrificing performance Cost-effectiveness: Aluminum offers up to 70% cost savings compared to copper alternatives, making it practical for high-volume applications How Extrusion Creates Efficient Cooling Profiles Imagine squeezing toothpaste through a shaped nozzle. The extrusion process works similarly, but with heated aluminum and industrial-scale precision. The heated billet flows through a die that determines the exact shape of the extruded heat sink profile, including fin height, spacing, and base thickness. The magic happens through a fundamental principle of heat transfer. When an electronic component generates heat, the aluminum base absorbs that thermal energy through conduction. The integrated fins then dramatically increase the surface area exposed to surrounding air. More surface area means more contact with cooler air, allowing heat to escape through convection. Consider this: a flat aluminum plate might have limited cooling capacity. But add a series of carefully designed fins, and you've multiplied the available surface area many times over. Research shows that the more surface area a heatsink has, the better its overall performance, though real-world results depend heavily on design and application specifics. The heat transfer process relies on three mechanisms working together: Conduction: Heat moves from the component into the aluminum base Convection: Air flowing across the fins carries heat away Radiation: The heatsink emits thermal energy as infrared radiation This combination of optimized material...
Read More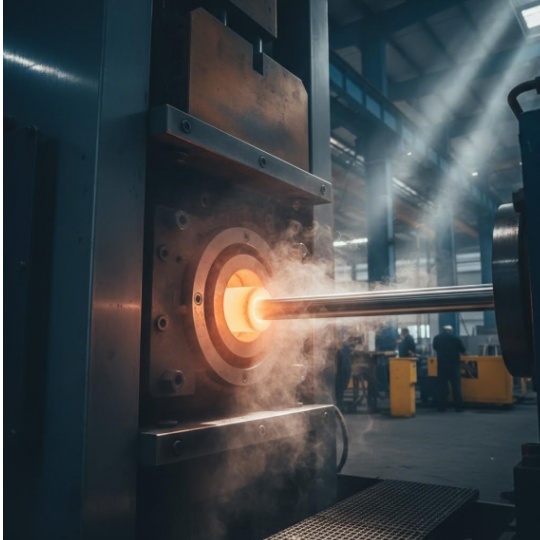
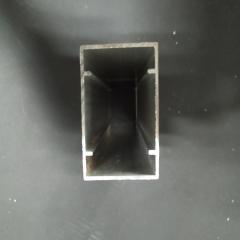
An Extrusion Die Is Used To Produce Aluminum Rods: Inside The Process What Is an Aluminum Extrusion Die and How Does It Shape Rods Imagine squeezing toothpaste from a tube. The opening shapes the paste into that familiar ribbon. Now picture that same concept, but with superheated aluminum and forces reaching up to 15,000 tons. That's essentially what happens when an extrusion die is used to produce aluminum rods in modern manufacturing facilities. So, what is an aluminum extrusion die exactly? It's a thick, precision-engineered steel disk featuring a carefully designed opening—called an aperture—that determines the exact cross-sectional shape of the finished product. When malleable aluminum alloy passes through this opening under extreme pressure, it transforms into continuous lengths of rod with remarkable dimensional consistency. The die for aluminum extrusion serves three critical functions simultaneously. First, it shapes the material by defining the rod's cross-sectional profile. Second, it controls the flow of aluminum to prevent defects like warping or uneven thickness. Third, it maintains surface quality by minimizing imperfections during the forming process. Understanding these fundamentals helps both engineering students and industry professionals appreciate why aluminum extrusion dies design requires such meticulous attention to detail. The Die as the Heart of Rod Production For rod production specifically, the aluminum extrusion die features a circular aperture that creates the round cross-section you'd expect in a finished rod. But here's what many people don't realize—that circular opening isn't simply a hole punched through steel. Dies are typically produced from H13 tool steel, then heat-treated to withstand the intense conditions of the extrusion process. The circular aperture must account for several factors: Thermal expansion of the aluminum as it flows through Pressure distribution across the die face Material flow characteristics unique to each aluminum alloy Target diameter specifications for the finished rod The die opening defines everything about your rod's geometry. A solid die—the type most commonly used for rod production—has openings that match the desired shape precisely. Unlike hollow dies used for tubes or complex profiles, rod dies are relatively straightforward in design, yet they still demand exceptional precision in manufacturing. From Billet to Rod in Seconds The transformation from raw aluminum billet to finished rod happens remarkably fast. Here's how the process unfolds: A cylindrical aluminum billet—preheated to approximately 400-500°C—enters the extrusion press. A powerful hydraulic ram applies immense pressure, forcing the softened metal toward the die. As the aluminum reaches the die, it has nowhere to go except through that precisely shaped circular opening. The metal emerges on the other side as a continuous, uniform aluminum rod. The entire transformation takes just seconds, yet the dimensional accur...
Read More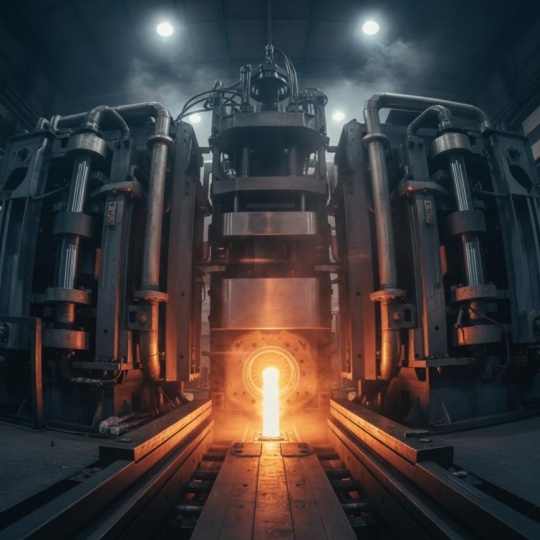
Aluminum Extrusion Technology PDF: Fix Defects, Master Die Design Understanding Aluminum Extrusion Technology Fundamentals Imagine squeezing toothpaste from a tube. The paste flows through the opening and takes on the shape of that opening. Aluminum extrusion works on the same principle, but with far more precision, pressure, and engineering expertise. Whether you're an engineer optimizing production parameters or a student diving into metallurgical processes, understanding this foundational technology opens doors to countless manufacturing applications. The Extrusion Process Explained Simply At its core, aluminum extrusion is a technique of forcing aluminum alloy material into a die having a predetermined cross-sectional shape. A substantial ram pushes the aluminum through the die, and the material exits from the die aperture in the exact form of the die opening. This seemingly straightforward process enables manufacturers to create everything from simple rods and tubes to intricate architectural profiles and heat sink designs. Aluminum extrusion is a forming process that creates objects with fixed cross-sectional profiles by pushing heated aluminum alloy through a shaped die opening under tremendous pressure, enabling the production of solid, hollow, and semi-hollow shapes with remarkable consistency. The process had its earliest beginnings over 100 years ago. Joseph Bramah first developed extrusion in 1797 for producing lead pipes, though the technology truly evolved when Alexander Dick created the hot extrusion process in 1894. This breakthrough allowed manufacturers to work with non-ferrous alloys like aluminum, and by 1904, the first aluminum extrusion press was constructed. Today, industry reports indicate the worldwide aluminum extrusion demand continues growing at approximately 4% annually. Why PDF Resources Matter for Technical Learning You might wonder why PDF documentation remains essential when so much information is available online. The answer lies in the nature of technical knowledge itself. Aluminum extrusion technology involves precise specifications, detailed diagrams, and complex calculations that require structured, portable reference materials. Quality aluminum extrusion technology resources serve multiple purposes: Providing offline access to critical process parameters during production floor troubleshooting Offering standardized technical documentation that engineers can share across global teams Preserving detailed metallurgical data, alloy specifications, and die design principles in searchable formats Bridging the gap between basic online overviews and highly specialized academic research papers An aluminum extrusion technology book or comprehensive PDF serves as your reference companion when you need to verify temperature ranges, calculate extrusion ratios, or troubleshoot surface defects. Unlike fragmented web content, well-structured technical documentation presents information in logical sequences that build unders...
Read More


 online service
 0086 136 3563 2360
 sales@sxalu.com
 +86 136 3563 2360
 English
 français
 Deutsch
 русский
 español
 português
 العربية
 ไทย
ไทย Việt
Việt Українська