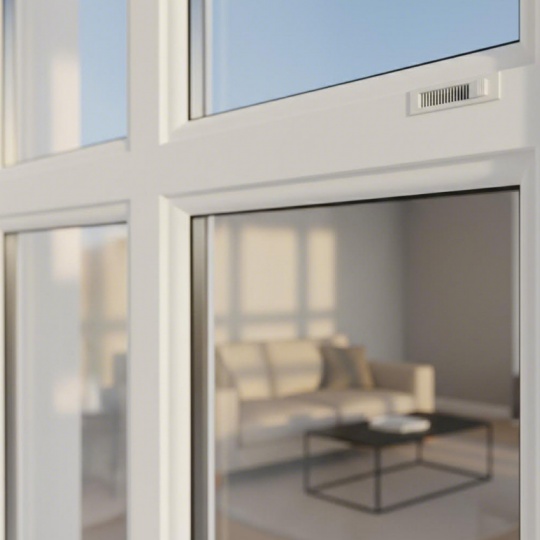
How to Approach Upvc Trickle Vents: Practical Tips What UPVC Trickle Vents Are and Why They Matter Ever noticed those small slotted openings at the top of your window frames? If you have UPVC double glazing, you might be wondering what they actually do. These are trickle vents, and they play a surprisingly important role in keeping your home healthy and comfortable. What Is a Trickle Vent So, what is a trickle vent exactly? In simple terms, it is a small opening or device installed in windows or walls to allow for controlled passive ventilation. Unlike opening a window or using the night-vent position, trickle vents enable a continuous, low-level exchange of air without creating a security risk or letting in significant noise. Think of them as your home's quiet breathing system. They allow fresh air to trickle in while stale, moisture-laden air escapes, all without you having to do anything. Most vented windows feature a simple slider mechanism, so you can open or close the vent depending on your needs. The key difference between trickle ventilation and simply cracking a window open? Control. Leaving a window ajar invites draughts, noise, insects, and potential security concerns. Trickle vents, on the other hand, provide a measured, consistent airflow that works around the clock. Why UPVC Windows and Trickle Vents Go Together Here is where things get interesting. Modern UPVC double glazing is designed to be incredibly energy efficient. The tight seals and insulated glass units keep heat in during winter and out during summer, which is great for your energy bills. But there is a catch. Older single-glazed windows were far from airtight. Gaps around frames and natural imperfections allowed air to infiltrate constantly. While this was terrible for thermal efficiency, it did provide a form of background ventilation. Your home could breathe, even if it was draughty and expensive to heat. When you upgrade to modern UPVC double glazing, you eliminate that natural air infiltration. The result? A much warmer home, but also one where moisture from cooking, showering, drying clothes, and even breathing has nowhere to go. As homes undergo retrofitting to improve thermal efficiency, the airtightness increases, which can lead to condensation, damp, and mould if proper ventilation measures are not implemented alongside. Airtight homes need controlled ventilation to prevent moisture buildup and poor indoor air quality. This is precisely the problem trickle vents solve. They reintroduce that essential background airflow in a controlled way, helping to maintain healthy indoor air quality without sacrificing the thermal benefits of your UPVC windows. For homeowners dealing with condensation streaming down windows each morning or persistent damp patches, understanding this connection is the first step toward a solution. The Three Types of Trickle Vents for UPVC Windows Compared Now that you understand why window trickle vents matter, the next question is: which type...
Read More
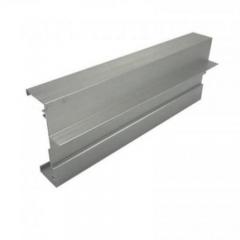
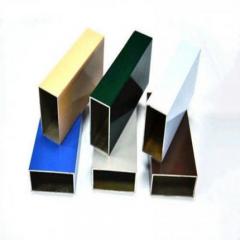
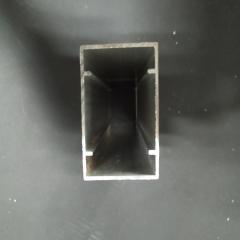
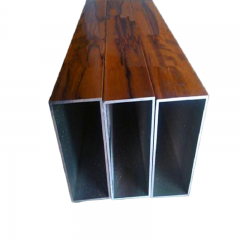
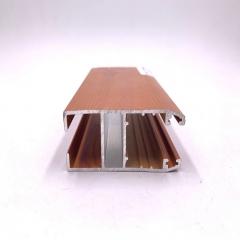
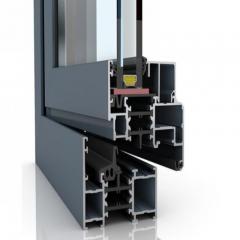
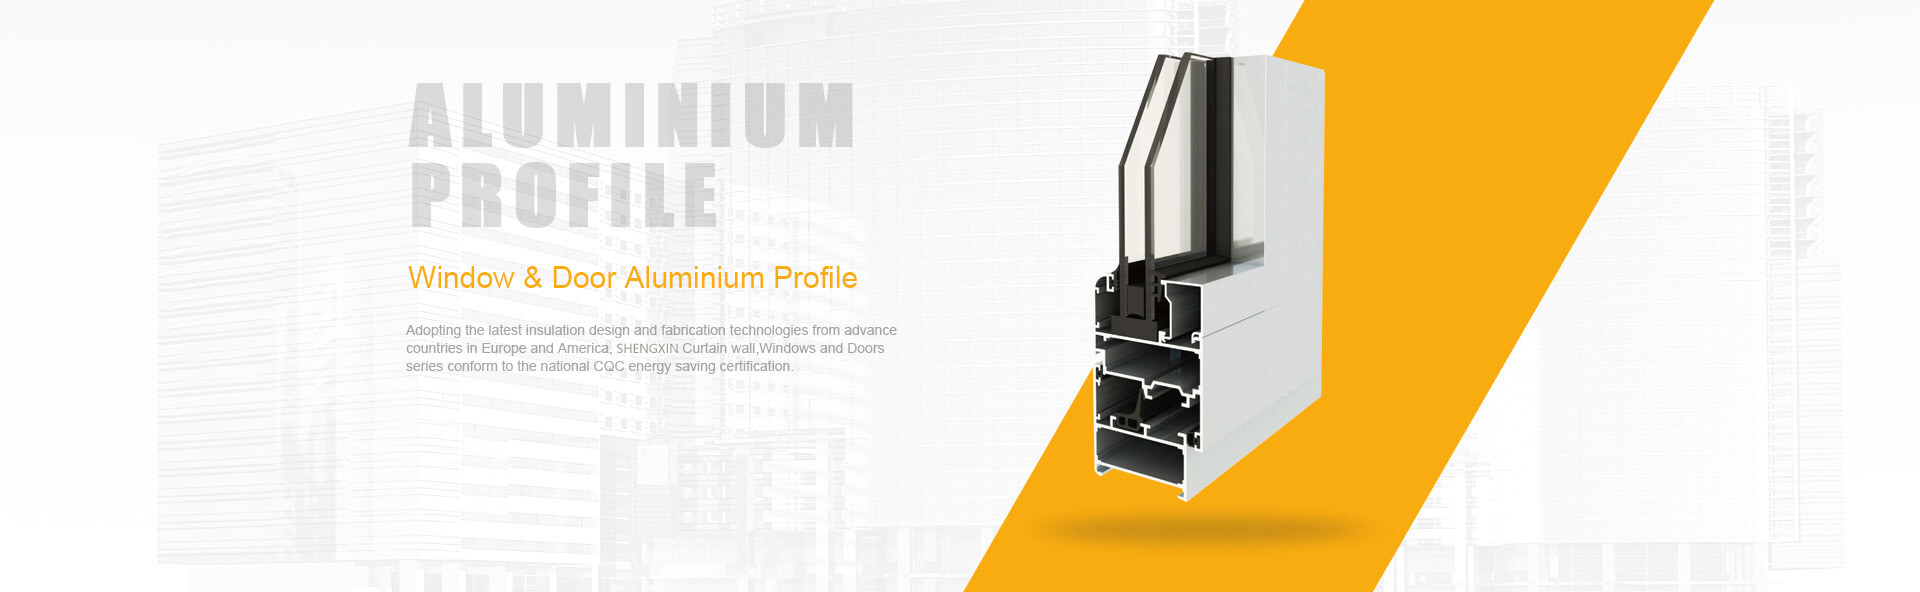
OEM Thermal Break Aluminum Extrusions: Pick the Wrong Method and Pay for It What OEM Thermal Break Aluminum Extrusions Actually Are When you source aluminum profiles for windows, doors, or curtain walls, you'll quickly encounter a critical decision: thermally broken or standard? For OEM buyers specifying custom profiles, this choice shapes everything from energy performance to long-term customer satisfaction. An OEM thermal break aluminum extrusion is a profile where a low-conductivity barrier material separates the inner and outer aluminum sections. This barrier, typically made from polyamide (PA66), interrupts the conductive heat path that would otherwise turn your aluminum frame into a thermal highway. The result? A profile that maintains aluminum's strength and aesthetics while dramatically improving insulation. Thermal break profiles reduce heat transfer, condensation risk, and energy loss simultaneously, making them essential for energy-compliant fenestration products. What Is a Thermal Break in Aluminum Extrusions Imagine holding a metal spoon in hot coffee. Within seconds, the handle gets warm. That's thermal conductivity at work, and aluminum excels at it. Aluminum conducts heat at roughly 160 W/m·K, which makes it fantastic for heat sinks but problematic for building envelopes. Now consider the polyamide strips used in thermally broken aluminum profiles. PA66 GF25 (polyamide reinforced with 25% glass fiber) conducts heat at approximately 0.3 W/m·K. That's more than 500 times less conductive than aluminum. When you insert this material between the interior and exterior aluminum sections, you effectively create two separate profiles connected by an insulating bridge. This design prevents the exterior temperature from transferring directly to the interior surface. In winter, your frame stays warmer inside. In summer, it stays cooler. The physics are straightforward, but the manufacturing precision required to achieve consistent results is where OEM sourcing gets complex. Why OEM Buyers Have Different Requirements Than End Consumers If you're reading this, you're probably not shopping for a single window. You're specifying profiles for production runs, private-label programs, or custom fenestration systems. That changes everything about how you evaluate thermally broken aluminium options. OEM procurement involves concerns that retail buyers never consider: Die ownership and tooling rights for custom profile geometries MOQ thresholds that affect cash flow and inventory planning Dimensional tolerances that determine whether thermal break strips fit properly Finish sequencing decisions that impact both quality and cost When you source thermal break aluminium windows profiles through catalog purchasing, you accept standard dimensions and finishes. OEM programs give you control over profile geometry, surface treatment, and thermal break specifications, but they also require deeper technical engagement with your supplier. The sections ahead will ...
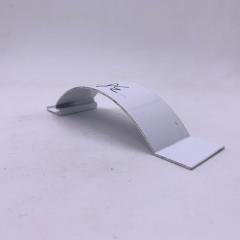
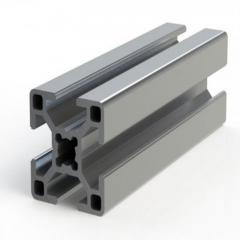
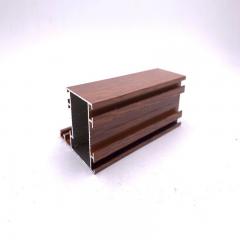
Read MoreUnderstanding How To Straighten Aluminum Extrusion: Essential Principles Why Aluminum Extrusions Warp and What Causes It Ever pulled a freshly extruded aluminum profile off the line only to find it curved, twisted, or bowed? You're not alone. Before you can learn how to straighten aluminum extrusion effectively, you need to understand why it warped in the first place. Knowing the root cause directly informs the correct fix and helps prevent the problem from recurring. Warping occurs when the material distorts due to uneven cooling or internal stresses during the extrusion process. In aluminum profiles, this distortion typically shows up as bow, twist, or sweep after the metal cools. The good news? Once you understand what's happening at the material level, choosing the right correction method becomes much simpler. Why Aluminum Extrusions Warp During Manufacturing Imagine a hot aluminum profile leaving the die and traveling down the runout table. Different parts of that profile cool at different rates. Thicker sections hold heat longer than thin walls. The side facing the cooling fans chills faster than the side resting on the table. These temperature differences create internal stress gradients within the metal. When one area of the profile shrinks faster than another, the material pulls unevenly. This differential shrinkage causes the profile to bend or distort. The result? A profile that looked perfectly straight at the die exit now shows a noticeable curve or twist once it reaches room temperature. Quench rate differentials across the profile cross-section are the primary culprit. Water quenching, air cooling, or a combination of both must be applied uniformly. If one flange gets hit with more cooling than the opposite side, the faster-cooling section contracts first and pulls the profile toward it. This manifests as bow in a single plane or, in more complex cases, as twist or sweep. Die design also plays a critical role. A poorly balanced die creates uneven metal flow during extrusion. If aluminum exits the die faster on one side than the other, the profile develops internal stresses before cooling even begins. These stresses compound during the quench phase, making distortion worse. How Alloy and Temper Affect Distortion Tendency Not all aluminum alloys behave the same way during and after extrusion. The alloy composition and temper designation significantly influence how prone a profile is to warping and how difficult it will be to straighten. 6063 aluminum, commonly used in architectural applications like window frames and door frames, has a lower yield strength compared to 6061. This makes 6063 profiles more prone to bow during cooling. The softer material deforms more easily under internal stress gradients. However, this same characteristic means 6063 is generally easier to correct once distorted. 6061 aluminum, often called structural aluminum, holds its shape better during the extrusion and cooling process due to its higher yield stren...
Read More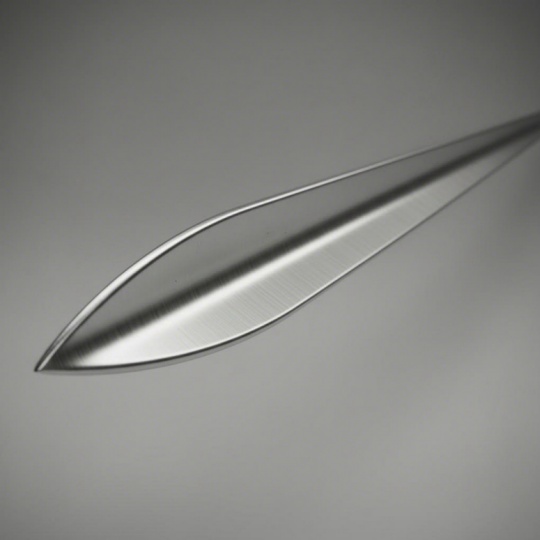
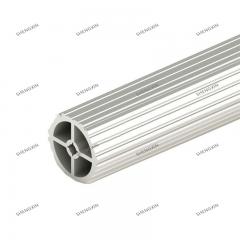
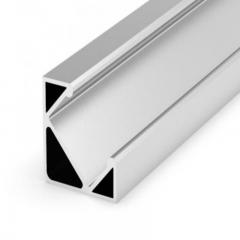
Understanding Aluminum Airfoil Extrusion: Concept Overview What Aluminum Airfoil Extrusion Actually Is When you hear the term aluminum airfoil extrusion, what comes to mind? If you're picturing aircraft wings, you're on the right track, but the architectural and industrial applications are where these profiles really shine. Let's break it down. An aluminum airfoil extrusion is a continuous aluminum profile whose cross-section replicates an aerodynamic or blade-shaped geometry, characterized by a curved leading edge, tapered trailing edge, defined chord length, and optional camber. In simpler terms, imagine slicing through an airplane wing and looking at the cut face. That teardrop-like shape, with its rounded front and pointed back, is what defines an airfoil. When manufacturers produce aluminum extrusions with this cross-sectional geometry, they create profiles optimized for managing airflow, controlling sunlight, or achieving sleek blade-like aesthetics in architectural designs. What Makes a Profile an Airfoil Shape The key geometric parameters that define an airfoil shape include: Chord length: the straight-line distance from leading edge to trailing edge Maximum thickness and its position along the chord Camber: the curvature of the profile's centerline, which can be symmetric or asymmetric Leading-edge radius: the rounded nose that determines how air or light interacts with the profile Trailing-edge geometry: typically tapered to a narrow point or small radius These aluminum extrusion profiles can be symmetric, meaning identical curvature on both surfaces, or cambered, with different upper and lower surface shapes. Architectural applications often use cambered designs to optimize solar shading performance at specific blade angles. Airfoil vs Standard Aluminum Extrusion Profiles How does an airfoil differ from the aluminum extrusion shapes you might find in a typical catalog? Standard structural extrusions like angles, channels, and tubes are designed primarily for load-bearing applications. Their geometry prioritizes structural efficiency, connection simplicity, and material economy. Extrusion aluminum in airfoil form serves a different purpose. These profiles are optimized for: Airflow management in louver and ventilation systems Solar shading and daylight control on building facades Aesthetic blade effects in interior partitions and ceilings Acoustic management in architectural applications One terminology note worth clarifying: you'll encounter several names for the same product category. Airfoil is the American English term, while aerofoil is the British English equivalent. Wing profile and blade extrusion are also used interchangeably in the industry. Whether you're searching for aluminium aerofoil extrusions or aluminum wing profiles, you're looking at the same fundamental product, just with regional naming variations. How the Extrusion Process Creates Airfoil Profiles So how does a solid aluminum cylinder transform into that elegant b...
Read More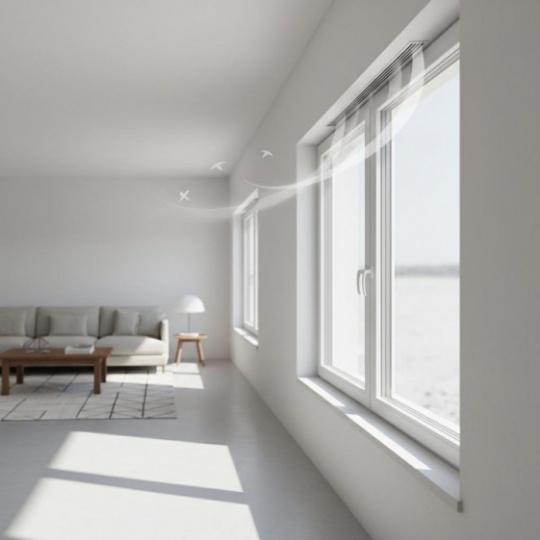
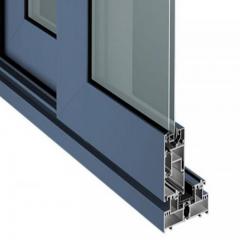
Window Ventilation System Physics, Compliance, and Trade-offs Exposed What Is a Window Ventilation System Ever noticed your home feels stuffy even with the heating off? Or maybe condensation keeps creeping across your window frames every winter morning? These are telltale signs that your indoor air isn't moving the way it should. That's exactly the problem a window ventilation system solves. A window ventilation system is a mechanism integrated into or alongside a window frame that enables controlled airflow between interior and exterior spaces without requiring the window to be opened. Unlike simply cracking a window, these systems create designated pathways for air exchange. Stale indoor air escapes while fresh outdoor air enters in a measured, continuous flow. Your windows stay locked and secure, weather stays outside, and you still get the airflow your home needs to stay healthy and comfortable. What a Window Ventilation System Actually Does Think of ventilation windows as a middle ground between a sealed box and an open window. They work by creating small, purpose-built openings that allow air to move without the drawbacks of leaving a window ajar. No chilly drafts, no security concerns, no rain blowing in during a sudden downpour. These systems fall into two main categories: Passive systems like trickle vents and rebate vents rely on natural pressure differences and thermal effects to move air. They require no power and operate continuously with minimal intervention. Active systems use motorized actuators or mechanical extract fans to control airflow precisely. These offer more control but need electrical connections and regular maintenance. Most residential applications use passive solutions, while active systems tend to appear in commercial buildings or high-performance homes where precise air quality control matters. Why Modern Buildings Need Controlled Ventilation Here's the challenge: modern construction has become remarkably good at keeping air out. Tighter building envelopes mean better energy efficiency and lower heating bills. But that same airtightness traps moisture from showers, CO2 from breathing, cooking fumes, and volatile compounds from furniture and cleaning products. Poor window ventilation quickly leads to condensation buildup, mold growth, and that musty smell that lingers no matter how much you clean. In the UK, Approved Document F now makes background ventilation a legal requirement for new and replacement windows, recognizing that controlled airflow isn't optional in well-sealed homes. The sections ahead break down the physics of how air actually moves through these systems, compare every major vent type side by side, and walk through the compliance requirements you need to know. Whether you're specifying for a new build or retrofitting existing windows, you'll find the practical details that matter. The Physics of Airflow Through Windows So how does air actually move through venting windows without a fan pushing it a...
Read More


 online service
 0086 136 3563 2360
 sales@sxalu.com
 +86 136 3563 2360
 English
 français
 Deutsch
 русский
 español
 português
 العربية
 ไทย
ไทย Việt
Việt Українська